
Sometimes you reach the end of a project and just want to get it over with. Let's say just the buttonholes or closures are left. I've used this technique numerous times and I think it is pretty satisfactory.
Imagine you have to put in the buttonholes in the above fabric but you still have in your machine the white thread from attaching the white lining. You are at the end of the project and just want to A: be done with it; B: are tired of changing thread colors; or C: you are just a fussy little pill like me. Enter Inktense Pencils, (NAYY).

These are pencils you can draw with, dab a bit of water on and they become paints. You can then heat set them for permanency.


You simply draw on the white threads, dab with a tiny bit of water on the paint brush, then iron. You can see how bright the original white is on the stitching I ignored, but the other lines of stitching blend in rather well and from a galloping horse, who'd know? That upper right yellow flower had that black spot on it so I did it with a black pencil to be true to the fabric. I used the gold metallic on the line in the upper left corner and while not perfect, it hides the white thread well enough.
The downside to these pencils is the colors they come in. I got the middle size box and the metallics but there was no turquoise blue, so I used instead a greenish color from the metallic box and it was not half bad. If you are going to use this technique, definitely play a bit with a scrap to get the right pencil colors for your print. The tips of the pencils are not always representative and the goal with these originally is watercolor painting so keep that in mind. Colors are not saturated so a healthy application of the pencil is needed. When all done coloring and painting, iron the piece dry with a press cloth on as high a heat as the fabric will take for about ten seconds. Should be good to go!
******************************************
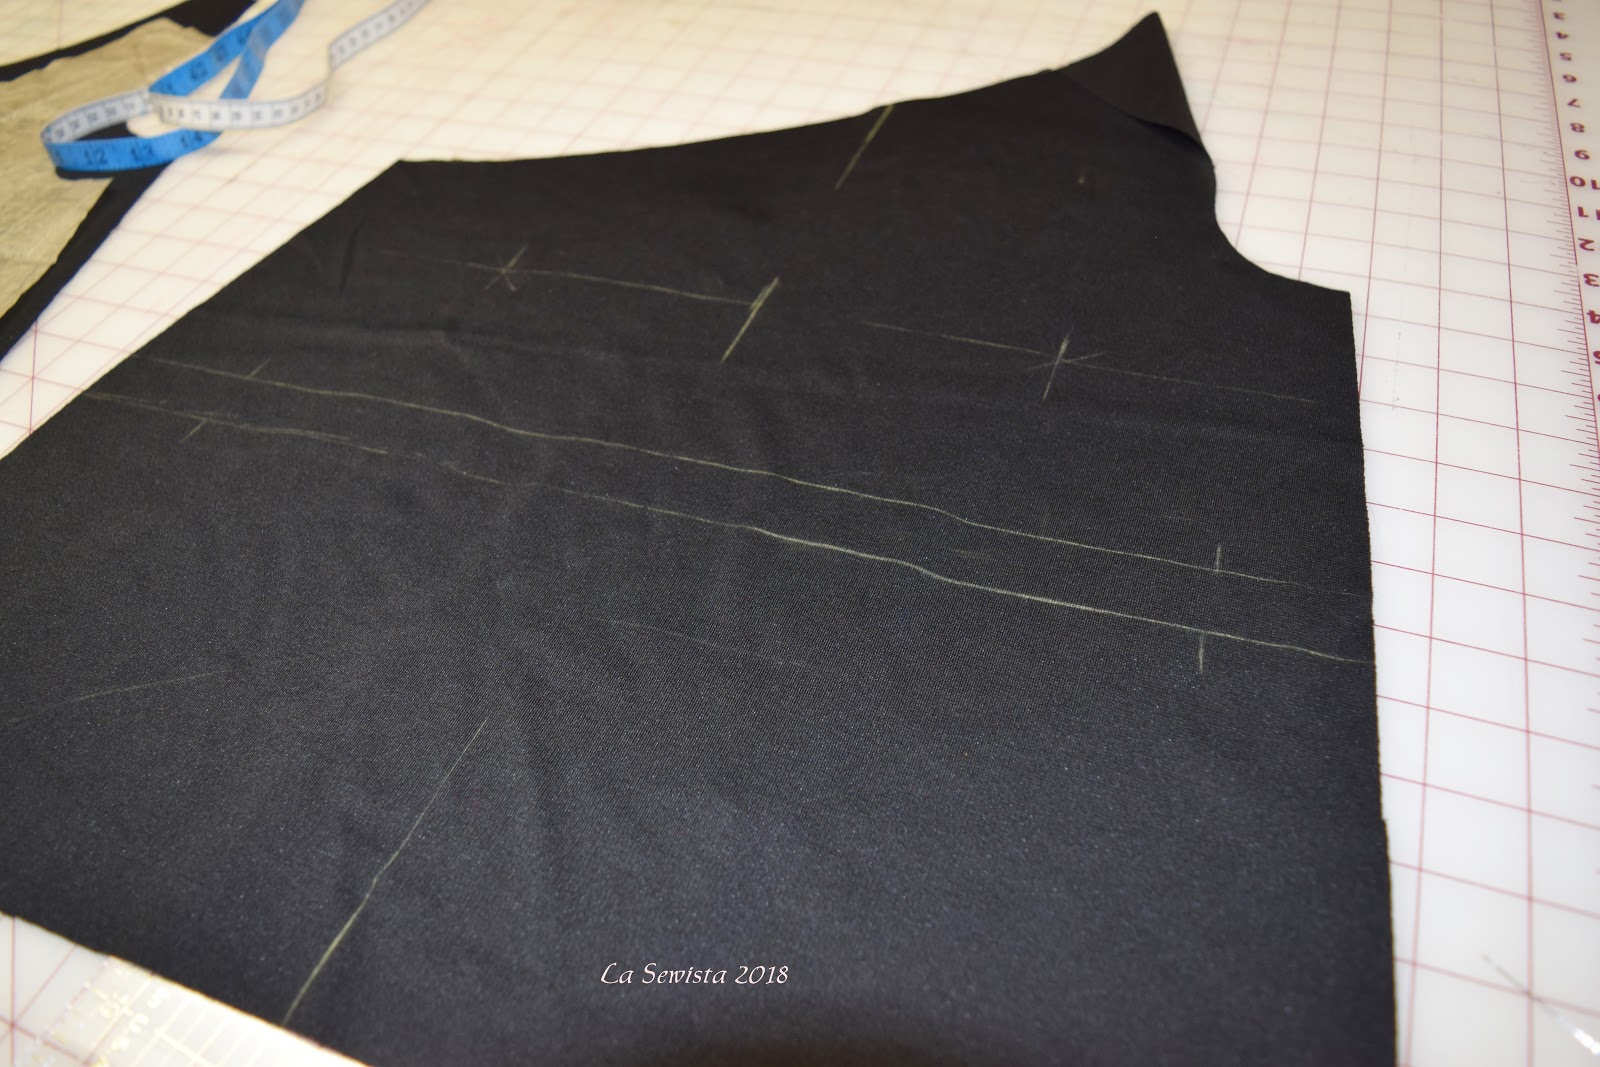
Got all my lines marked on this one shouldered top and realized I don't need bust points marked on the back! Wrong piece! Happens to all, right?..................Bunny


Brilliant!! Thank you for sharing this great idea.
ReplyDeleteGreat tip - thanks!
ReplyDeleteI have a 12 (16?) color Sharpie set that I use for the same purpose. Works great, and no extra steps. I also use a matching Sharpie to color the inside of cut buttonholes where the white interfacing is showing.
ReplyDeleteGreat tip. I am a Sharpie user as well. Fun sharing these work arounds.
DeleteI agree they blend very well. So many options out here for quick fixes and shortcuts. I love it.
ReplyDeleteI have used Sharpies to color loop elastic (like that used on the wedding dresses), but these pencils look great. Thanks for the recommendation.
ReplyDeleteCool tip! When I taught machine embroidery we used fine tip markers to cover the mistakes and bobbin thread that tried to poke through the designs. You really made those white threads disappear!!!
ReplyDeleteThat is amazing! Thanks for sharing the tip Bunny now off to buy one more thing for the sewing cave!
ReplyDelete