Sewing Vloggers

Showing posts with label fabric painting. Show all posts

Wednesday, July 3, 2019

My first evah Wearable Muslin, New Look 6866


And it's even a hand painted wearable muslin!


If you've followed me through the ages, you know I don't believe in wearable muslins. The reason I caved on this pattern is because I wanted to find out how deep the back neckline was, did it show a bra band, and could I play with the design and get some "bump outs" to work. The original pattern is great on it's own. It is New Look 6866. Make sure you don't read that upside down!

It's a summery classic with neckline choices  and deep-ish looking back neckline. My original inspiration was this beauty I found on Pinterest:


I love the look, the "bump outs", the painting and particularly that deep, shaped hem band. Thank my sister for naming them "bump outs". Sounds appropriate to me!  I had some beautiful periwinkle cross dyed linen but I needed to work out the design before cutting into it. I did and will tell you what I figured out from my first wearable muslin. It was a worthwhile experience but a new one for me. I just don't do wearable muslins! 

Fabric:

I wanted something with some body as my linen would be underlined. Dig and dig. Well, if I am going to wear it, and surely just in the garden digging, I might as well use some off white denim I've owned for years.  I  bought yards and yards years ago with intentions of slipcovering the moon, I think, and it has been the gift that keeps on giving. But, oh, my, is it blah. The more I worked with it, the more blah it got. Hmmm,,,,,,,As I was experimenting with the pattern, placing, tucking, etc, I kept looking up and around to see all my painting supplies for another project I was working on. Paint, that's it! If it looks awful, well, who cares? I had a cute stencil for a dandelion puff and I layed some paints down on the dress front pieces  with dry brush techniques to give some color and depth to the dandelions. Then I decided to stencil in the dandelions on top of the colors with royal blue paint. The stencil had no stems so I had to paint them in as well. I was pleased and this was headed in a good direction. 


The denim was prewashed three times and the paint got my usual "make it stick" technique and that worked great. I have washed this dress three times, once in hot water, and the painting hasn't budged. Yay!

Signed my artwork, too!

Construction:

I tried to keep this simple, muslin being and all, but it was denim, and I was going to wear it. I went jeans style, stitching, serging and topstitching all the seams. This dress is rugged. It actually comes out of the wash, like a pair of jeans, with a shake and it totally wearable! 


Above you can see the hem band and I will do a post on how I managed that deep, shaped hem and the bumpouts in a few days. 


The arms and neckline were simply bound with a muslin quilting print turned and topstitched. 


This dress has no zipper and easily slips over my head. I did not use the facings included and simply pressed open the serged seams and catchstitched them down. 

Edited to add that I just did a blogpost on how to alter an A line shape for bumpouts. Here:


In conclusion:

Lots of good take aways from my first ever wearable muslin making. 
   *It IS wearable, not perfectly fitting, but wearable. 

   *I need to raise the armscye to prevent bra show. 

   * I like the bumpouts but will make them a bit more shallow in the "good" version.

   *I LOVE the wide hem band. It is not from the pattern. I added that change. 

   * I will remove some volume from the back only. My SIL and I did some playing around and that    was much better.

   *I will make the next one shorter. I really thought this would be mid calf but it's not. Up it goes! 

   * I love the back neckline. I used to think my back was my best feature and still decent enough to bare on a hot day.  But not anymore..........My arms are my best feature. They have held more babies, comforted many fevers, hugged in wild passion, wrapped around the dying, and stitched probably a million stitches. You judge for yourself but I think they are my best feature. 


Tuesday, September 25, 2018

Sharing a Tip


Sometimes you reach the end of a project and just want to get it over with. Let's say just the buttonholes or closures are left. I've used this technique numerous times and I think it is pretty satisfactory.

Imagine you have to put in the buttonholes in the above fabric but you still have in your machine the white thread from attaching the white lining. You are at the end of the project and just want to A: be done  with it; B: are tired of changing thread colors; or C: you are just a fussy little pill like me.  Enter Inktense Pencils, (NAYY).


These are pencils you can draw with, dab a bit of water on and they become paints. You can then heat set them for permanency. 


You'll need the pencils, which come in metallic as well as regular colors. They are a bit pricey  but have really earned their keep in my studio. For this technique you will need a fine little paintbrush and some clean water.


You simply draw on the white threads, dab with a tiny bit of water on the paint brush, then iron. You can see how bright the original white is on the stitching I ignored, but the other lines of stitching blend in rather well and from a galloping horse, who'd know? That upper right yellow flower had that black spot on it so I did it with a black pencil to be true to the fabric. I used the gold metallic on the line in the upper left corner and while not perfect, it hides the white thread well enough.

The downside to these pencils is the colors they come in. I got the middle size box and the metallics but there was no turquoise blue, so I used instead a greenish color from the metallic box and it was not half bad.  If you are going to use this technique, definitely play a bit with a scrap to get the right pencil colors for your print. The tips of the pencils are not always representative and the goal with these originally is watercolor painting so keep that in mind. Colors are not saturated so a healthy application of the pencil is needed. When all done coloring and painting, iron the piece dry with a press cloth on as high a heat as the fabric will take for about ten seconds. Should be good to go!

******************************************


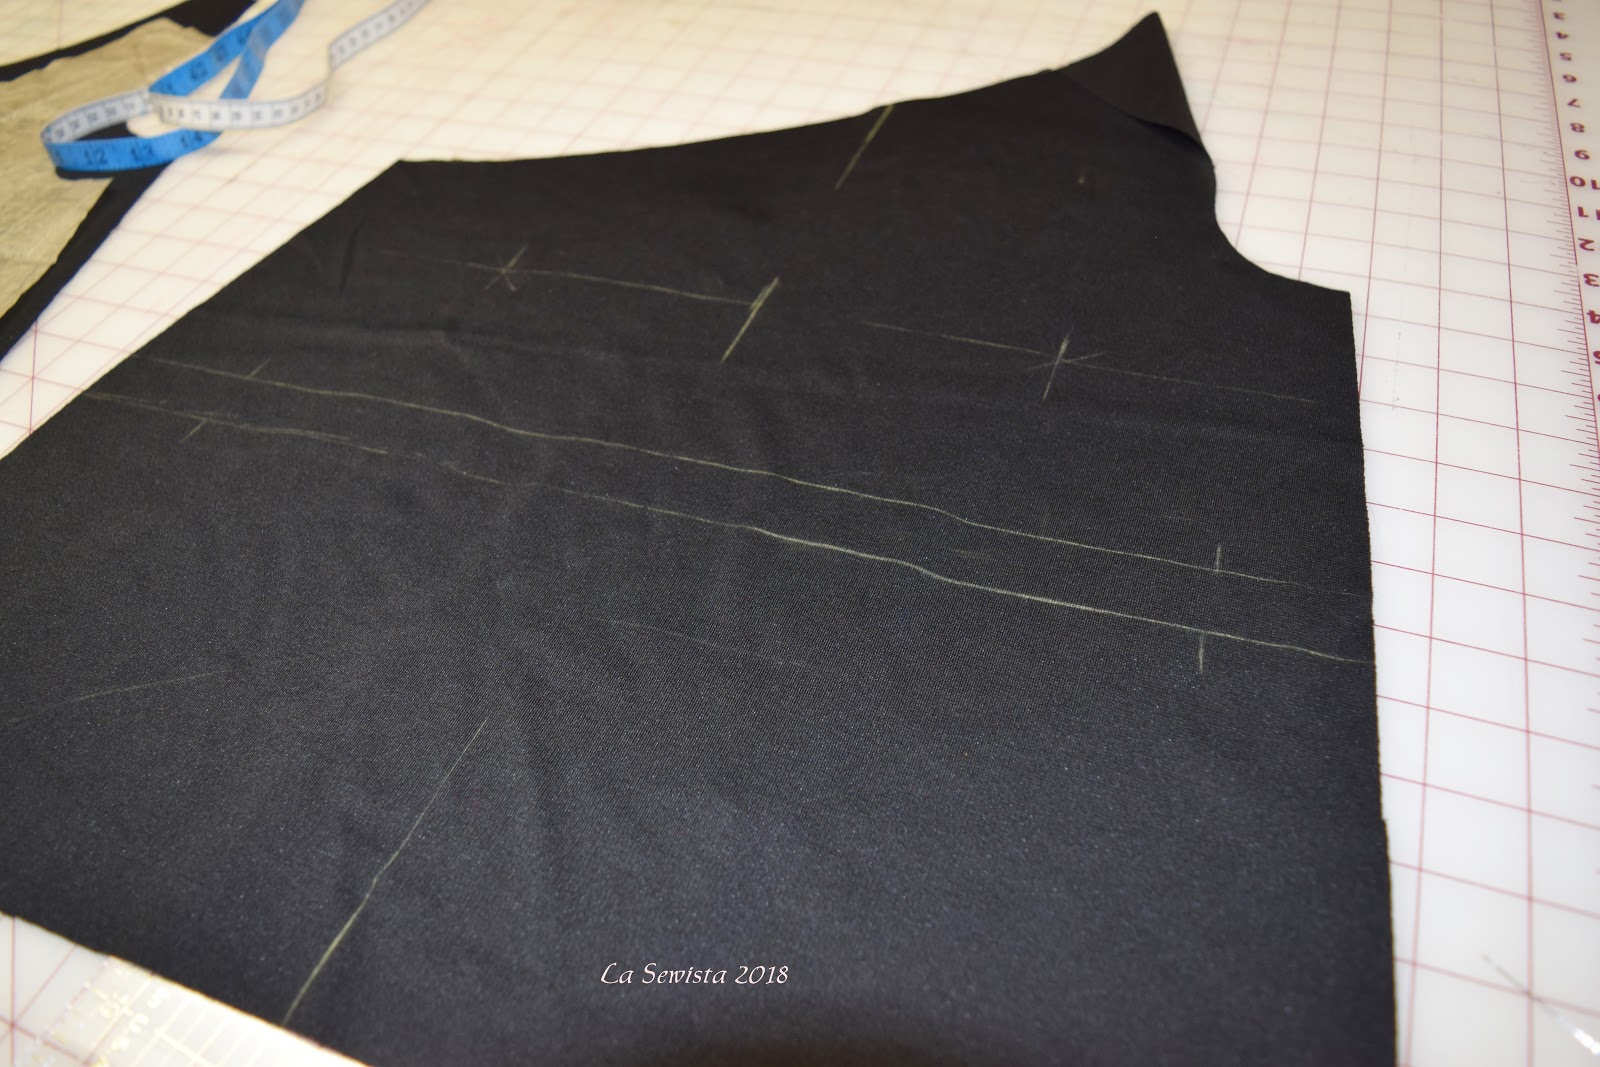
Got all my lines marked on this one shouldered top and realized I don't need bust points marked on the back! Wrong piece! Happens to all, right?..................Bunny

Saturday, October 15, 2016

A bit of fabric painting

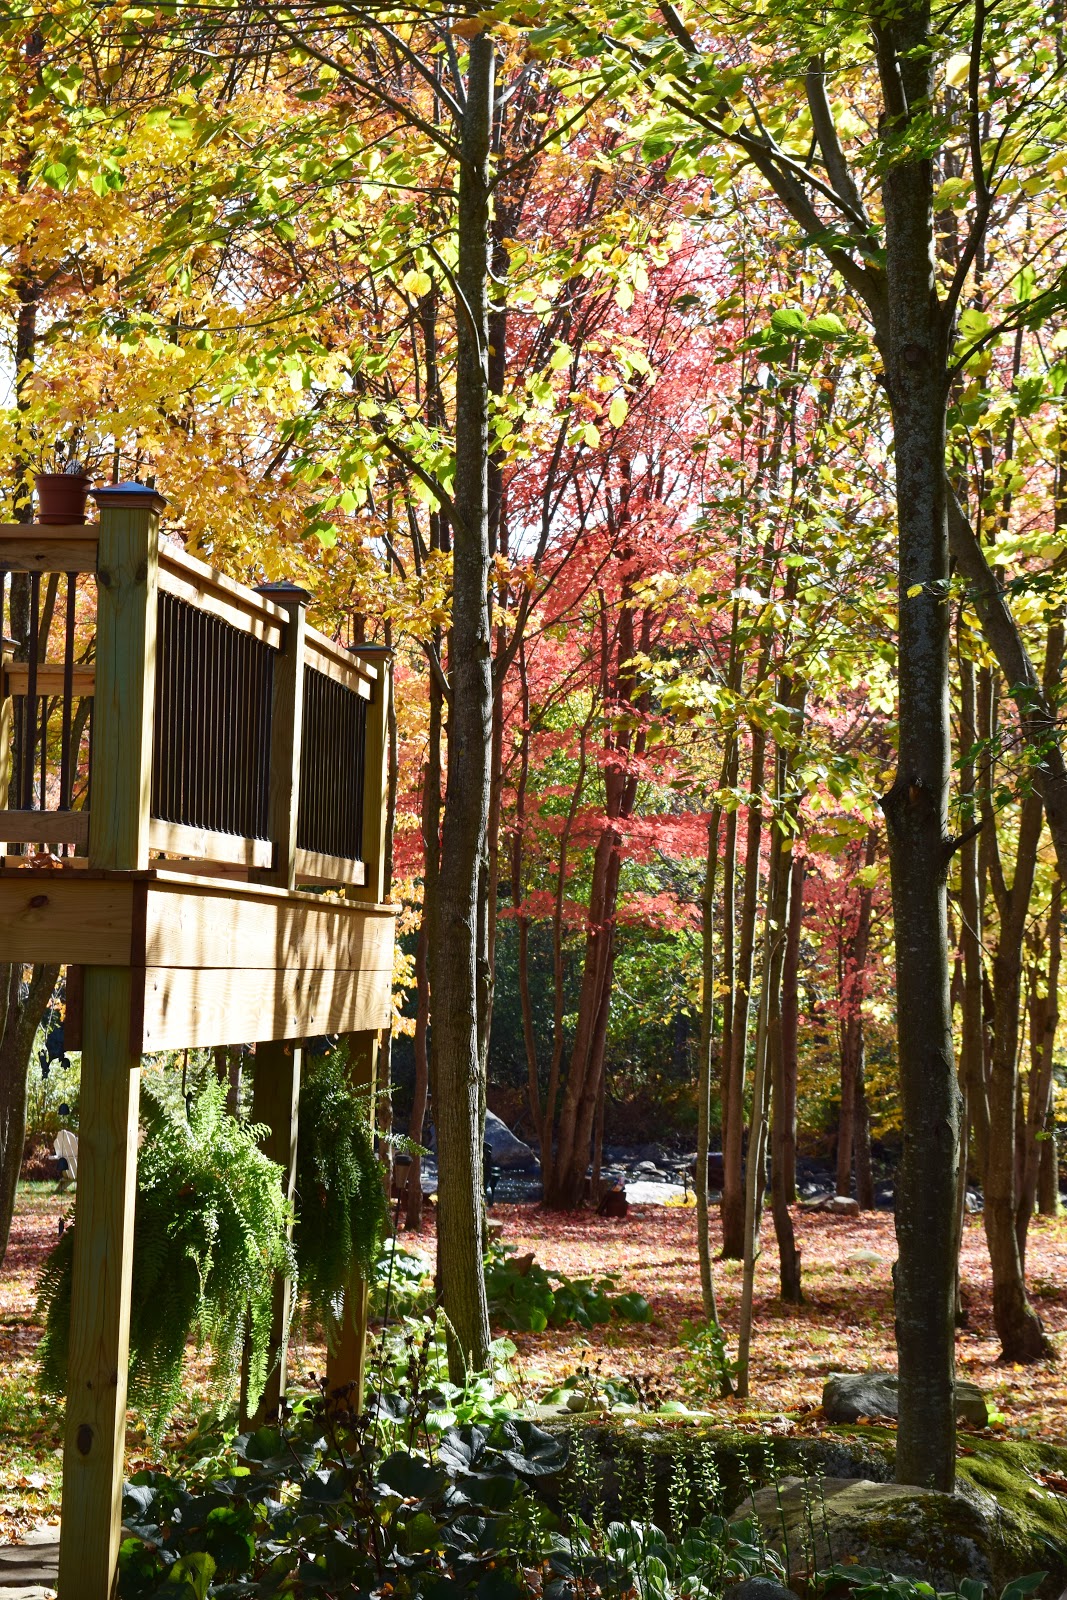
Let's start with a salute to the incredible colors of fall in the Northeast. We are in peak color right now. Early in the morning the surrounding "earth" is just golden with the morning glow and the changing colors of fall. It is spectacular.

Maybe that's why I was inspired to paint this weekend. I didn't do much painting because this is only a small project, but I enjoyed it nonetheless.

Several months back I found this unique fabric at Joanns. It was in with the "faux leathers". It is made from 100% rayon for the top fabric and definitely has a leather look to it.  Who knew rayon could look like leather?  In reality it is a quilted leather look, even better. I knew when I bought it I wanted to paint it and I knew I wanted it to be some sort of bag. You can see here where I traced out the outline of a flap for an NCW wallet. Another gift? Maybe mine? Not sure but it will be fun to make.
I started by building my paint palette. I took the lid from an old candy can and covered it with low tack tape. Masking tape would be fine as well. Why? Well, it gives the paints a bit of texture to be rubbed off on. ( There's something grammatically wrong about that last sentence.) I am going to use Shiva Paint Sticks.

Shiva paint sticks are oil paints in stick form. They are unique in that they have a skin that forms, preventing them from drying up into little blobs of pigment. You remove the skin with a vegetable peeler. This exposes the moist paint which you then rub on the textured tape on your palette. They have a rather lovely glow and allow the base to show through the paint. They are usually put down with stencil brushes and that is what I did. They can be blended in the palette like any other oil paint. Downside? They take a long time to fully dry. A heavy application can take a week to dry. Once dry you heat set them to make the paints permanent and they are permanent.

 Once I was done with the Shiva paint sticks I moved on to Lumiere fabric paints. I needed the finesse of a thinner brush and thinner paint and the both are made permanent by heat seting so they are both used on this project.

I took the tape out of the lid and used it for the palette for the Lumiere dyes. The white you see in the lid is textile medium.


Here's the completed flap. It will dry for a week before being heat set with an iron. It has that Jorge Guttierez  look which pleases me. I love his work and he has really been inspiring me lately. We will see how the final project looks.

ETA: Here is a link from Dharma Trading with more info on the paint sticks.

Right now I am waiting for the frames to insert into the Boy Bags which are complete otherwise. The diaper bag is off to its recipient and I thank all of you for the lovely comments. I will leave you with a few pics around the yard of our lovely Fall colors:


It is really a gorgeous time of year.........


. Most of the furniture has been put away till next year but I am still holding on to my underdeck porch, my favorite place for a quiet moment.............Bunny

Sunday, April 17, 2016

Vogue 8823, the Cobalt Bling bag

 The above pic was taken at 5:30 this morning. I couldn't sleep, grabbed my coffee and started painting, still in my jammies! I couldn't wait to get moving on this project and it did make for a quiet morning meditation. I am making Vogue 8823, a Marcy Tilton bag design. I will be doing View G. Some of the views are incredibly huge but this view really is a simple tote, or at least it was before I got my hands on it. The bottom band will be a faux leather as will the strap and tabs. All sorts of other options  were auditioned. but my artist friend, without knowing my decision , picked the faux leather as well. The rest of the bag will be made from heavy bull denim in an off white. I've painted/stenciled the center panel and the top panel will be just the plain  off white denim. The line drawing  for view G helps explain this a little better.
I won't be following the directions. They have you put in the zipper once the bag is constructed, sides and all. The pattern tells you to do one side at a time, once thee bag is all constructed. I don't know. You would be working on the whole bag under the presser foot while putting in the zipper, very very bulky work and looking very prone to error. The other issue with this design is that the lining is laid on the flat bag before sewing up the sides and zipper. Then you are instructed to sew the sides and corners on the serger, not quite like the lining I envision for this. So I will be making a separately hanging lining that will simply drop in. I'll hand stitch it in around the top if necessary but I am hoping some simple top stitching may do the trick. Fingers crossed here.

Here are my supplies for the artwork and fabrics.


At this point the painting is all done. It was not complicated. I've stencilled a lot of fabric back in the day but this was not quite such an artistic endeavor. All I wanted was to have a design in a saturated cobalt blue and I've achieved that with these paints. They are Americana acrylic paints in "ultramarine blue". The stenciling style I usually use is much more painterly. I like to softly blend and shade various colors with layering. It's a very pretty soft effect but I wasn't going for that look here.This time I wanted bold, saturated color and it was simply a matter of painting on the one color in all the cut out spaces. The firmness of the stencil brush makes sure you get paint into all the nooks and crannies. the stencil has frog tape on it so it stays in place while painting. It really was quite easy.


I will let these two pieces dry 24 hours, overnight, and tomorrow will treat them to be permanent. The way I do that is to make a mix of half water and half white vinegar. I soak a cotton press cloth in the vinegar mixture and wring it out. I then Put a towel down on the ironing board, one that I won't mind ruining. On top of the towel will go the two stencilled pieces. Then the vinegar soaked cloth is placed on top. The iron is set to cotton, no steam and pressed until the vinegar cloth is bone dry. Soak the cloth again in the vinegar mixture and iron dry over and over until all sections of the pieces have been treated. I haven't done this with heavily painted saturated color like this so fingers crossed. The technique has worked well on more traditional stenciling I have done. We shall see!
********************************
Today is the first warm weather here since last fall. My husband and I worked outside today and it was wonderful. I lasted until my side started to really complain about my gardening activity. I definitely quit at that sign and went back to the sewing cave for the rest of the afternoon. I'll see if I can get a little more gardening and sewing done tomorrow. It is just a sin to stay inside on such a glorious day. Tomorrow I also have to do a "field trip" to take some photos for the digital photography class I am taking. We have homework each week! He's a great teacher and I am learning a lot. I can't wait till we get into analyzing our photos with him and he knows I want to concentrate on macro shots, the better to show details here on the blog. 
*******************************************
You know that skirt I wrote about last week? I do love it. The last time I wore it the waist was huge. What the heck happened? It didn't stretch out as it was all taped to prevent that and well interfaced. I have to take two whole  inches out of the waist now. Luckily I put a seam in the back waistband so it should be pretty easy. But what happened? Well, my BFF figured it out. She said my stomach was swollen from the kitchen island attack and now the swelling is down. Duh,,,,,,,, I guess that's a good sign!............Bunny

Monday, September 7, 2015

Simp 2153, the No Grain, No Pain jean jacket upcycle!


This has been a fun, no rules  project every step of the way. I am pleased with the outcome and as soon as the weather cools a bit I'll have a great throw on  jacket for going to the town dump or a run for groceries. I really didn't follow the pattern or a lot of rules you would normally follow when sewing but that was the whole point. Girls just wanna have fun! Let me share all the fun deets with you.


Pattern:
This is Simplicity 2153 and my third iteration. The first was my winner for the Threads Fall Jacket Challenge. Then I couldn't resist using it for the Ikat Jacket you can see here.  Have you figured out  I love this pattern yet? I wear these two jackets A LOT. I think every sewist needs a good anorak pattern in her stash of TNTs (Tried and True patterns). It is such a versatile style and I think you would agree that the three variations are each quite different. And, I've yet to make it in rain gear or a woolen winter version! I will let the two links tell you about the pattern. I wanna get on to the fun!;)

For this design I did not follow the pattern at all. The collar is my own design and the rest, well, it is whatever landed where I put it!

Fabric:
For this garment I went to our local St. Vinnie's, a weekly Friday habit I have before I go to work, and for one dollar got a XXL sized man's acid washed jean jacket that looked like it had never been worn. Score! It had to have enough fabric for a jacket for five foot tall me, or so I hoped. I pulled out my trusty box cutter and started to take apart every seam. I've seen a lot of jean upcycles and the tutorials usually have you just hacking out the pieces with your scissors. In the case of this jacket I wanted to preserve the very dark seam allowances hiding under all those acid washed flat felled seams. So, I ran the edge of the box cutter blade along the felled seam while the garment was flat on the table. One evening to do that and a bit of TV and every section was apart and preserved. I did not take apart the smaller details, like tabs, waistbands, pockets, etc. I did take those and re-place them in non traditional spots on the bodice and sleeves, very unlike the "normal" jean jacket. I used them to bring balance around the jacket. As a matter of fact, all the pieces of the original jacket were reused but in different ways from the original.

The jacket is not lined. What jean jackets are? But I  did do a Hong Kong finish on the side and sleeve seams. I also faced the hem as well as bound the neck seam and for those tasks I used some quilting cotton in the stash. This was all part of my effort to deal with the bulk and keep it down.

Construction:
The first decision for making this jacket is I broke all the rules, really. After all the pieces were cut out from the original I decided on a three prong plan of attack, first piecing it back together, then painting what I had pieced, and then final embellishment from additional stitching.


The closure is a center front heavy aluminum jacket zipper from Zipper Shipper.  One one side of the zip is the original button band. On the other is the waistband from the original jacket.  One bodice front was used for a sleeve, Tabs were placed wherever I needed a bit of balance. No rules, remember! All of this had to fill each piece of the Simplicity pattern and it took a bit of ingenuity to make that work. Pieces were added from scraps here and there and for the collar I used a bit of old denim from some of hubby's discarded jeans. I like the contrast it gives on the collar.
Speaking of that collar:
  I love it. This was the one area I didn't have a clue how to make work. In the end I pieced what I had left in scraps to make a collar about 175% the size of the original pattern collar. It was at least 12 inches longer and 2-3 inches wider. I then connected it to the jacket with lots of lapped zigzagging. Tucks were made at the neckline sides to make the big long collar fit into the much shorter neck. I left one side longer to get that asymmetrical thing happening and closed it all with a rivet button and thread loop. I love how it turned out, the contrast from hubby's jeans and how the point falls right between the two buttons. A bias strip covers the zigzagging.

Sleeves were sewn on using a mock flat fell. First I serged the edge of the sleeve. Then I stitched it into the armscye. I trimmed back the non serged layer and pressed the serged layer over it. I then double topstitched from the outside. The sleeve seams were bound HK style. I did all this topstitching and edge stitching without the aid of my edge stitching foot. Talk about withdrawal, but my Pfaff was in the spa and my Kenmore, a bit of a monster, was better at dealing with heavy bulk anyway. So all top and edge stitching are eyeballed. 

With piecing done it was time to switch gears to painting. I used Lumiere paints and just brushed them on in the direction of the twill. It filled in better that way.  I used a hard stencil brush to get the paint down into the fabric.  I also used a smaller stiff brush to paint into a lot of the flat felled seams to give them a bit more dimension.This was totally hit and miss and really took no time other than drying and getting heat set with the iron. Easy peasy!


 Finally it was time for Phase Three, the stitching embellishment. This was simply back and forth straight stitching.  and some odd zigzags here and there like you can see above. This also went rather quickly . In areas where a lot of bulk happened I literally cut out some of the layers and pieced in a single layer of denim. On these areas I topstitched with big zigzags to cover up the cut away areas. You really can't see them at all. This was very necessary where the above pocket and its flap went into the armscye seam allowance. I also banged a lot of the bulk out with a hammer and the cement basement floor. If you give yourself permission to sew rough and ready, it all works out in the end, at least if it is a conscious decision. Accidentally, not so much. 

When I installed the zip I really didn't have room for a second line of topstitching. So I decided to do some more of the embellishment zigzagging in the zip seam allowance to further secure it. This is a heavy jacket and it definitely needed more than one line of  stitching to keep the zip from being pulled out. In this pic you can see where I did that in the SA left and right of the zip with the red arrows.  That band left of the zip is the bottom band of the original jean jacket. 

Conclusion:
I REALLY enjoyed throwing out the rules, getting all asymmetrical and painterly, and just having fun making this version of anorak pattern Simp 2153. Just for the creative joy of it all, I would suggest this type of project, with any pattern. First, find your garment and a simple pattern. Then do the piecing, painting and stitching in that order. Don't get all couture-y and just enjoy the creative flow of it all. 

******************************
 It did take forever to get this jacket done, didn't it? We are now done with all construction and landscaping and are really happy with those results. We have had loads of guests as well as travelled out twice this month  to New Hampshire and Mass. for long weekends with family. Hubby has been having extended health issues that hopefully will be relieved soon. Then there was dealing with the whole excaped prisoner debacle right in our neighborhood and at work and everywhere else we travel in the area.  IT'S BEEN A BUSY SUMMER! But I am now ready to get back to sewing and our usual quiet lifestyle. I am looking forward to all sorts of projects and can't wait to share them with you. Next up is a Marcy Tilton top. It's flat pattern measured, cut out and ready for interfacing. More to come. It feels good to be back and I hope you all had a wonderful summer. Happy Labor Day!...Bunny

Saturday, November 15, 2014

Some Surface Embellishment, maybe....


Have you ever been on an Artist's Studio Tour? I have been on a few and went on one today that was really wonderful. The tours invite you (free)  into the studios of professional artists where you can discuss their work, see them working, and of course, buy their efforts. It is very inspirational and great fun. There is something about craft fairs that leaves me lukewarm the past few years. There always seems to be a sea of quilting cotton placemats for sale on myriad tables. And of course, what craft fair would be genuine without those Christmas elf crocheted toilet paper covers? Bless these people for working so hard at their craft but that type of thing just doesn't do it for me. Sometimes there are gems lurking at these craft fairs  but when they realize how talented and marketable they are, those artists jump on the studio tour bandwagon. I've never been disappointed on one of these tours as all the artists are truly professional and so talented.

Today I saw dyers, beaders, glass fusers, a young man who cut big blocks of linoleum into fabulous designs,  a couple of wonderful photographers, painters, print makers and more. It was truly inspirational.  Suddenly my purple wool jacket seemed a bit blah.

I think I have the fit worked out now with the FBA added and a swayback adjustment. I am also going to make the darts at the neck shorter which should give me more ruffle around the neck and not accentuate my sloping shoulders as much. I will also wear shoulder pads. Muslin #3 got darts and no darts. The no waist dart version hung much better on me as it did on the three other versions I have seen. I haven't seen anyone make it with the darts yet. I did add a bust dart in front as well but no waist darts will be found.


Another reason to catch one of these studio tours, if you can, is the refreshing jolt of creativity it gives you. My brain is totally refreshed and energized with ideas. Truthfully, the past couple of weeks I have been looking at my purple/blue wool and just thinking it is a sea of darkness. I've been toying with several ideas for adding surface embellishment to the jacket and today came home and played with my paints. What originally sparked me to think about painting or doing something to the fabric was this picture below of Sandra Betzina's jacket. She took out the darts and sleeve ruffles and  had this incredible fabric  that really enhanced the design. I've also noticed that all of the great versions I have seen of this jacket were prints. Who am I to argue with success?


I have this twig stencil and pulled out various types of paints to see what I would get. The one above is actually silver oil paint dry brushed on to the wool. I love painting fabrics with oil paints. I love oil paints and that smell of linseed can envelope me any time. For some reason the painting looks really clunky in the photos but it is really a finer design in real life. The one with the silver paint looks very natural, lets the wool not look painted and Hubs loved it. 


On this one I used Lumiere metallic turquoise textile paint. It was a bit clunky and I think would give a better print if I had mixed it up a bit better. I love these colors together. And last and least...........


This is white Jacquard textile paint. I mixed it with fabric medium and it really was too runny but that is why we experiment and do samples.

Which one will I pick? Not sure because I am also considering some non paint options for embellishment, maybe some fancy threads to serge the edges with or some couching. I'm still letting ideas flow and playing. I want this to be everyday wearable but not a sea of midnight. I will keep you  posted. The jacket is all cut out............Bunny


The Ray Pinafore, 2025's Epic Fail

  Happy New Year and welcome to my epic fail of 2026. I guess you have to have one, right? This is the Ray Pinafore from Paper Theory Patter...