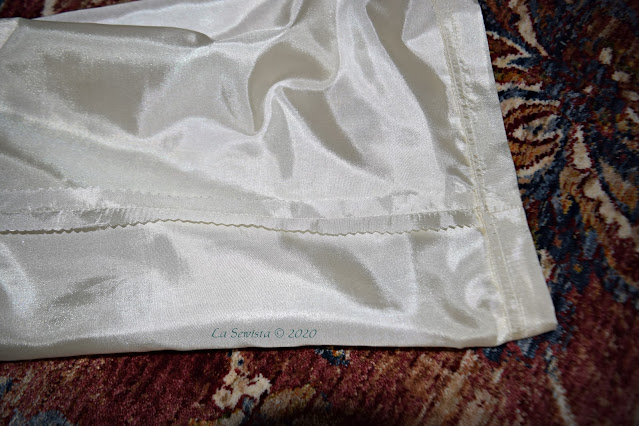
While this may not be the most attractive undergarment you will ever own (it could be) I guarantee you will get miles of use out of it. I have really come to appreciate the value of pants slips. Why bother with pants slips?
* They save sewing time. You don't have to line every pair of pants that needs
a lining. Just finish your seams and wear a pants slip and you have all the
benefits of a lined pair of pants.
* They offer versatility. Sometimes, in my cold climate, I wear pants with tights
underneath AND a pants slip for extra warmth. The pants glide right over the tights with the slip. Pants slips smoosh right down and can even be worn very unobtrusively with jeans, when you need just a little extra warmth in winter.
* They give you choice. Sometimes, in summer, I wear my linen pants with a pants
slip, sometimes I don't. All depends on weather and such.
* Because She said so! Who is she? Claire Shaeffer, that's who! When I took my
Chanel class with the great Claire, one of the students, a college level textiles
professor, asked about lining couture pants. Claire informed us that couture pants
were not lined and were always worn with pants slips. She said she wore pants
slips for all her pants. That was the real clincher for me.
So, for those reasons, I am a pant slip aficionado and just made another pair. I'll go over here how I did that and my philosophy regarding pants slips.
I am aware that pants slips can be made of tricots and silks and decorated with the most glorious of trims. My preference is to have something that will hold up to frequent laundering and worn with minimal fuss. I tend to use two different fabrics. My first choice is Bemberg rayon. It is reasonable in price, usually readily available, and comfortable to wear. Research tells me that many people find it warm. I don't and it is my favorite lining for most sewing projects. If I can't get my hands on it quickly, as in this case, one of those gotta sew it now moments, my second choice is an anti-static poly. I have used the version from Joanns and it has worked just fine, launders well, and I have not found it to be warm on my lower body. Just make sure the bolt end says anti static. This is what I have used today. I don't add trims as I want to make these as quickly as possible and spend my creativity on garments that are on my public side. I also don't want anything on these, as in trims, that will telegraph through to the public side of my pants.
The number one rule of making pantslips, IMO, is to have as little bulk as possible. Keep that in mind as you go through the process.
The pattern:
If you use the two fabrics I mention, they will smoosh under your pants and not be noticeable pretty much most of the time. It is ok if the pantslip is a bit bigger than your pant leg. I used my pants sloper, which you can see above, to cut my slip. Most of the pants that I would wear this with are straight legged and cut straight down from the hip curve that you can see above, so this liner will be smaller than most pants I will wear it with but still have room to move. Very important here--notice that the sloper has darts and there are two on the front and one on the back. You must have darts but you will not sew them!!!
For your casing you will need, preferably and hard to find, elastic CORDING, the type being used right now in masks. If you can't find that, you can use beading cording, which is very strong and what I used this time or 1/8th inch elastic. The cordings work best for bulk reduction.
Construction:
To keep bulk down, all seams were pinked only and given a hard press. I don't iron these. I just pull them from the dryer quickly, hand press, and they are fine. That poly seems to remember where the seams are suppose to lay from that original hard press. The hem is serged with a three thread finish, folded up an inch and a 1/4 and given a hard press as well.
I like my hem to end two inches above what any regular pant hem would be. You could make slips for cropped pants and slips for long pants, your decisions.
Above is the waist seam. The arrow points to the tuck that is made from the dart in the pattern.
Fold your darts into tucks that will lean in the OPPOSITE direction of the way your pants darts are ironed. Back to keeping bulk down here!
Your waist seam is 3/4 inch wide. It is serged or pinked and then folded to the inside and stitched to make a small casing. You may have to leave the side seams separate to get them to fold down without pulling. You will understand once you try it. It's OK. In other words when you stitch up the side and crotch seam stop when you reach the casing area and tie off. This makes it easier to fold down the casing.


