Right now I am working on a yarn dyed linen/cotton big shirt with a stand collar, my ode to the classic workshirt. I made a denim workshirt some years back and have worn it to death and will continue to use it around the house and in the garden. Love that shirt. This is it right here. It was made from McCalls 6613, great, classic, unisex "bigshirt" pattern.

The pattern has now been re-issued as a Butterick and has a different vibe being sent out on the cover. I think they would sell more patterns with the original cover photo. What do you think? Current cover below. I think the shape of View A is being made to look very A line, aka, tent-ish. It really is cut straight down from the armscye.
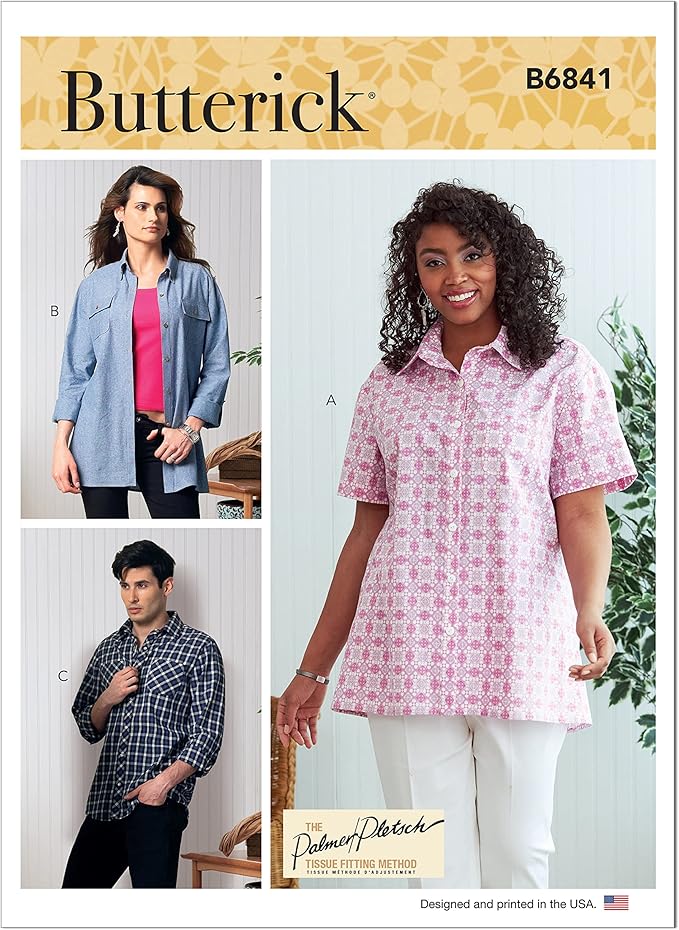
It is now being marketed as the, are you ready for this? Butterick Mister and Mrs. Fitted Shirt on Amazon. Those Amazonians need some help with their pattern marketing. There is NO FIT on this pattern, anywhere! It is a big ole shirt. There is not a dart anywhere on this shirt to be sewn. It is a perfect match to the original McCall when I laid them on top of each other, sold as unisex. I was referred on the McCalls site to this Butterick pattern as its actual replacement. Oy,,,,, rant over.
 |
Back to my handy dandy tip. This is a traditional collar with a stand. I use to sew quite a few of these but have pretty much put them aside the last few years. I needed to brush up on my skills for collars with stands. I remember Nancy Zieman literally drawing out the stitching line on that last inch on each side of the stand part of the collar. Doing that really helped me get equally sized matching shapes, once turned, and without points, something I was having a hard time with. Today I went to work on this detail of my shirt. My cutting table was messy with bits and pieces of all sorts of sewing detritis. As I picked up some leftovers of oaktag, it occurred to me, why not make a template for the collar stand out of the oaktag? It could be a permanent, easily trace-around-able object and kept with the pattern in the envelope for the next blouse iteration. Yes!! Why, I could even do this with every stand collar I ever make again, just paper clip the templates to the pattern piece for the stand and tuck those little templates right into the pattern envelope ! Here is how I went about it:
* I simply traced the last 4 or 5 inches of the collar stand pattern piece on to a piece of oak tag with a light pencil and the help of a curved acrylic ruler.
* I marked thru the tissue to get my large and small dots, center front lines an notches. I used my eyelet cutter to mark my dots. Making holes makes them reusable. The dark hole is my "large" hole. I cut two of these stand pieces out, one to copy the entire pattern piece end and one to make a template for the stitching lines. On the first piece we have marked all the needed markings and the template is used to match the cutting lines of the fabric and make the markings accurately.
*On the second piece of oaktag we will measure a 5/8th inch seam allowance out and cut the seam allowance off.

This piece will be used to mark the stitching line but can also be used to fussy cut the interfacing which I did not do here, just eyeballed it.
* I will paper clip the collar stand pattern piece and the oaktag templates together when done using them and put them into the pattern envelope until the next time. Fingers crossed! We'll see how the finished product affects accuracy. This is such a fussy area.....Bunny

We were lucky to be in the Azores when the hydrangeas were in full bloom. They were truly spectacular and miles and miles of roads are lined like this one. This is a simple farm road as seen everywhere. The hydrangeas run from the deepest purple to plums and bright blues and baby blues, breathtaking. They are everywhere....Bunny

I have given up trying to figure out what the pattern companies are doing or why. But that pattern! I made a great many shirts from that McCalls pattern. For many years I made my Dad a plaid (had to be a plaid with matched lines) flannel shirt for Christmas and a light weight one around Father's day. I made a number of cotton shirts for myself and others. It was my go-to shirt pattern for years. Take care. Jean
ReplyDeleteIt is a wonderful classic. I know I will make more. Why SD mucks things up, I don't know.
DeleteI always love your work, Bunny. When I make collars with stands, instead of rounding the top of the collar stand at the front, which is typical, I redraft it to make it basically a square. I extend the top edge horizontally (it usually angles down a bit at this point), and project the line of the front edge up. The resulting inside angle is not exactly 90 degrees, but a little bit wider. Because of the shape of the neck in relation to the torso, the straight front edge of the collar visually continues the fold of each side front up the base of the neck (if it's buttoned). And, it's easier for me to make two corners the same than two curves. I've seen plenty of men's shirts done this way and I actually like it more than the curve. (A photo would be worth a thousand words but I hope this makes sense.)
ReplyDeleteThat sounds so logical. I may have to play with this idea one afternoon. thank you, Mapmaker.
DeleteThanks for sharing! Great tip!😃
ReplyDeleteYou're welcome.
DeleteOMG! I *just* made a template for collar stands using a thin plastic cutting mat that I bought from the dollar store. I also had problems in getting each curve to match and thought making a template would help. Great minds!!
ReplyDeleteD'oh. Not anonymous (L from You Sew, Girl!)
DeleteI just checked your blog. If you are Nikki, I am so sorry for your loss and the challenges you are facing. How very difficult. If you work for Nikki, please pass on the same from me.
DeleteYes, I think our templates will make things a bit easier. Those plastic cutting mats are a great idea. I think a trip to the dollar store is in order!