
I finished this final Eureka top of the summer about 3 weeks ago. it was inspired by our trip to the Azores albeit a bit indirectly. I painted the yoke and here is how I went about that.
Pattern:
This is the much made Eureka top pattern from the Sewing Workshop. It appears to now be available only as a PDF but I purchased mine as a paper pattern at my local quilt shop. I believe this is my fourth iteration. It does not come with a yoke. That is a design detail I worked out myself to feature the painting. The pattern is easy, voluminous and very amenable to all sorts of creative posibilities. You are looking at the extra small which has a 40 inch bust. The next one I make may get some volume reduced just out of curiosity. All of the others I have made have been with the 40 inch bust and right now my measurements are traveling in the 34B lane. Ahhhh, the realities of gravity and age!

Fabric:
I came back from the Azores having seen hydrangeas in full bloom in shades of palest of lavenders to the deepest of midnight purple blues. Massive, decades old bushes lined the roadways, property borders, church yards and every possible demarcation imaginable, literally by the thousands and for miles. Backed by the colors of the ocean, the sky and terraced emerald fields, it was spectacular and it etched itself in my memory. I couldn't wait to translate it to fabric. Above are my initial efforts.
My second inspiration were the sewing ladies in Terceira island. They painted in the colors you see above on raw grayish linen and made distinct and lovely objects. I wanted to use the blues and lavenders but on the naturally colored linen like they did, not the white you see above. The top is my result.
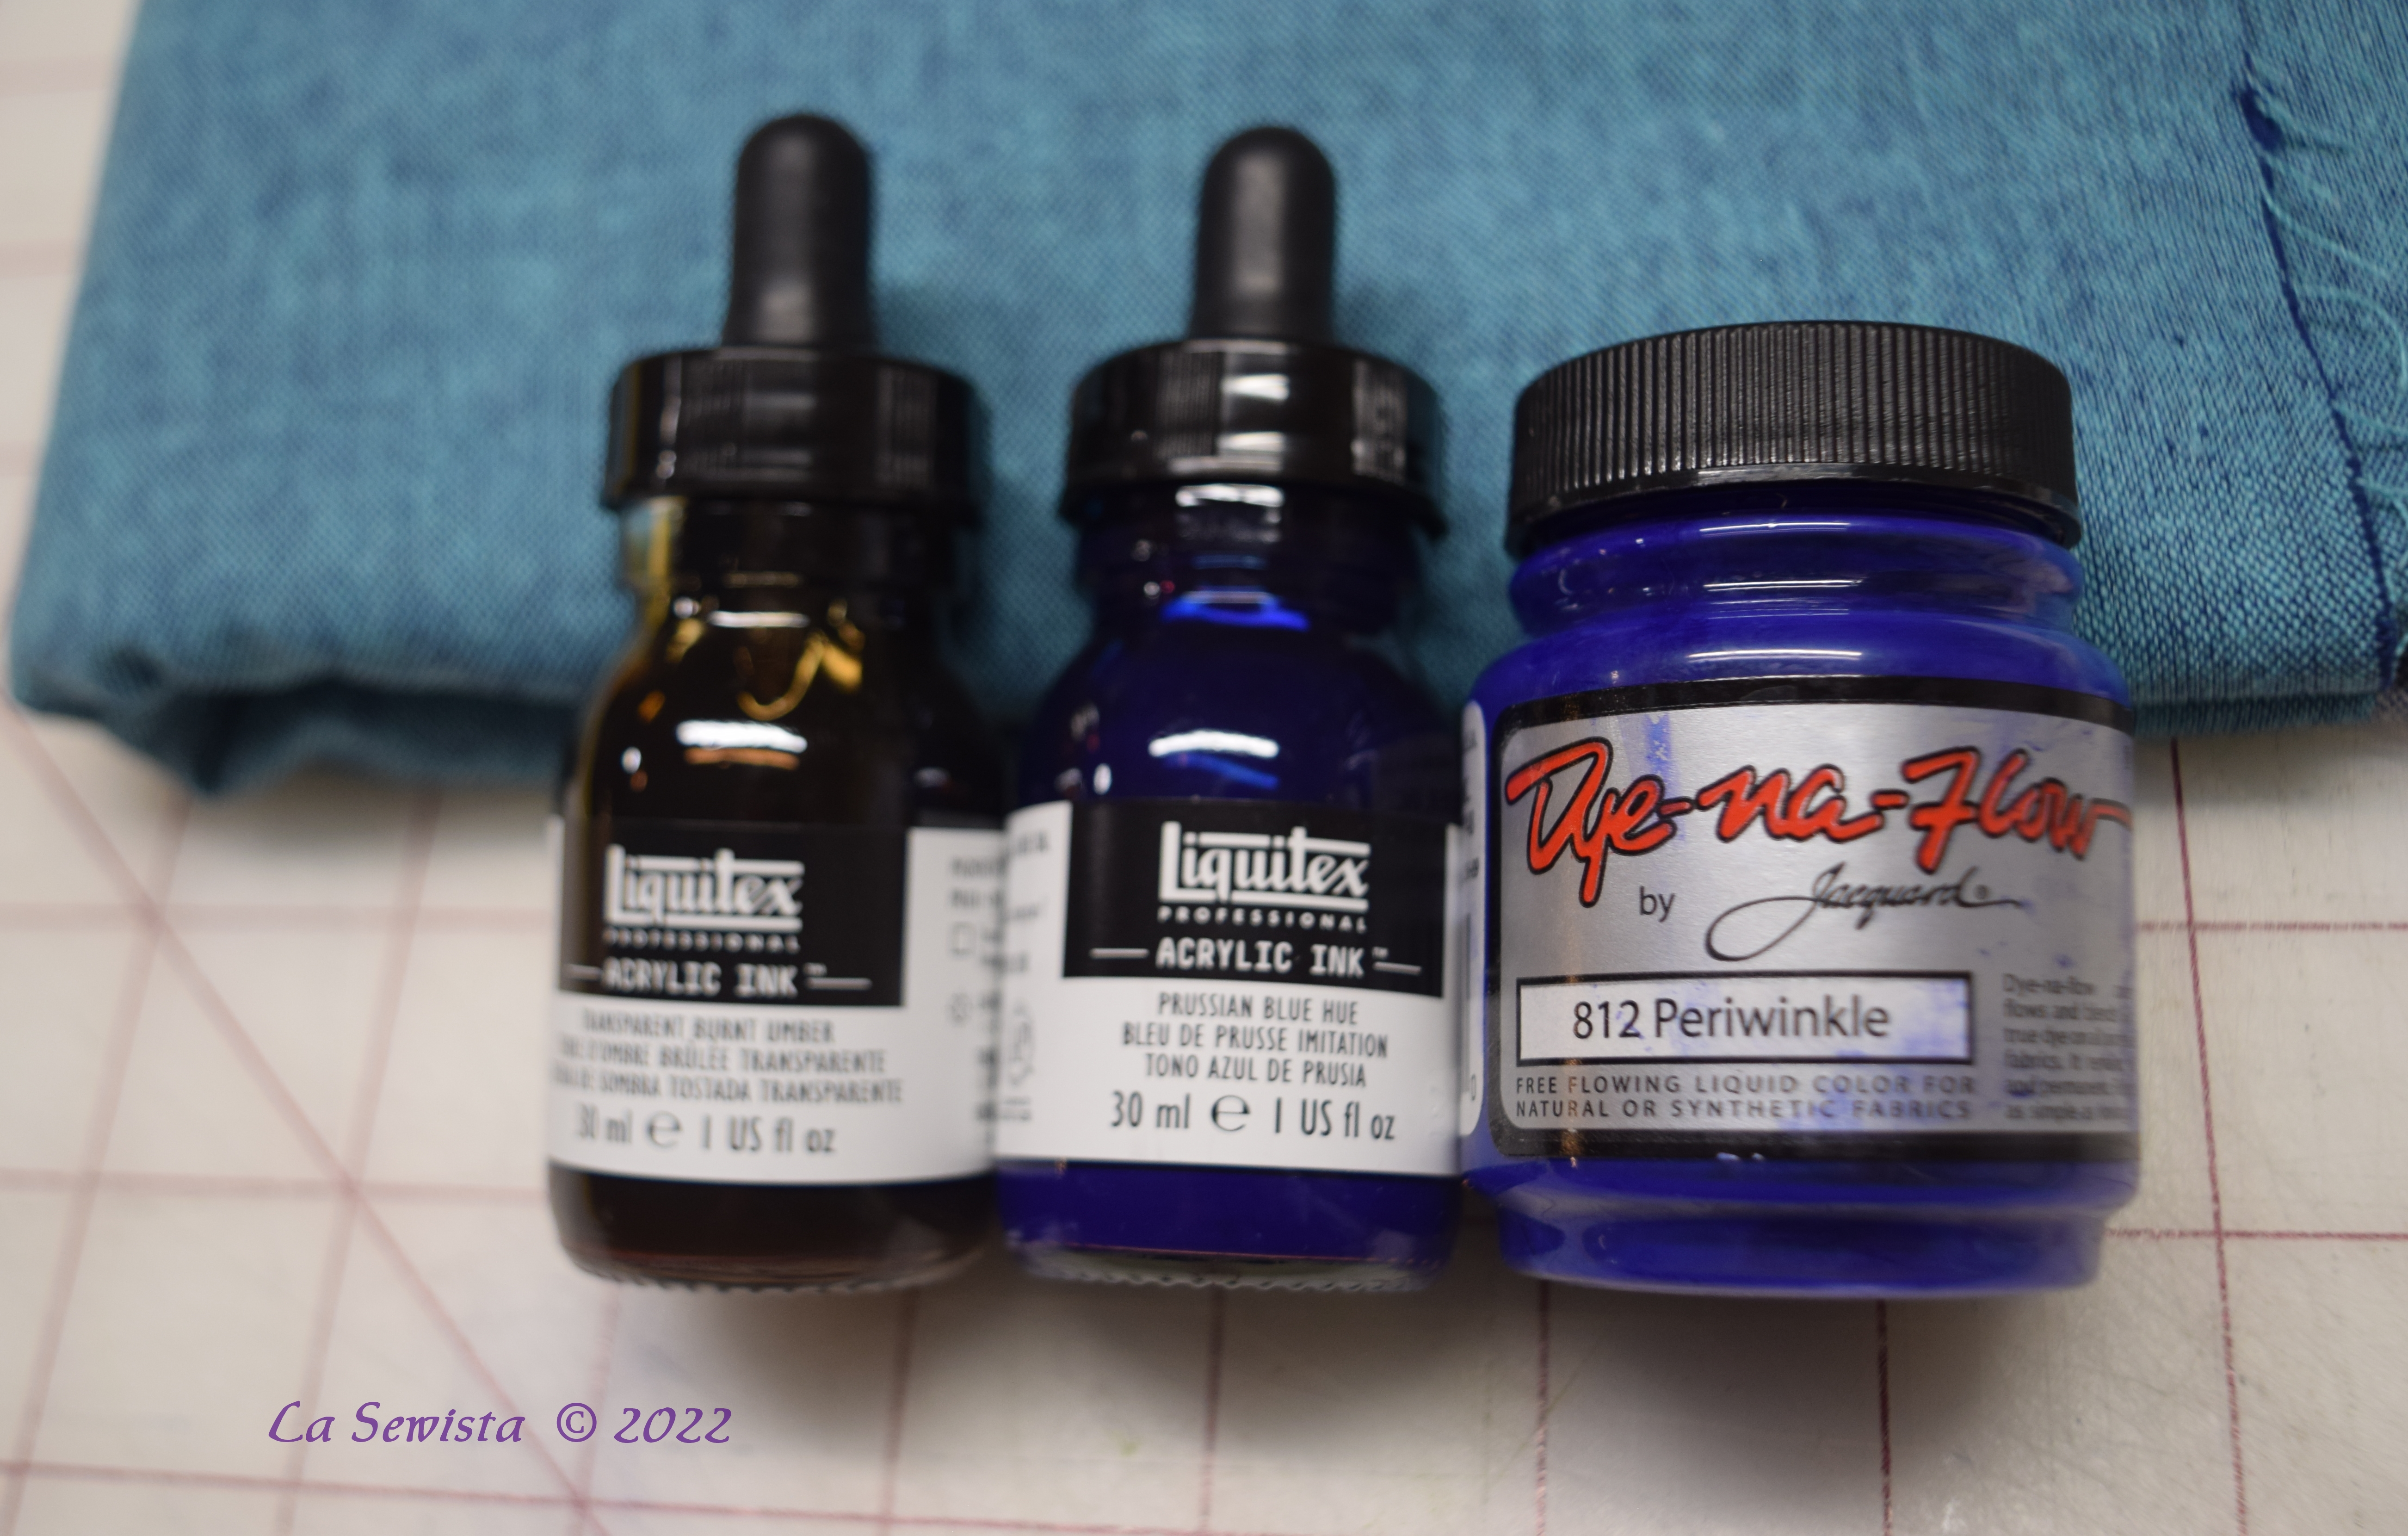
For the white linen I used acrylic inks from Liquitex which I love and dye-na-flow paints from Jacquard which are similar. These are of a watery conistency and extremely saturated. You can bring them down with water and they heat set with the iron or dryer. These are NOT alcohol inks. Alcohol inks will never set on fabric. You need acrylic inks for fabric painting.

But, in the end, I decided to use oil paints. I love painting fabric with oil based paints and it has always been my preferred method. It gives a depth of color and shading like no other option. In this case I used Shiva paint sticks which you can see above. These are a great product I have used for years. I have had what you see above for at least twenty years. I've also often used traditional artist's oil paints in tubes and like that just as well but there is a bit more clean up involved. Both paints last beautifully on fabric once treated.Here is how I do it: With the Shiva oil sticks I first remove the skin with a vegetable peeler. These sticks of paint last for decades and never dry out other than a thin film where they are exposed to the air. You remove enough of that skin with a peeler or paper towel to expose fresh paint. You then rub your stick on a palette or you rub a stiff brush on the actual stick, which is what I do because I work with so little at a time. What I did with this top was stenciling. I rub my brush on the stick, then rub the brush on a paper towel until nearly dry and then apply to the fabric, a dry brush technique. I build layer upon layer. I will add different colors over each other as I go along. Here I used blues and violets, like the hydrangeas, all of these paints being mildly irridescent. I dry brush my fabric with very stiff and hard to find stencil brushes in very small circular motions. It can take quite a while but gives lovely depth.
Once done, I leave the fabric to dry a complete week before doing anything else to it. Oil paints like that. After the week is up I will heat set the fabric with a press cloth and dry iron to a high linen setting. The cloth has been soaked in half white vinegar and half water and wrung out but still fairly wet. I lay it on the fabric and press until both the cloth and the fabric are bone dry. I then move to another space and do more of the same until done. You have to watch out for fumes. They are very nasty. Once the fabric is fully treated, I will proceed to make the garment or frame the picture or whatever required.
Construction:
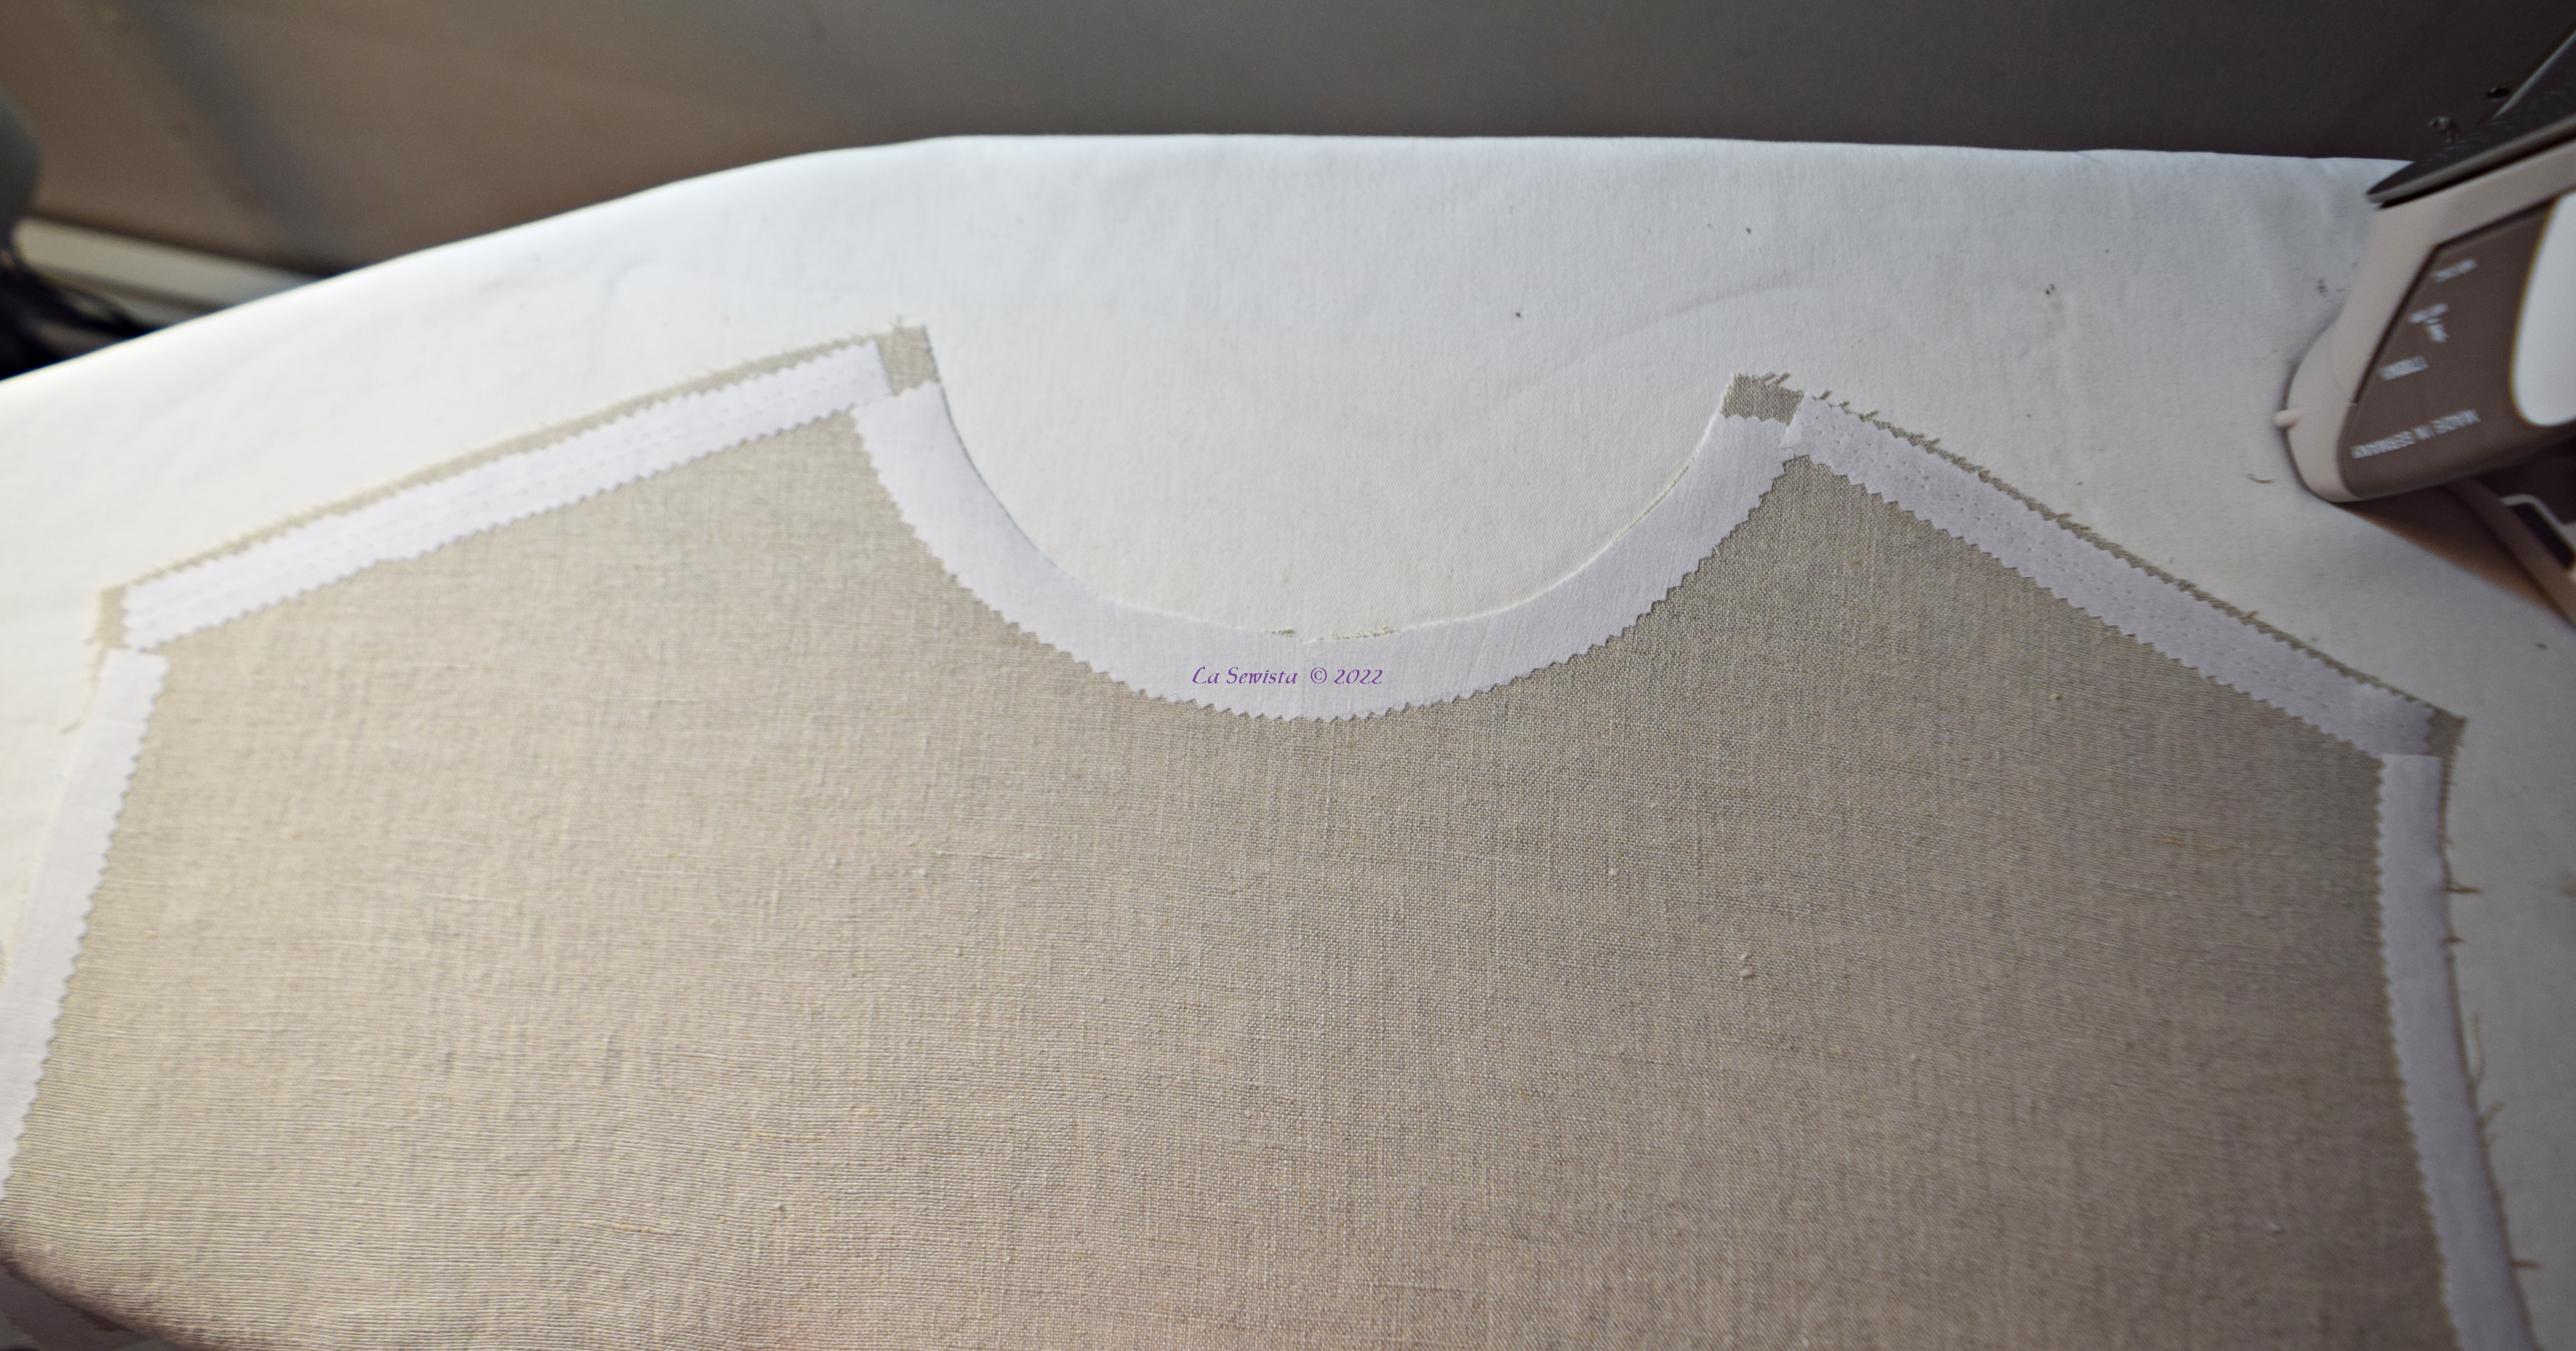
I found this linen really wanted to stretch out so I stayed all the curved edges with fusible woven interfacing.

This top needed a little bit of pop to pull it all together. Linen scraps in rust and the recent yarn dyed Essex linen which I think is called Danube worked well. I made a thin piping for around the neckline and a bias band coming from behind it out of the rust linen.

Let's chalk up another Eureka and call it the official end of summer. I've even packed it away by the time you are reading this. This weekend brought about the annual summer to winter closet changeovers and assessment but also included a nice hike among the autumn foliage amidst the crispy cool weather. My heart goes out to all of you dealing with the fickle ways of Madame Weather. May your burdens be light and short........Bunny


Love the piping under the neckband. Please share the details of how you sewed the two! TIA.
ReplyDeleteThanks, Mary. Hope all is well with you. That sounds like it would make a good blogpost. I also think I may be able to find something back in the older pages that have heirloom garments for my granchildren. If so, I will pop that up but doing a fresh tutorial sounds like a good idea as well. Thanks for that.
DeleteThanks Bunny! I am well and sewing every day. If you don't find an old post (I will admit I didn't search your "archives") I hope you will post the new tutorial soon!
DeleteDon't search. I could not find one specifically on inserting the piping between so will work on this. Thanks, Mary.
DeleteFantastic! I've made a few Eureka tops, too, but so far only in knits. I also have a couple of tops that were 'merch' at our church women's conferences which are straight up lengthened Eureka tops...straight lines, extended shoulders, cuffed up sleeve bands. Such a versatile pattern.
ReplyDeleteIt really is versatile. My sister has made a couple out of wooly sweater knits, really nice.
DeleteWow! This is so pretty, I'm basically speechless here.
ReplyDeleteThanks.
Delete