I haven't forgotten you, lovely sewing friends. I have been straight out with sewing for our vacation which is coming up soon. Add in gardening demands between the constant rain and blogging has been hard to work in to the priorities right now. But here we are and it's wonderful!
When I think of a Guayabera shirt on a man, visions of Antonio Banderas showing up on a wide cinematic screen in crispy white linen, on the beach with the wind blowing through his dark locks arise. There are also memories of my attending parties and events during the years I lived in Puerto Rico where gentlemen were at evening cookouts dressed in theses crisp white shirts with their beautiful embroidery, looking so comfortable and sharp. I was only ten or eleven years old but they struck an image for sure.

Old men, young men, they looked polished.
As we planned for vacation, my husband mentioned various times that he needed some "nice" shirts. Well, go get them. I made my husband a beautiful shirt years ago and he never wore it. He said he didn't get to pick out the fabric! I got off that horse pretty quick and here we are today. A couple weeks ago he said he wanted to go shirt shopping, online or whatever, but wanted a linen shirt. Where did that come from? I told him I could make him one. He seemed amenable. Then he started explaining it "look" to me. Lo and behold, it was a guayabera and I said, "I could make you a nice one." I quickly looked them up in images online, called him over, and he said , "THAT'S WHAT I WANT.". Alleluia!
Now, I have had some very good luck with linen from Joann's, shopping late season for bargains and never being dissatisfied with the quality. Off we went. He saw the linen, loved it and bought enough for two shirts! I bought a couple patterns later on. As we were walking to the cutting counter he spied the Red Sox fabric. He went crazy. Could I make one of those as well? This was all new territory for us, after all these years, and we were loving it. Throw the Red Sox into the cart as well. It will be my muslin!

I had the clerk cut this fabric first and because I went auto pilot, told her my standard 2 1/4 yards. When I got home I realized my mistake. It was not enough but I was able to make it work. I made no attempt at matching but hey, I think it's fine, just this once. I also came short on the sleeve width and had to futz with that.

I pieced in a wedge under each arm and trust me, no one at Fenway Park will ever know.

But I made up for it with my flat felled seams on the armscyes!
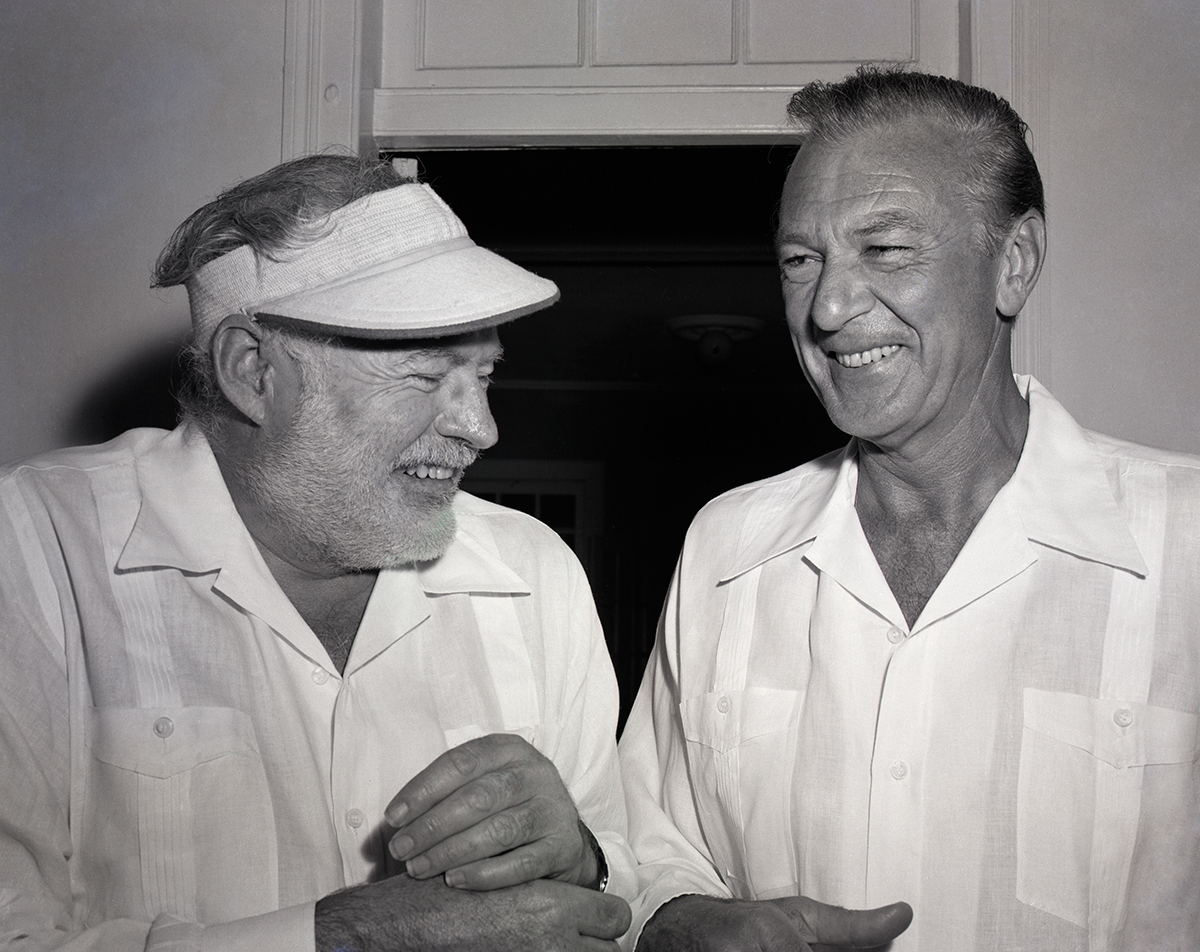
Now, with Ernest Hemingway and Gary Cooper being all comfortable in the Cuban heat in their Guayaberas and rum, let's get back to my Guayabera effort.
The fit worked out well on the Red Sox shirt other than the sleeves. We played with the length and while it was good enough, I found the sleeves baggy. The pattern I had used was Simplicity 9157.

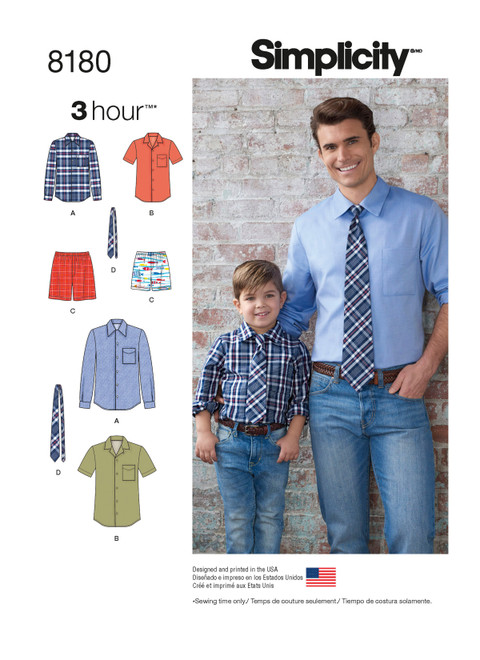
I went looking for another pattern. When I went to cut out my linen I used Simplicity 8180. It looks like a slimmer fit. Tissues were compared. It really isn't but the armscyes are a bit smaller and the the sleeves less wide. As always, flat pattern measuring was done before cutting. Hubs was taking a size 44. I did add an inch by putting in a pleat in the back to reach the same bodice width of the Red Sox muslin.
At this point all is cut and fused and collar made and now the embroidery. I do not have an embroidery machine. But, I do have embroidery stitches that are quite nice on my Pfaff. I gave this a lot of thought. Before I start explaining my method, here is a well writen, very fascinating article that I think any sewist would love, all about Guayaberas. Their look and the incredible construction of the best is clearly discussed and shown. Fabulous photos.
The Guayabera Shirt-A Report from our Man in Mexico
Since I have changed the pattern to have a yoke and plan to do a burrito construction, I had to rethink the sequence of construction. With the help of Karina at Lifting Pins and Needles and her vlog on the Donny Shirt Camp Collar. it should go well. To pull this off the first thing I have to do is the embellishment of the front bodice. Now, I made my mental plan before reading the article I just alluded to above. Reading that, I now know what artisan level Guayaberas look like and how they are made. But I think mine will be a combo of some decent skills, imagination, and what will please my husband after much discussion over pictures.
My plan is to make strips of embroidery that will then be sewn to the bodice of the shirt. The artisans would frown totally on this. No strips allowed.

These are some of my stitching samples. Samples taught me a light interfacing and a stabilizer would be needed. Below was my winner. Hubs really liked the darker, contrasting thread. Me, too.


To proceed, I first block fused a 36 x 9 inch strip of on grain linen to the lightest Fusi knit interfacing I could find. It is called EK130 Easy Knit. It is barely there and just right for this application to hide any ridges. Once fused I cut it down to two strips, 4x36. These were then folded to the middle and pressed firmly and clappered as you see above.

When doing work like this on linen, I revert to my heirloom sewing ways. This meant bringing in an ultra fine mechanical pencil, #2, for marking. I first flipped the strip over and had a ruler there to determine the exact middle of the strip. I used the mechanical pencil, #2, and placed the clear ruler on the strip and went down and placed one little dot every one inch. My touch was subtle. It gave me just enough for my machine to follow a straight line as I stitch the embroidery first. This is the only marking I did and it worked perfectly. Once that row was stitched down both strips. I used the markings on my presser foot to measure from the center of the embroidery to stitch a straight line down the strip. Those tiny pleats of the artisans were beyond me! I used the triple stitch to get a nice heavy line. I made lots of samples to get it just right. I will say I barely touched the strip as it sewed and let the machine just feed. It was amazing how straight it went. 3/4s of the way down the first strip I ran out of thread, my brand new spool emptying. I am off to the store to get lots more as soon as I am done here. What is done so far is looking really nice. Fingers crossed and more to come! Enjoy reading that article. It is quite interesting for any sewist. Happy sewing!.............................Bunny

Your blog is always an informative and delightful read. Will be looking forward to seeing the final Guayabera. Jean
ReplyDeleteThanks. My sewing goes in all directions. I am glad my husband has finally decided on working together to make him some clothing. It all started with mending his favorites to not look mended. Men hate to give up their favorite clothes, don't they?
DeleteI'm so excited about this! My son LOVES a guayabera and ordered one from Mexico for a wedding. I hadn't even thought of making one for him!
ReplyDeleteYou can do it, Carol. There are so many variations that you can find on a google search. The best are always linen. The most formal appear to have collar bands and collars, long tailored sleeves with French cuffs and cuff links. You can take it as far as you want to. My hubs had specific ideas that meant the camp collar and shorter sleeves, a lot easier!
DeleteHave just read the Permanent Style article and I'm excited! Although we are Midwesterners, our heritage is Hispanic. I'm thinking I'll do one in a neutral colorway and a second with more colorful embroidery. Thank you so much for the inspiration!!
DeleteI am so glad you were inspired. They are beautiful shirts. Today I finished the sleeves and should get the hem tomorrow. It is really turning out well and Hubs loves it so far. Can't wait to show everyone. Now to find buttons!
DeleteI just love the embroidered strips and your description of their construction, Bunny. I am inspired to play with the embroidery stitches on my machine to see what I can come up with. Your husband's choice from the samples is definitely the best, IMO. You always inspire!
ReplyDeleteWhat I often call the "heinous stitch", the one people often choose to use to stitch knits, at least until they have to rip out a line of it, is wonderful for topstitching. This is the stitch that goes over itself a couple of times. My samples weren't getting the best results, then I put in a second new needle for them and they came out really well. They are a great topstitch. My best advice here: make samples and use a stabilizer. I used Stitch and Ditch.
DeleteCool Article. Nice Job Thank you...... Bulk printing
ReplyDeleteSame here. I intend to play with the built-in embroidery stitches on my machine. I love making men’s shirts. Was glad to read you put in a back yoke. I would have done the same.
ReplyDeleteI was so devastated when my business was going down due to financial situation until I found Mr Pedro and his working loan company website then I contacted them via Email: pedroloanss@gmail.com and Telegram / whatsapp +393510140339 then I was given a terms and conditions on how there loans works, I was happy because they willing to fund my business with the amount of 86,000.00 Pounds with a loan repayment of 2% annual return to expand my business. The whole process was so transparent and swift. Gracias.
ReplyDeleteI will recommend them as professional loan lenders.
very rich
ReplyDeleteNice job!
ReplyDeleteSimple and informative explanation.
ReplyDelete