

Here are the two tops I just completed and their pattern review. First we will do a fun design with lots of potential for creativity, Simplicity 2059. This is a "lisette" pattern from 2011, their choice to not capitalize the name. In the fine print it says that "lisette" patterns are from LIESL AND CO. Not sure if they stuck with that branding. You can see from the pic that they are marketing with a quite youthful look but I think there are some really solid separates to sew in this pattern. It is no longer available from Simplicity or Liesl and Co. but there were quite a few on Etsy.
Pattern:

I chose to make View B, the top. It has a wide and deep back yoke and princess seams in the back bodice. Below the yoke is a gathered panel. You can see how easy it would be to play with those two features. I already have ideas for the next one! The front is a plain, solid panel and the whole bodice flares out a bit so some good tummy camouflage if you look for that sort of thing. I did some color blocking on the front bodice. The sleeves are long and cut generously. Half of the tops I make, I have to widen the biceps. On these I did not have to. They fit nicely. The neckline is an open circle but not one that shows straps, just the right size, in my opinion. One great thing about this woven top is that it had no closures at all, yay!
Fabric:

This is where I had my fun. I live near a true Shaker village and it is just 20 minutes and a beautiful ride from my home. My hubs and I went there last summer and in their lovely gift shop I picked up a beautiful tote bag. I had no desire at all to "tote" this bag. I was going to take it apart for the fabric. It was a cyanotype sun print of a group of young Shaker women laughing away as they sat in the back of an old pickup truck with their baskets of produce. It had the vivid blue of this type of fabric print and I just loved it and had it in a prominent place in my workroom waiting for the right inspo. I did not have a lot of this to play with so this took some time! When I did a pattern purge recently, which I pretty much undid later, I saw this pattern and thought it would be perfect. This could not be anything fussy or fancy, just casual like the cotton it was made out of and the smiling faces of the young women. I carefully took the tote bag apart and then started the journey for the rest of the top fabric. In the end I used nothing particularly attractive but it worked, a simple quilting cotton from my defunct and deeply missed local quilt shop, Quilted Threads. I would color block this and knew it would take some major Tetris to get it all to work. I was working with a border print for the remainder of the fabric.

Fit adjustments were minor:
Design changes:
* Did French seams wherever possible and serged the remainder.
* Faced the hem to keep length it was before hemming.
* Used scraps of the Shaker print to make a cuff look on sleeves.

* The Shaker print was used for the gathered back panel as well as a color blocked yoke and faced cuffs.
In Conclusion:
I've worn this a lot. It's a fun top and very comfortable. I think it is very conducive to some creativity. I would like to make it again and can see it in maybe an eyelet or white embroidery and then with a sheer panel gathered in the back or an overlay. Too late now, but next summer this pattern will definitely come back out. I loved the Shaker Ladies and it was great to use this textile this way.
Next:
The Mersis Top

When I finished the first Mersis dress, which you can see here, I was determined to make another version, a top, to test out my fit theories. It was well worth the effort and I really like this second version and its updates.
While trying to improve the fit I did a lot more research. There are many more pics of this pattern on Instagram that I did not see before. It is designed by Pattern Fantastique. I found similarities with my fit issues on many versions. I had to figure it out on my own .

I noticed this dress draped the best on more broad shouldered bodies which is not me. I saw a fair amount had the same draping issue of a radiant star falling from the bottom of the v neckline in the front and some the back as well. It did not seem to be a weight issue or size of the waist area or chest. My opinion is that the weight of the heavy sleeves on a narrow, sloping shouldered torso with a v neck in the front AND back just pulled the invisible dolman armscye down. It caused the bodice to collapse at center front at the bottom of the neckline. I also noticed in my web travels, while looking at patterns unrelated, that many garments with both a V-neck front and back, had some sort of tie or strap, some quite prominent, high on the neckline. They were on front or back in equal measure. One particularly attractive version was the Kajo sweater from Named. It has a thick strap across the back and V necks front and back. I had to redeem myself and test my theory out with a new version of the Mersis. I gave the tie a try and it worked. Here's the back view with the fit wrinkles from the v neck.

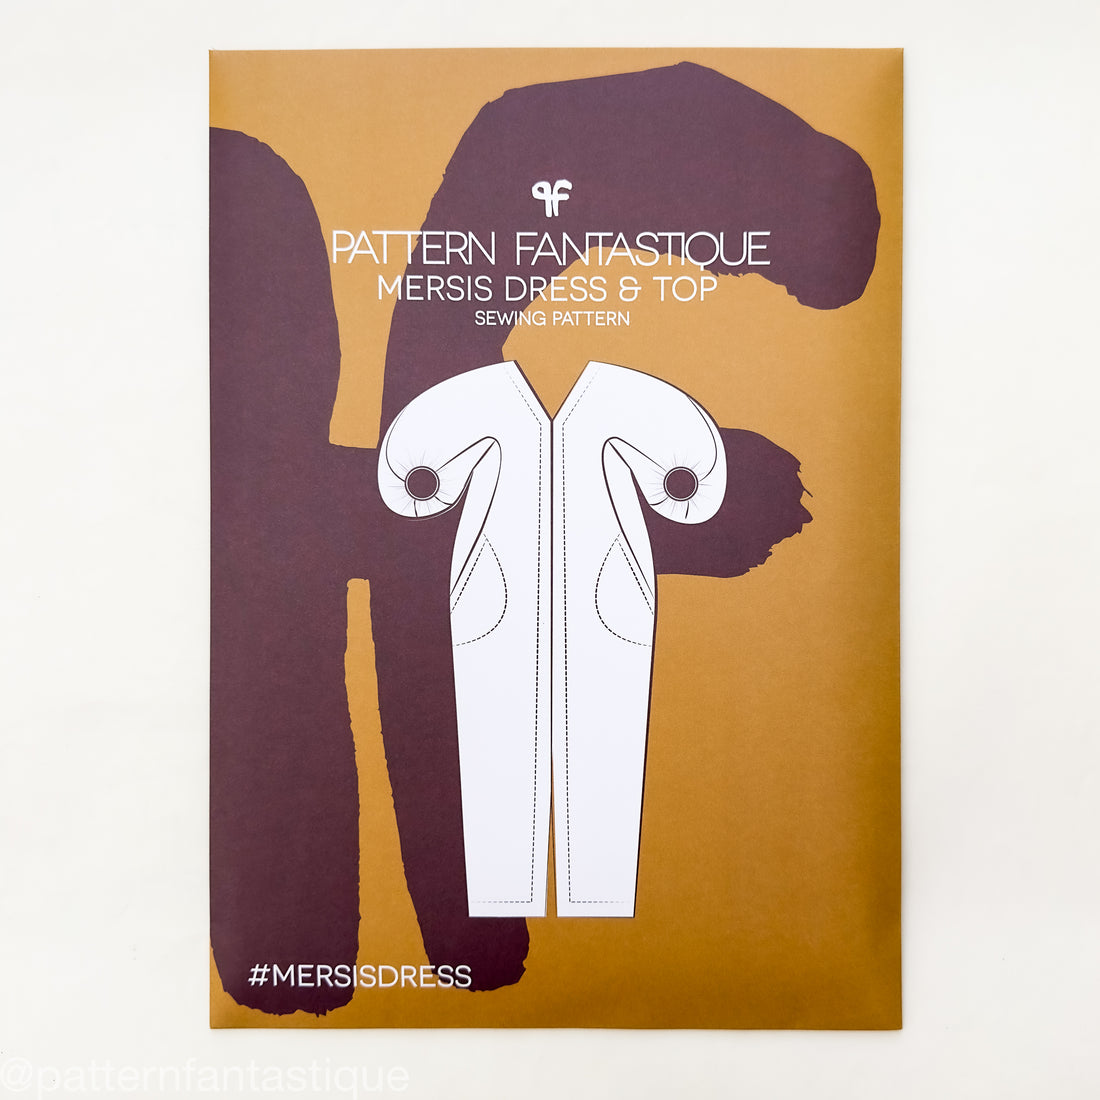
Here is the Mersis Dress and Top from Pattern Fantastique. It is very unique in design with a full bodice made fuller by very interesting 3 part gussets. Two parts are on the front of the bodice and the back gets one part. They are VERY oddly shaped for gussets and I highly recommend you put tape on them and mark them clearly as it will be very easy to misidentify them.

I found with this pattern it is important to follow their directions explicitly and in their order with a few exceptions I will detail below. Serge or finish the pieces where and when it says to with exceptions I will mention, very important. Your markings are very important throughout this construction so watch that carefully. I would cut each piece separately, serge the seams and THEN mark the edges. Otherwise, markings will be cut off by serging. The directions are clear and the artwork good. Paper isn't wasted here on photos but it is clear enough.
I had a glitch with my PDF and had to draft a missing pattern section but got thru that. It was a part of the neckline facing. I also decided to redraft the facing anyway as it was just too low, beyond my bra band, for this petite. I followed Brittany J. Jones youtube on the subject, which is wonderful.
Fabric:

Construction:
This went together much more smoothly than the last Mersis and part of that was knowing the pattern and now being able to anticipate any possible issues. I also think the more substantive fabric helped as well.
* I used 3/8th inch SAs as directed.
*I did not interface the center front or any other seam allowances with this fabric other than the point of the V which is not directed. It was substantial enough. I did interface the facings.
* I stay stitched all seam allowances on the gussets just short of the SA. They were then serged and marked after. I did not gather the gussets as directed which I did on the first. Instead I clipped both sides to the the stay stitching and that worked much better than the the gathering for making things fit together.
* Take your time with those gussets. It is very easy to install them incorrectly. MARK THEM WELL.
* Do not overlock side seams together. Instead serge them separately and press open. This will pay off when you go to gather and connect to the cuff. Otherwise you will end up with a bulky lump on the cuff.

* I gathered my cuff before sewing up the sleeves/side seams. The cuff was then sewn in the round.
* For petites I found a cuff cut 10 3/4 inches by 1 1/4 inch was just right. Check yourself for your own fit on the cuff size. They look great with a narrow cuff and all that gathering. I love the finish that 3 rows of gathering gives to the bound cuff.
* My top was hemmed 15 inches from the point of the front V. I did a two inch hem. I love deep hems. I'm five feet tall.
* I did not add any fish eye darts to the bodice as I did in the first version. I like the fit now with no adjustment and a better bra. Fabric makes such a difference sometimes.


* Rouleaux ties made the most difference in the fit. They were attached 4 inches up from the point of the front Vneck on each side of the neckline. I made a nice little ball to attach them publicly as the neckline was stitched and I did not want to take apart triple understitching to tuck in the ties.

* A better fitting brassiere also contributed to the fit.
I would say this pattern is not for the faint of heart but the payoff is there in the end. I have worn this blouse numerous times since I made it and have it on now for a wine tasting luncheon shortly with friends. If you are a courageous intermediate I say go for it. Pick some fabric with some substance for the first effort, nothing thin, and make just the top. Follow the directions closely with the suggestions given above. It will be a bit of a challenge but I feel worth it. Happy sewing!............................Bunny


Your "lisette" top is charming and very pretty and suits you well. Brilliant of you to see the potential in the print which is delightful. Although I am an experienced seamstress, I would never attempt such a complex pattern as the Mersis. I get a headache thinking about the construction but Brava to you for persisting.
ReplyDeleteThanks for your lovely comments, Barbara. Those who know me say I am nothing if not persistent!
DeleteHello, if you are looking for, Printed Garment Labels visit our website now.
ReplyDeleteThank you so much for your feedback and advice on the Mersis pattern. I am in the middle of sewing a Mersis top out of cotton lawn. I managed the front facings with little trouble, but the gussets - oh my goodness. This has been the most difficult item that I've ever sewn. And I've sewn some doozies -- e.g., bias silk charmeuse dresses, multiple underwire bras, silk organza jackets - all Child's Play compared to this pattern. The only thing that saved me was hand basting that last gusset. I think your tip to stay stitch just within the stitch line and clip is what I will also do next time. Thank you! Your top looks beautiful and very stylish.
ReplyDelete