Pattern: This is a Daisy Kingdom pattern from
Simplicity, 2433 and I did a size 5. This is what many call a Pillowcase Dress where the top of the pillowcase is slit, armholes bound, and a tie put thru a casing at the top, a darling idea if you have some vintage PCs handy. Here, Daisy Kingdom has glorified it further with the ruffle at the top making the casing and a ruffle added at the bottom. I kicked it up another notch, I hope, with the addition of a 6 inch bias ruffle underneath the DK ruffle, piping around the bound armholes, and piping between the hem edge and the ruffles.
ETA: I wanted to add that I also added 8 inches of width to the skirt width. I felt the given pattern did not have enough width for a good "twirl factor". I did this by simply placing the CB and CF two inches in from the fold. I am really glad I did this. Also, the piping at the hem edge helps the hem stand out and twirl better as well. We all know how important the twirlability factor is!
Sophie had a great deal of input on this. I pulled out all my children's patterns and this is what she picked to work on with Grandma. We then went to Joanns where, with a great deal of psychology, I was able to steer her away from the pink knit sparklies that you see on every little girl. I showed her what colors flattered her dark skin, she agreed, at 6 years old, and picked out the two needed fabrics. Once home I showed her how it would be much prettier and show off her print choice better if there was a bit of contrast. I pulled some fabrics and she picked the purple ombre one. Grandma was in total agreement. She cut out pattern tissues, held the piping ball as it fed into the piping foot, and was just generally enthralled with the entire process. Every morning and afternoon I'd ask her if she wanted to this or that and the answer was always "no, let's go down to your room to sew." In a heartbeat! I offered to have her sit at the machine and try stitching herself but the answer was always "No." I am sure she will let me know when she is ready.
Halfway thru making the dress she picked up a silk flower from the kitchen floor that blew in off of my door wreath. She said, "Bunbun, this would be really pretty on my dress." I completed the dress after she left and felt it was just lacking something. I put the little silk flower on it and lo and behold, it was just the ticket. I went and yanked about 6 more off of the wreath and embroidered them onto the dress flowers with big orange French knots. It made a big difference. At this point, I would say Sophie has a pretty good design sense. We are both looking forward to sewing together again.I can't wait.
Fabric: We purchased two coordinating quilting cottons from JAs. The ombre purple/orange was from the stash and also 100% cotton. No other notions were necessary.
Pattern: Simplicity 2501, a TNT blouse pattern. This is one of the patterns that comes in various cup sizes which I love. I usually use a size 6 with the C cup front and some width added in the hips.
Fabric: 100% handkerchief linen, really lovely fabric to sew. The sheerness of hanky linen needed to be dealt with, however.
Construction: The fabric is quite sheer. The bodice was done with two layers, wrong sides facing each other as in any lining situation. This made for a pretty inside. The peplum is finished with a baby hem as shown in the tute on the right. This pattern has facings which I did not want or need. Instead I bound the armholes, CF, and neckline with white bias tape. The edges were then topstiched and on the inside hand stitched to the lining. If I were to make this again and there is a big possibility of that, I would change the bias ruffle. I don't think it is big enough. The width is fine but I think the circle needed to be cut so there was more length in the outside edge. This would help the ruffle drape a little better, IMO. To me it just looks like it doesn't have enough fabric in the drape. Other than that I am pleased. I am sure it will be a wrinkly, very comfortable mess within 5 minutes of putting it on but that's OK and what I love about linen. It is the ultimate summer fabric, so comfortable.
*****************************************************************************
Have you ever had a time in your life when everything has broken, or at least so it seems? In the past month we have had to do major repair work on our car, my camera has been on the fritz and is going to the camera doctor Saturday. Last week our computer crashed and was just plain old enough to be replaced. We lost a lot of data but at this point most of the software has been reloaded and we are back in business. Sophie's dress required two different thread colors and I placed the unused thread color on top of my machine. DON'T DO THIS. While concentrating on my presser foot edge I didn't see the dangling thread of that other spool get sucked into the machine by way of the bobbin winder and get pulled in and tangled around the motor. The machine went into a horrid spasm and I think one more stitch would have killed it for sure. Luckily DD was visiting and took it back to NH to be fixed. I will pick it up when I go down to help her move at the end of the month. There is no one, I say NO ONE, that I can find in Northern NY who can fix a computerized machine. Thanks heavens for my trusty Kenmore back up. When I went to serge the edges of the ruffles on Sophie's dress the serger crapped out as well. Why not join the party?!? I swear if my washer or dryer goes I will jump off a bridge.
Between company, which we love, enjoying our garden and the fabulous summer weather the Adirondacks are known for, and getting everything repaired around here, it's a miracle I got anything sewn. At this point most of the software has been reloaded into the new computer. I am taking few pictures but having to majorly manipulate them in Photoscape. Things have settled down a bit. I hope to get going on a few knit tops soon, not my field of expertise. I thank you all for your patience while I have been absent. I also ask for more of it, shameless that I am, in regards to my photos. You don't know what I had to go through to get just these few photos up. Hopefully that will all be fixed soon.
I know many bloggers are on a bit of a sabbatical right now. One by one we will trickle back in, I am sure. I can't wait to see what other have purchased and are sewing for Fall. Did I really say that? Fall? I will leave you with a picture of my lilies.


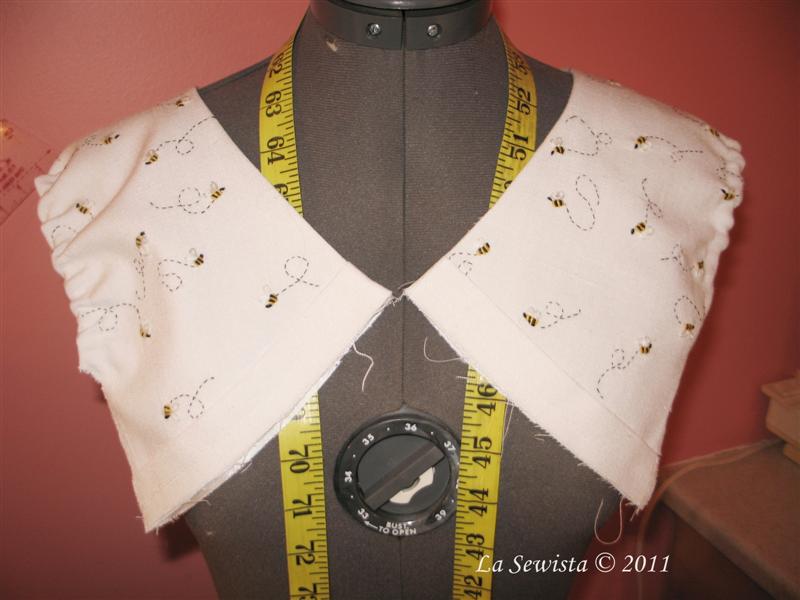
 Once done that, grade seams and press toward the lining, using a seam stick. Your bodice is pretty much lined now and pressed nice and flat. Stitch one half inch away from the edge all along the sleeve edge. This is making a casing for the elastic. Using a Fasturn or whatever method you are comfortable with, pull the elastic through the casing. Stitch at the top and bottom with a 1.5 stitch length to secure. I cut my elastic one inch shorter than the guide in the pattern to give it a bit more of a gather.