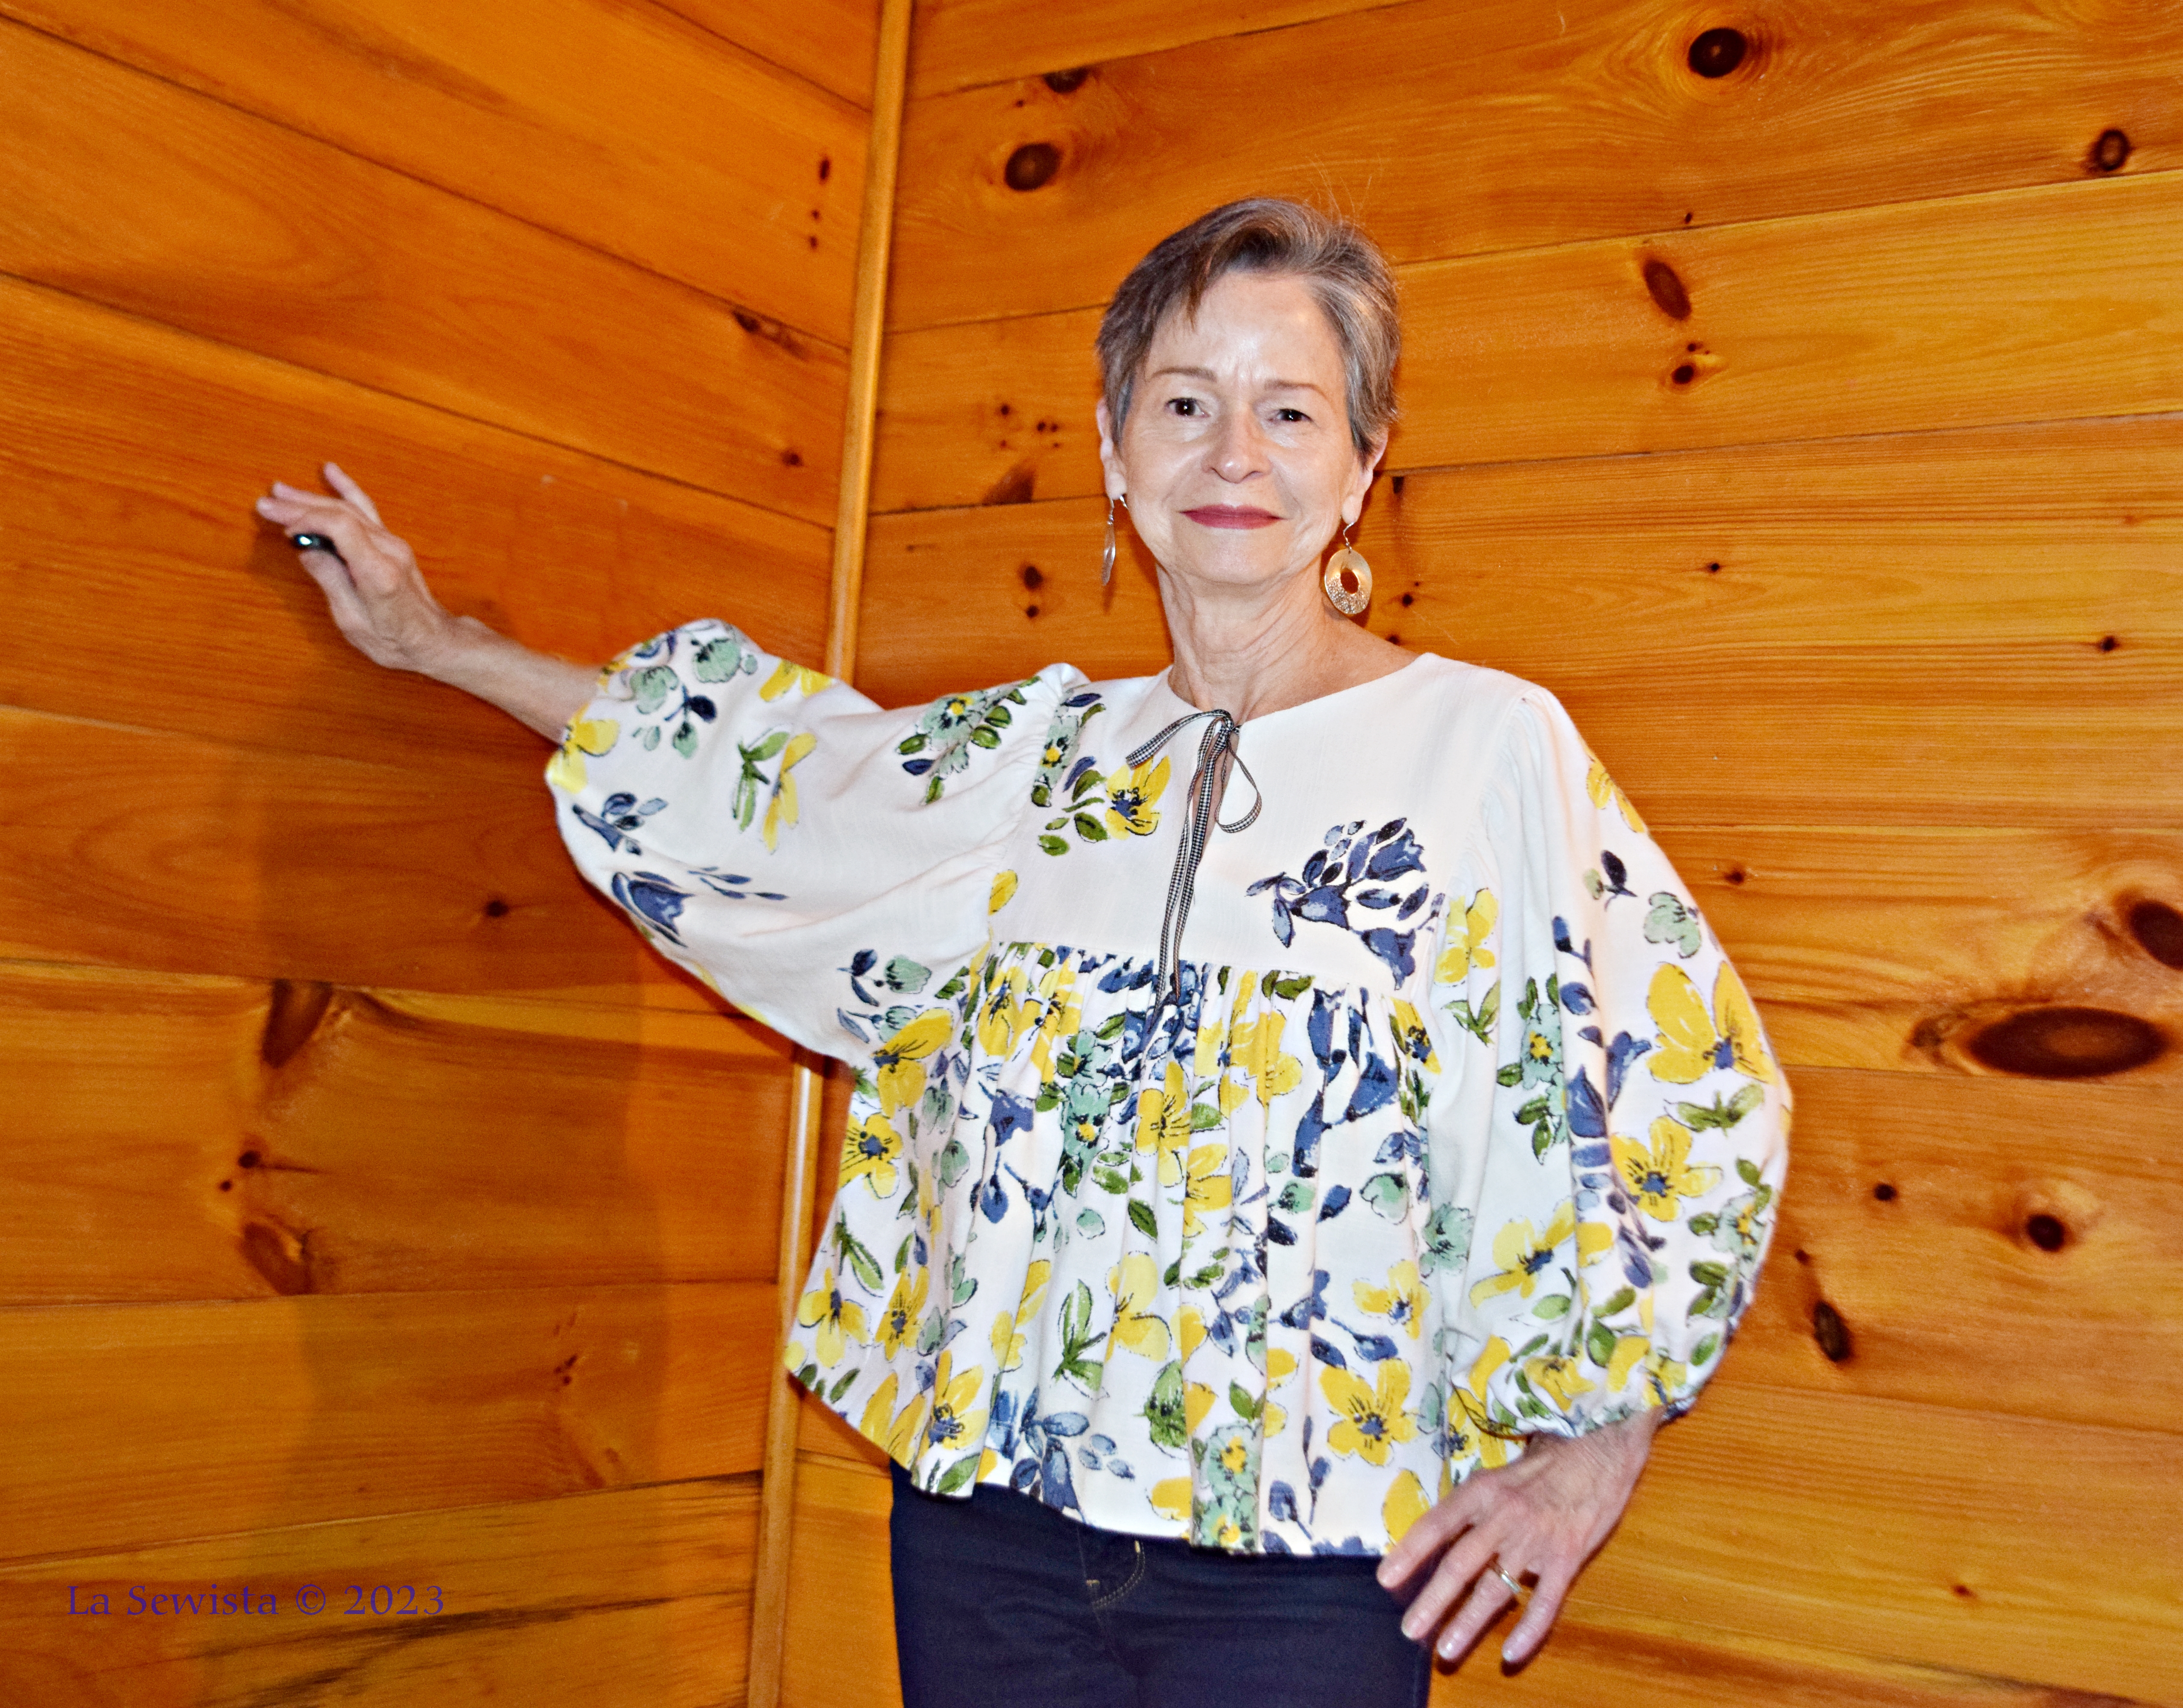
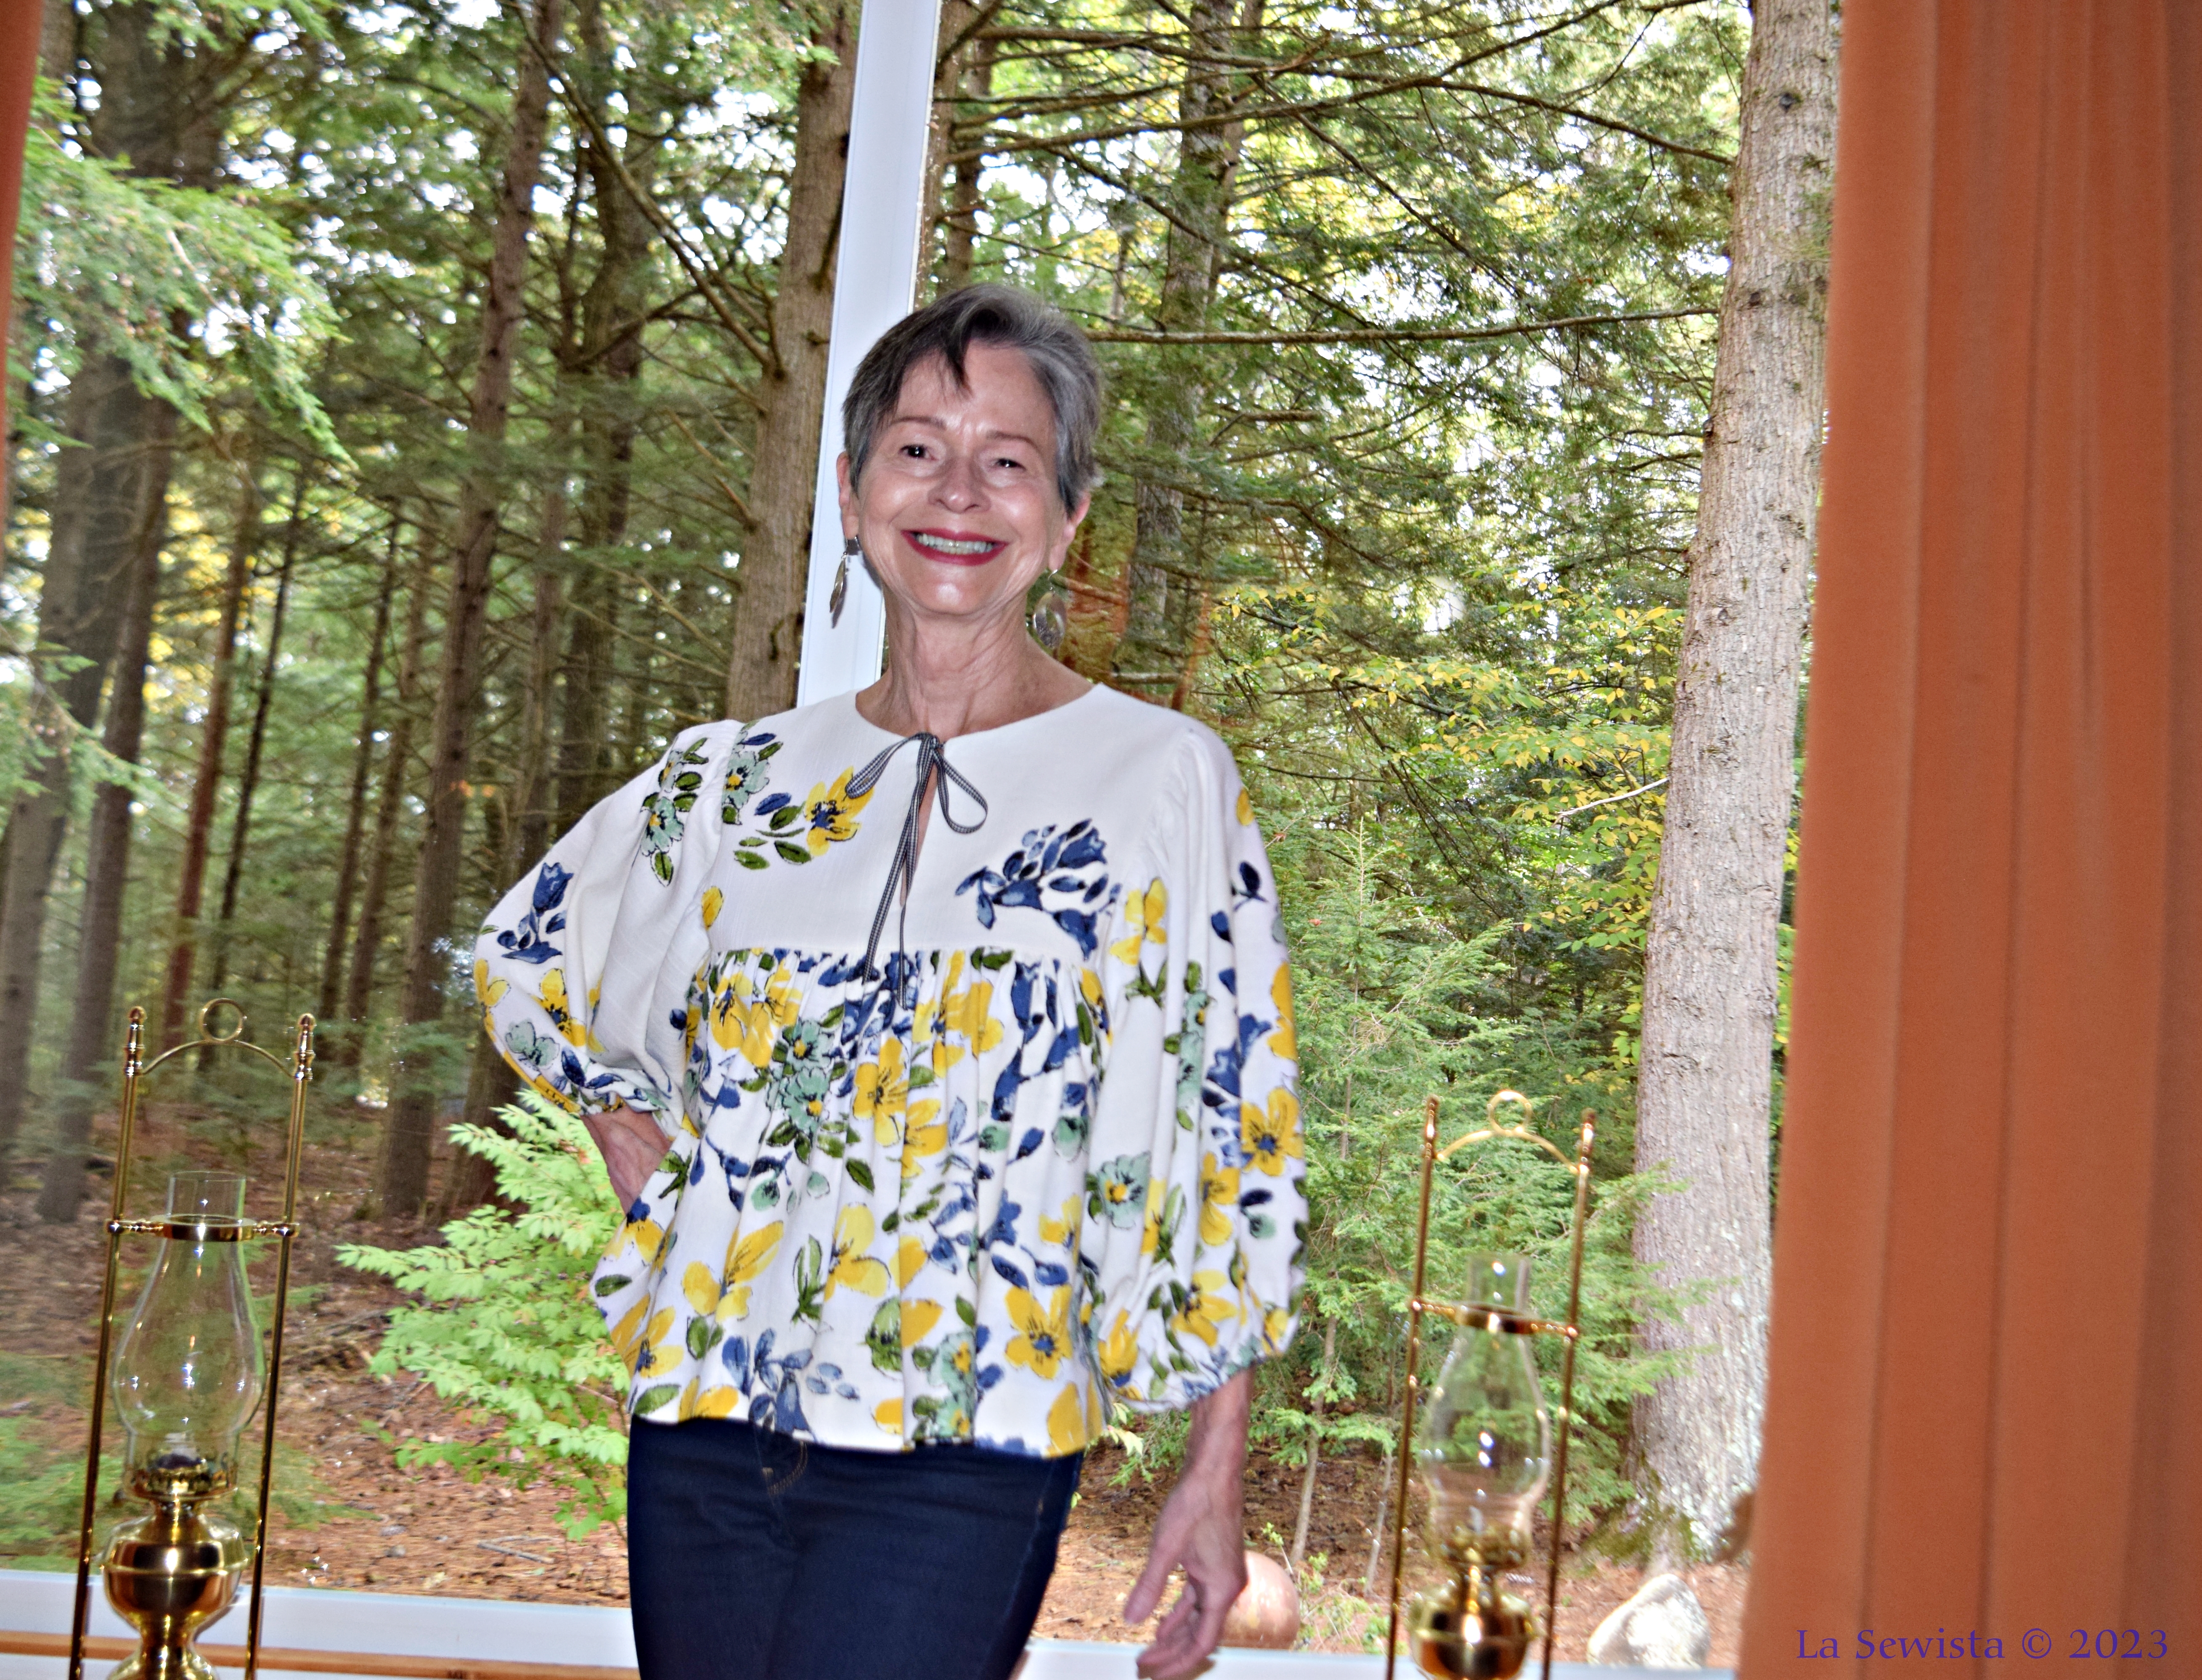
Pardon no makeup and eye puffs. Still dealing with blefaritis.
This top had a story, as most upcycles do. First, I love the results. My base came from Goodwill, a couple of years back. More on that in a moment. I never knew what I would do with the resource, just that it was beautiful and one day, inspiration would strike. It did, in the form of a competition. Being from a large family, competition is part of my DNA, and I always enjoying upcycling, I finally moved on this textile beauty. Inspiration? One of the various monthly competitions that is held by Pattern Review. It involved upcycling a pre-existing garment/s into something for an adult, no kids or pets. It could be an accessory or garment. Immediately my resource came to mind but what to do????? Let's get this story and review going and fill you in.
Pattern:
For this top and it's ethereal fabric, I immediately thought of the Imby Flowy Top from Karmme Apparel. It is a FREE pattern. The pattern is designed by Imby Lagenbach. She is not, and stresses this, a pattern designer. She designs handbags and fabrics, gorgeous ones. She has less than a handful of garment designs to motivate you to purchase her fabrics, which are beautiful. She apologized for directions, which are fine, and sizing, which is one size fits all, sizes 8-14 Australian. Oz sizes run two numbers larger than US sizes. On my second and third efforts I removed one inch from across the bodice with a simple slide over. I figure this gave me a size four. I did not adjust the bodice length. You could easily adjust this pattern either way with a muslin effort and simply sliding. I believe the sleeves and bodice have so much volume that they will fit anyone. My skirt was 76 inches wide when completed. This is not a difficult pattern.
Fabric:

I was doing my semi-monthly visit to GoodWill a couple years back. I often head straight for the more formal dresses in the plus size area. This dress, which sure did not look plus size, was on that rack. I checked the size tag, not that it mattered. I was desiring the fabric. All tags were still on the garment and in an Asian language. The only thing in English was "3XL". I don't think so but again, didn't matter.

There were massive amounts of fabric in this beautiful border print. The colors were amazing. Was it silk? Turned out to be poly but no problem, still beautiful.

You can see the waist and sizing above on me. I would guess maybe a size 14. The waist measured 36 inches. The skirt, 76. I got it home, stared at it a few weeks, machine washed it, and hung it away. Then the upcycle contest arrived 2 years later and I knew it's moment had come. It was made for the Imby top.

My only problem was the lack of fabric for the entire top. I didn't want a total chiffon top, anyway. I thought and thought and then decided to make this top more wearable I would make the yoke have a strong contrasting presence. It would be denim! I went to my stash of cut up jeans and was able to salvage the yoke, with pieceing from a couple of thighs, thanks to some jeans my husband could not fit into any more, too big! I don't think he ever liked them anyway. He hardly ever wore them and gave them to me a couple years previous to use for mending.
I measured my pattern pieces and would JUST BARELY make my plan with the skirt fabric. I would make my ties from the waist band. It was all a go now. This is what I had left.

Construction:
This pattern is pretty straightforward. There are two things to point out about the Imby top. There is a unique and very clever way to do the slit with tie on the Imby.

The bodice/yoke has no facings or bindings, yay. It is two layers, being self-lined. First you make your ties. This is ONE long piece. Do not cut into two ties. Set aside. Next lay your bodice lining and bodice together, then right sides facing and stitch the circular necklines together, NO SLIT SEWING, JUST THE CIRCLE. Trim and grade as normal. Don't understitch yet. With wrong lining side facing up, draw in the slit as directed. Now, I drew the slit an inch shorter due to my height issues. Lift up the lining. Take your tie and place the center of the tie across the area directly below the neckline stitching at center front. Pin into place. That tie is tucked right up to the neckline stitching. Place the lining back down. Baste or pin the slit area so it won't slide. Starting at the neckline edge with a 1.5 stitch length for an inch or so then back to normal length, stitch down to the point, two stitches across, then stitch back up the other side of the slit to the neckline edge again. When you approach the bottom of the slit click down the st length to 1.5 again an inch before and after. When you approach the neckline, do the same again. At the neckline edge you have sewn across the tie without even trying. Now cut down the center of the slit and grade, press and understsitch the neck and slit as much as possible. Don't force here. You will have a tie on each side when done, sewn in with the 1.5 stitch length. It will turn the corners out beautifully.

The only other challenge here is the meeting of the three pieces at this corner above. This is not a pattern with a square skirt and square sleeves. There is definite shape to both, curves. There is also an angle where the yoke, sleeve and skirt meet. It is VERY, VERY important to sew only to the dot, not the edge of the fabric. Don't sew across the seam allowance here. You won't get the clean corner you see above if you do. This makes it very difficult to serge ahead and/or use French seams. The seams are finished with serging after they were machine stitched together. Trust me on this.

Being petite, I knew I would have to reduce the length or all this fabric could overwhelm. I removed 2 3/4 inches from the length at the hem. I first hemmed this top with a deep hem but found it flared and disturbed the drape of the fabric. I cut it way back and did a serged and machine stitched half inch hem. It draped better after that. So what you see on me is shorter than what you will see from the designer. The sleeves are the same.
I did a bit of topstitching and decided it really added nothing to the party. I did no more.

In Conclusion:
This is my third Imby top. I really like this pattern. It is a great fabric show-off-er. It works best with drapey fabric. I've seen it made beautifully with recycled saris. The yoke is just aching to be embroidered or painted, or to just be a foil to a wonderful border print. I think it was a great choice for my Good Will fabric. I never wanted to make that pretty dress into a dupe for me. I just wouldn't need it. This I will wear a lot. I can see it fitting in well with my life. The denim really made the difference. Contrasts are good. We need more contrast in our life.......Happy Sewing, Bunny