
Love this!
My blouse turned into a shacket and I have no problems with that. As a matter of fact, I am loving my shacket as does hubs. It is cuddly, warm and so very colorful on a cold, dreary winter's day. This project exceeded expectations and took longer than I expected but was worth all the effort. I know I will get much wear out of this and am tempted to start another but there is much in the queue! Here is the very long and interesting story of this Plaid and Puffy Shirt.
Pattern:
This is Simplicity 9646, one of their latest designs. It is a classic design, buttons up the front, Peter Pan collar, dropped shoulders, and BIG puffy sleeves with cuff bands. I fell in love with the sleeve of similar size but different construction from Simplicity 9641. It was big and for a dropped shoulder as well but the fullness was controlled by large pleats. The under arm seam even had pleats in the seam giving an illusion of even more fullness. I transferred the sleeve from 9641 to 9646 and wrote about that in my last post and you can read about that challenge HERE.

The underarm sleeve seam.
This blouse has a folded on facing. I am not a big fan of this type of facing but went with it. I might change that next time. It calls for no interfacing. I found it floppy without and went back and interfaced it before going further with the neckline or buttons. Do that if you make it. I would also interface both sides of the collar band as well.
The pattern also calls for a wrist band cuff with elastic inside. I made instead a wider wrist band cuff with no elastic as you can see above and as in the 9641 sleeve. I like that better.
There are optional darts and I chose to just add them to the front. This skews the plaid a bit but it is what it is.
Fit:

I used the smallest size, an 8, still too big. I removed 1 1/2 inches width from the boxy bodice, all the way down and also reduced the length of the shoulder drop by 3/8ths of an inch. All dropped shoulders have a bit of "box" depending on how much they drop. I am comfortable with this look given the type of garment this is. I wish this were made in a smaller size like other Big Four. This size 8 is meant for a 31 1/2 in. bust. Just what is going on here? Last check mine was 37 so that will tell you about the ease to prepare for here. Definitely flat pattern measure before cutting if you make this.
Fabric:
This lovely plaid is 100% cotton. It is from the Plaiditudes line from Joann Fabrics. I've sewn with it before and been very happy with the results, and over time as well. This is yarn dyed so the pattern is exactly the same on both sides. HOWEVER, after I got it laid out on my table, all ready to cut, only then did I realize it was an uneven plaid, all the more challenging to match.

When you center an uneven plaid you do not get the same plaid on each side. You need to choose a prominent bar and work with that. For me it was the dark green blue you see in the center above. I think I made it work as best possible.

There was no way to get my collar to match in the front and also match at center back with the center back bar down the bodice. I tried everything. Except--------------this fabric is yarn dyed. The back is exactly like the front of the fabric. I cut a new collar of two pieces for the top collar. It has a seam across the center back. You can't see it but it is there on the collar above. One side of the collar came from the "right" side of the fabric and the other side came from the "wrong" side of the fabric. They are exactly alike and I got a perfect match at center front and centre back. It was the only way and a fine way.

Yay! I did the same for the collar band. Now, for the sleeves, I did the standard copout, cut them on the bias. I think it worked out well.
Another fabric I needed and used was for the Hong Kong seams. Alls seams in this garment are finished in this manner. I hadn't decided yet what I was going to use to cover the seams, but I usually go with a chiffon or light cotton. It was the day before Thanksgiving and I was in Joanns and everything Thanksgiving was marked down 70%. I saw this panel, was traveling and having no entertaining in our own home, and decided it was perfection for covering my HK seams. It was. It's a hoot, don't you think?
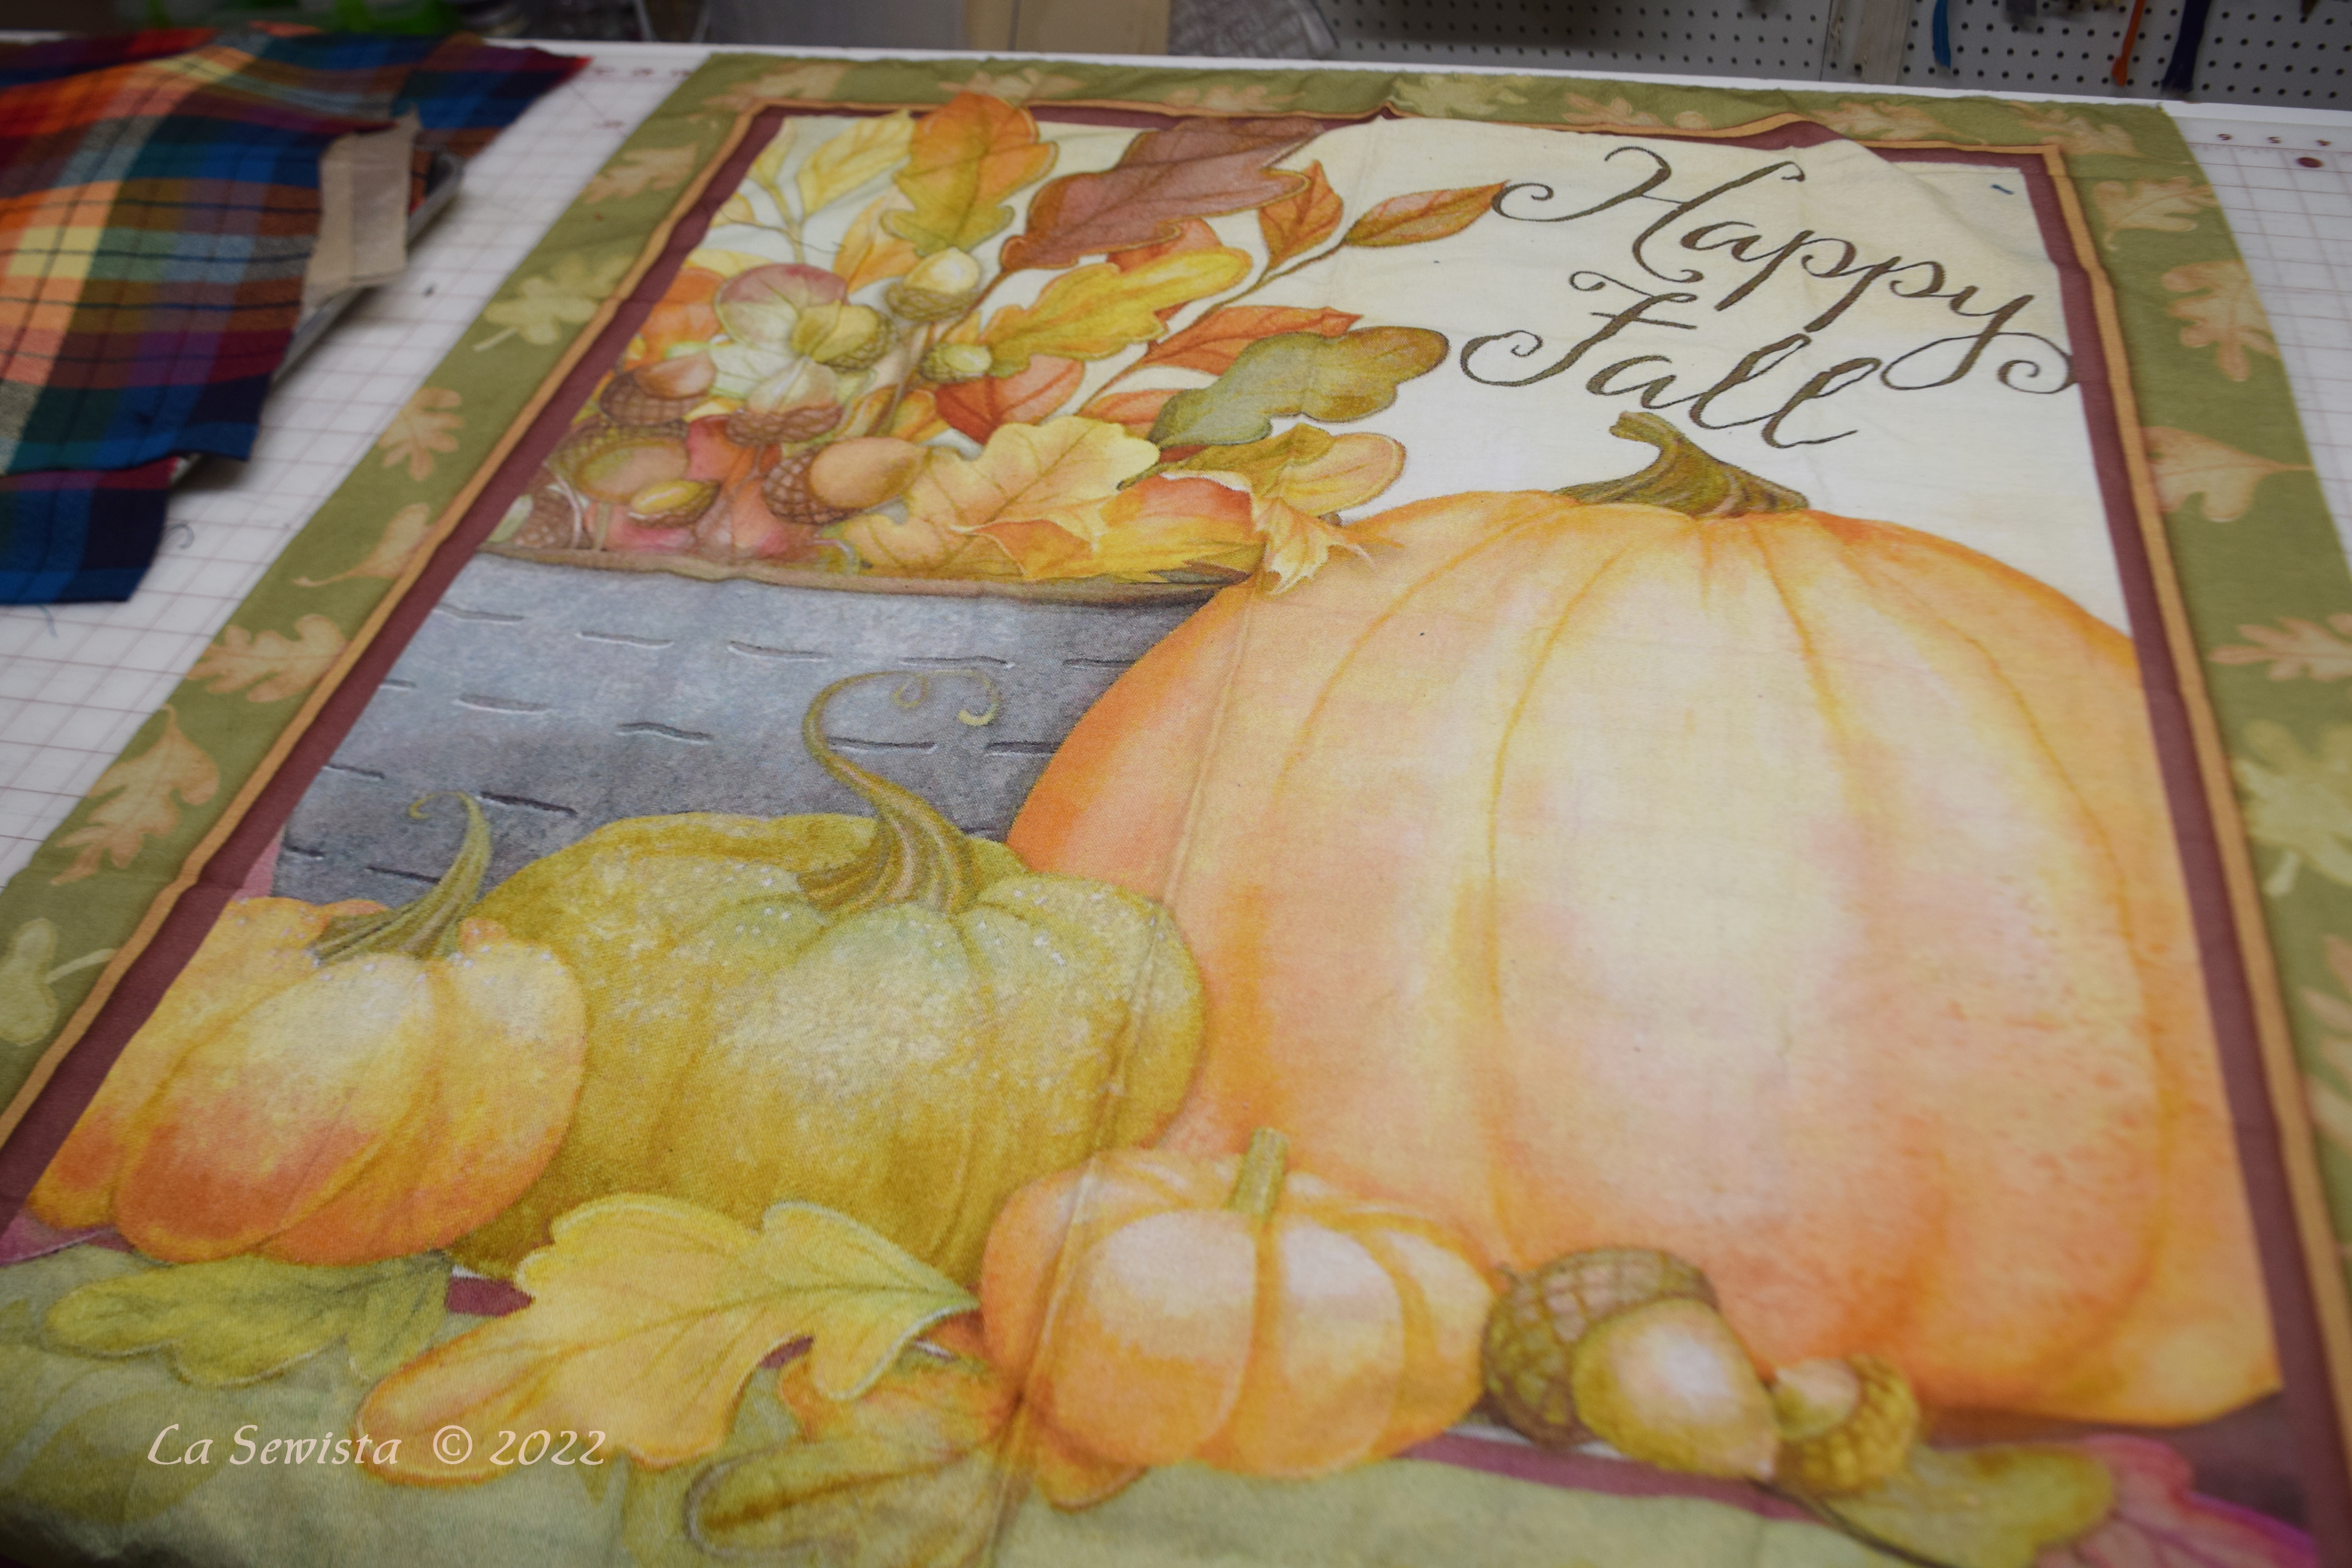
The colors were gorgeous, perfect for my needs and for a few dollars, it jumped into my cart.

I think they came out nicely! That panel was bias cut all the way to Christmas!
Construction:
I will start with the sleeves as they were the most demanding. Again, most of their issues are discussed in the last post, the one before this one.

The sleeves have big pleats in the wrist area connecting to the cuff bands. They also have pleats on each side of the seam that is the underarm sleeve seam. Lastly, more pleats control the fullness at the dropped shoulder.

My sleeves were cut on the bias which definitely helps them billow, so pretty.

On to the collar and collar band. If you look close here you can see how I triple zigzagged my understitching to provide the needed structure on this soft blanket-y fabric. It worked.

I did make a collar band template to use as I did on my last pattern with a collar band. I find it really helps. Also, this pattern specifies everything with a 3/8th inch seam on the collar and collar band. Yay for that, Big Four!! About time!

Again, a closer look will show the Hong Kong seams and the bound edge of the hem on the left. It is hand catch stitched to the bodice. If you click on the photos they'll enlarge and you can see the deets better.

These buttonholes were a really fun challenge. For some time now, just for the heck of it, I've wanted to try David Page Coffin's method of making machine buttonholes totally by machine with nothing but a zigzag stitch, no computer, no attachments./....just you and the zigzag. I spent an entire afternoon with his book, "Shirtmaking" and his method and made scads of samples on this flannel until I felt I had it. These are the results. It was so easy and guaranteed results, even on that nasty, bumpy button hole up at the top of the collar band. What I liked best about his method was the way I could control the negative space between the two bars of satin stitch. My Pfaff makes those bars very close. There may be a way to alter that but I have yet to figure it out.

In Conclusion:
I really enjoyed the challenges this top presented. It started with hacking one pattern sleeve onto another pattern's bodice and went thru plaid matching, reducing sizing, seam finishes, new buttonhole sewing methods and maybe more. It certainly took a while. I know I will get a lot of use out of this "shacket" and I credit that to the great fabrics I used. I love their beauty, each of them and know their quality from previous experience so know this was a worthwhile endeavor. Let's tick one more item off of my winter plan list. It's now on to undies!!!


That is just lovely! Every time you point out a detail, it just becomes cooler & cooler. I particularly love the collar 💜
ReplyDeleteThank you fort sharing it with us
thanks, Laurinda.
DeleteYour blouse is beautiful and looks so lovely on you. I enjoyed reading about your experience sewing this project. BTW I made several flannel shirts/jackets using JoAnn's Plaiditudes and each time the experience was positive.
ReplyDeleteThank you. Yes, it is a nice product. Definitely not their Snuggle flannel!
DeleteThanks for the reminder about the Coffin buttonholes. I am sewing on vintage Kenmores and cannot get their buttonholers to work consistently. No luck on modern electronic ones, either. I appreciate the tip to look in his book!
ReplyDeleteIt took some practice and some change. I suspect each machine is a bit different. I changed my coordinates a bit from his. I found the "end cap" width he used needed to be a bit wider. I went with 4.0. I did like how I was able to manipulate the negative space between the two bars. Your comment is interesting. My vintage Kenmore does wonderful Buttonholes. Its circa1978 or so. I went through one buttonholer but found another on ebay. It's still going strong.
DeleteThat shacket is beautiful! All the details and finish on it is perfection. This is definitely not fast fashion. I looked at that fabric because the colors are amazing. Great make and post!
ReplyDeleteThank you. I figure I will get some years wear out of this one.
DeleteA gorgeous garment!
ReplyDeletethank you.
Delete