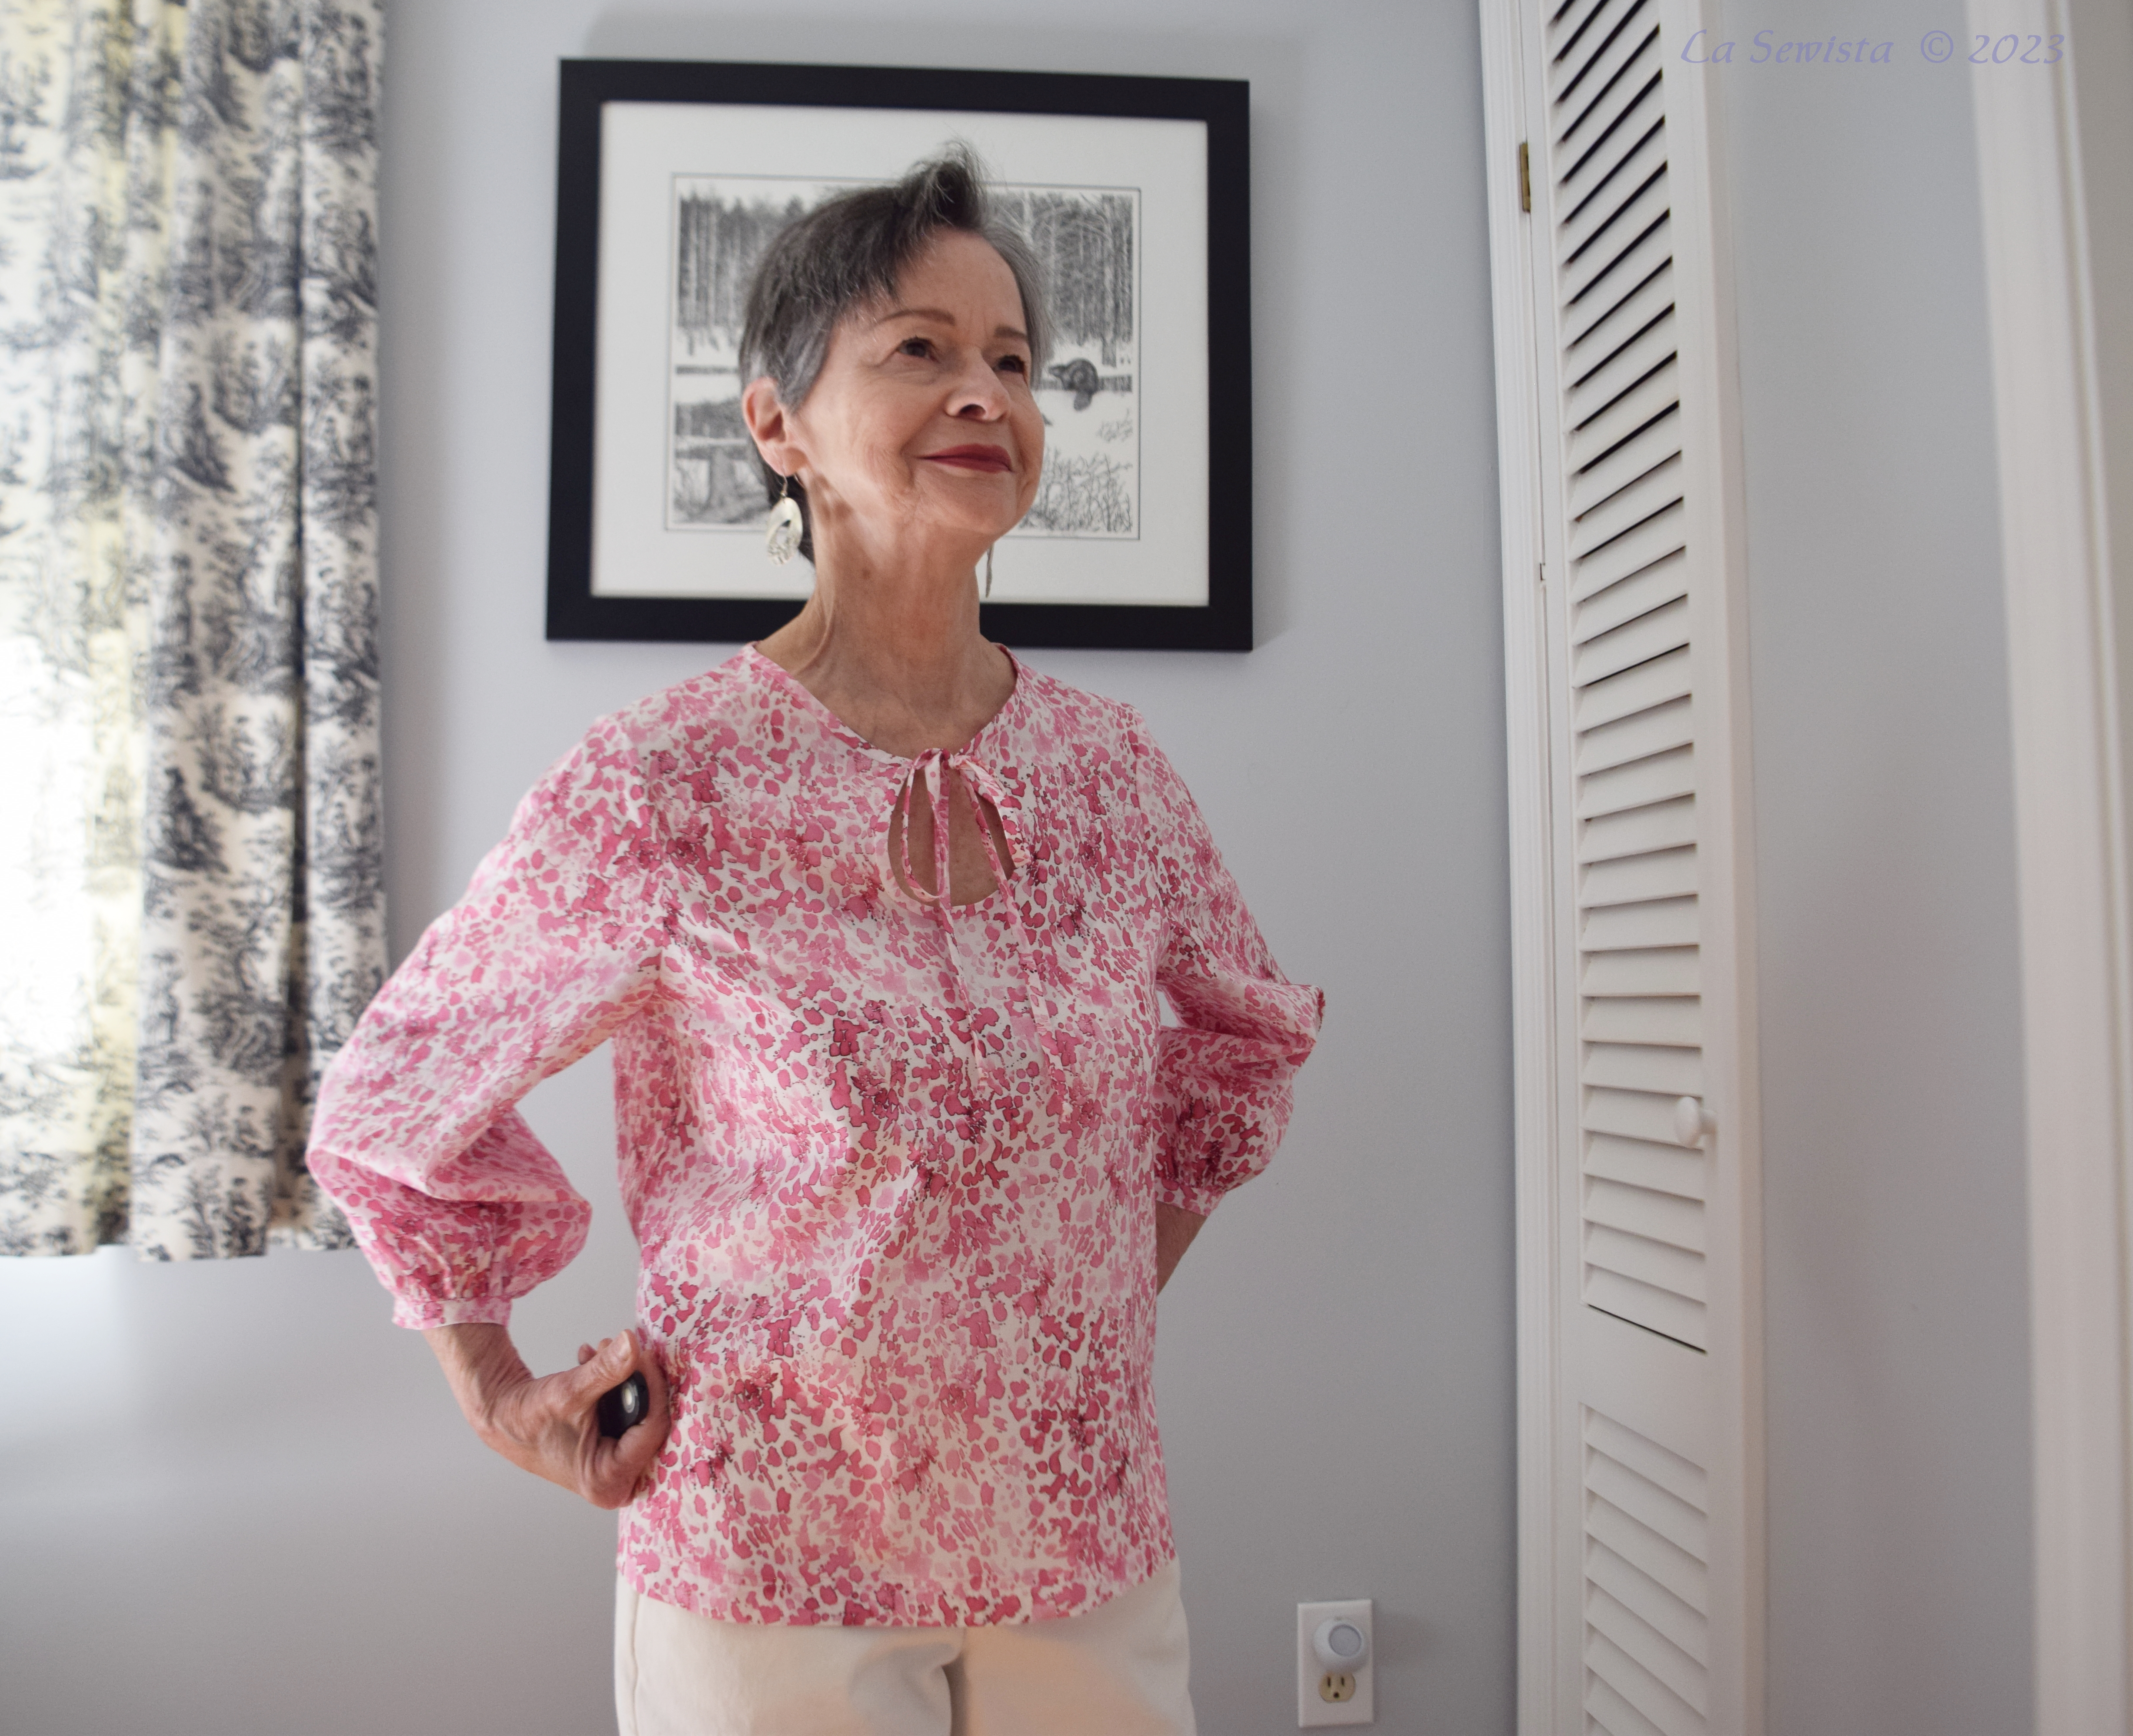
The Pink
The Blue

The fabric is the same. The colors, and a lot more, are different. I told you I planned to try different techniques with this lovely pattern to see how they would work out on this lightweight fabric. So let's start with this fun comparison!
Fabric:
The fabric is 100% cotton lawn from Joann Fabrics. It is something I have never seen them carry before and it actually flew out of the store. It wasn't a one shot wonder either as it continues to be restocked. It comes in soft prints and a nice group of pastel solids. I fell in love with this blue but then the pink showed up at a great sale price. I decided to challenge myself with various techniques on the same fabric and pattern. It is lovely fabric. I washed and dried it on warm, which is quite hot in my solar fed tank. It came out needing just the slightest ironing and no shrinkage! Love this fabric.
Pattern:

For both tops I used Simplicity 9469, view D. I was inspired by the version made by Lucy of Sew Essential youtube videos. Her's was so lovely and it looked fairly simple which it is.
The blue version is made pretty much as the pattern directs. The pink blouse is made with what I thought were good ideas. They are not necessarily better but they are not the same as the pattern. The pink version definitely took more time. I will go thru the construction of each and you can see how they differed from what is really a problem free pattern that gives great results. The directions were clear and no mysteries. I think a beginner willing to try their hand at an interesting neckline would be able to handle this blouse nicely.The blouse had generous ease and I did not find it necessary to do an FBA when I flat pattern measured.
Construction
Neckline:
The blue "stuck to the pattern" version required an interfaced facing. I gave thoughts to numerous options as discussed in a previous post. I did samples.

In the end, the winner was a classic interfaced facing of fashion fabric. If I did an interfacing of just FF, the print design showed thru. With the white backing, compared to other options, I had the least amount of show thru.

The facing was stitched on the collar edge and around the keyhole, then graded and clipped. I used a preshrunk woven cotton fusible interfacing. The edges of the facing were turned and stitched. You can see that print transfer thru to the top is not an issue. As always, I triple zigzagged for the understitching of the facing and ditch stitched in the well of the shoulder seams. It is not going anywhere. The edges were crisp and pretty when done.

There is something important to be aware of here. It isn't clear on the instruction sheet but on the facing pattern and bodice piece you will notice that the transition from the keyhole to the neckline is a flat seam where you fit in the ties. See above. This flat space gets a 5/8ths seam allowance like the rest of the neckline/keyhole seam, therefore, that edge enlarges. Later, when I was doing the pink top I thought for sure the fabric was off grain as my top just wasn't lieing right and had odd wrinkles. It wasn't off grain. It has to do with the fact that when you sew a 5/8th inch seam allowance on each side of the keyhole you now have a 1 1/4 inch space that the ties need to cross. I was pulling my ties to meet together at the tip of the keyhole/neckline point and it was pulling my top totally off grain. Once I let the top of the keyhole lie flat, as it was sewn, and the ties tied to let them meet the way they were sewn, the blouse draped just right, no pulls or drag lines. So, don't pull your ties tight, just tie them as they lay, as they are in the pics on this post.
On to the pink neckline!

Remember, the pink version is not according to pattern instructions! The first thing I did was make the keyhole smaller. On my petite torso, I found the keyhole, as designed, was really too low for my short body and a bit of cleavage shown. It certainly was not a big deal but it was a surprise. Upon checking Pattern Review, I found I was not the only one with this issue. I didn't reshape the keyhole. I simply took a 1/4 inch SA to make the hole smaller and it was just right! On the pink top the neckline and keyhole are bound with double fold bias binding and the ties are bias tapes. This was all definitely more work but pretty as well. I double folded the bias and pinned to the keyhole so I could steam in the shape.

I hand basted it first then stitched it to the hole.

I pressed the bias toward the hole and away from the seam. I did not trim the 1/4 inch seam allowance. The plan was to wrap the double fold bias over the SA and hand stitch in place. I used my Acorn glue in tiny dots and ironed it all down. It worked beautifully to keep things in place for hand stitching.
 |
Seams:
On both blouses seams were stitched with French Seams. It had been a long while since I worked with such a lightweight fabric and when I started on the pink version I remembered my dear friend and amazing sewist Kathy Dykstra's method for getting 1/8th inch French Seams on your garments. She is an incredible teacher highly skilled. I really wanted to achieve that here and with her lesson I did.

Kathy is a respected nationally reknown heirloom sewist and educator. She has great teaching videos on youtube that can interest all sewists, like this one on 1/8th inch French Seams. I followed her instructions exactly and as you can see, they are one eighth inch wide and not a hair over! Thanks, Kathy, once again, for sharing your expertise with us all. Check out her videos at Kathy's Sewing Studio channel . You can also amaze yourself with her skills and garments!
Hems:

The blue blouse got the tiny Kenneth King Hem which you can find in my tutorial tab above, easy peasy and fast.
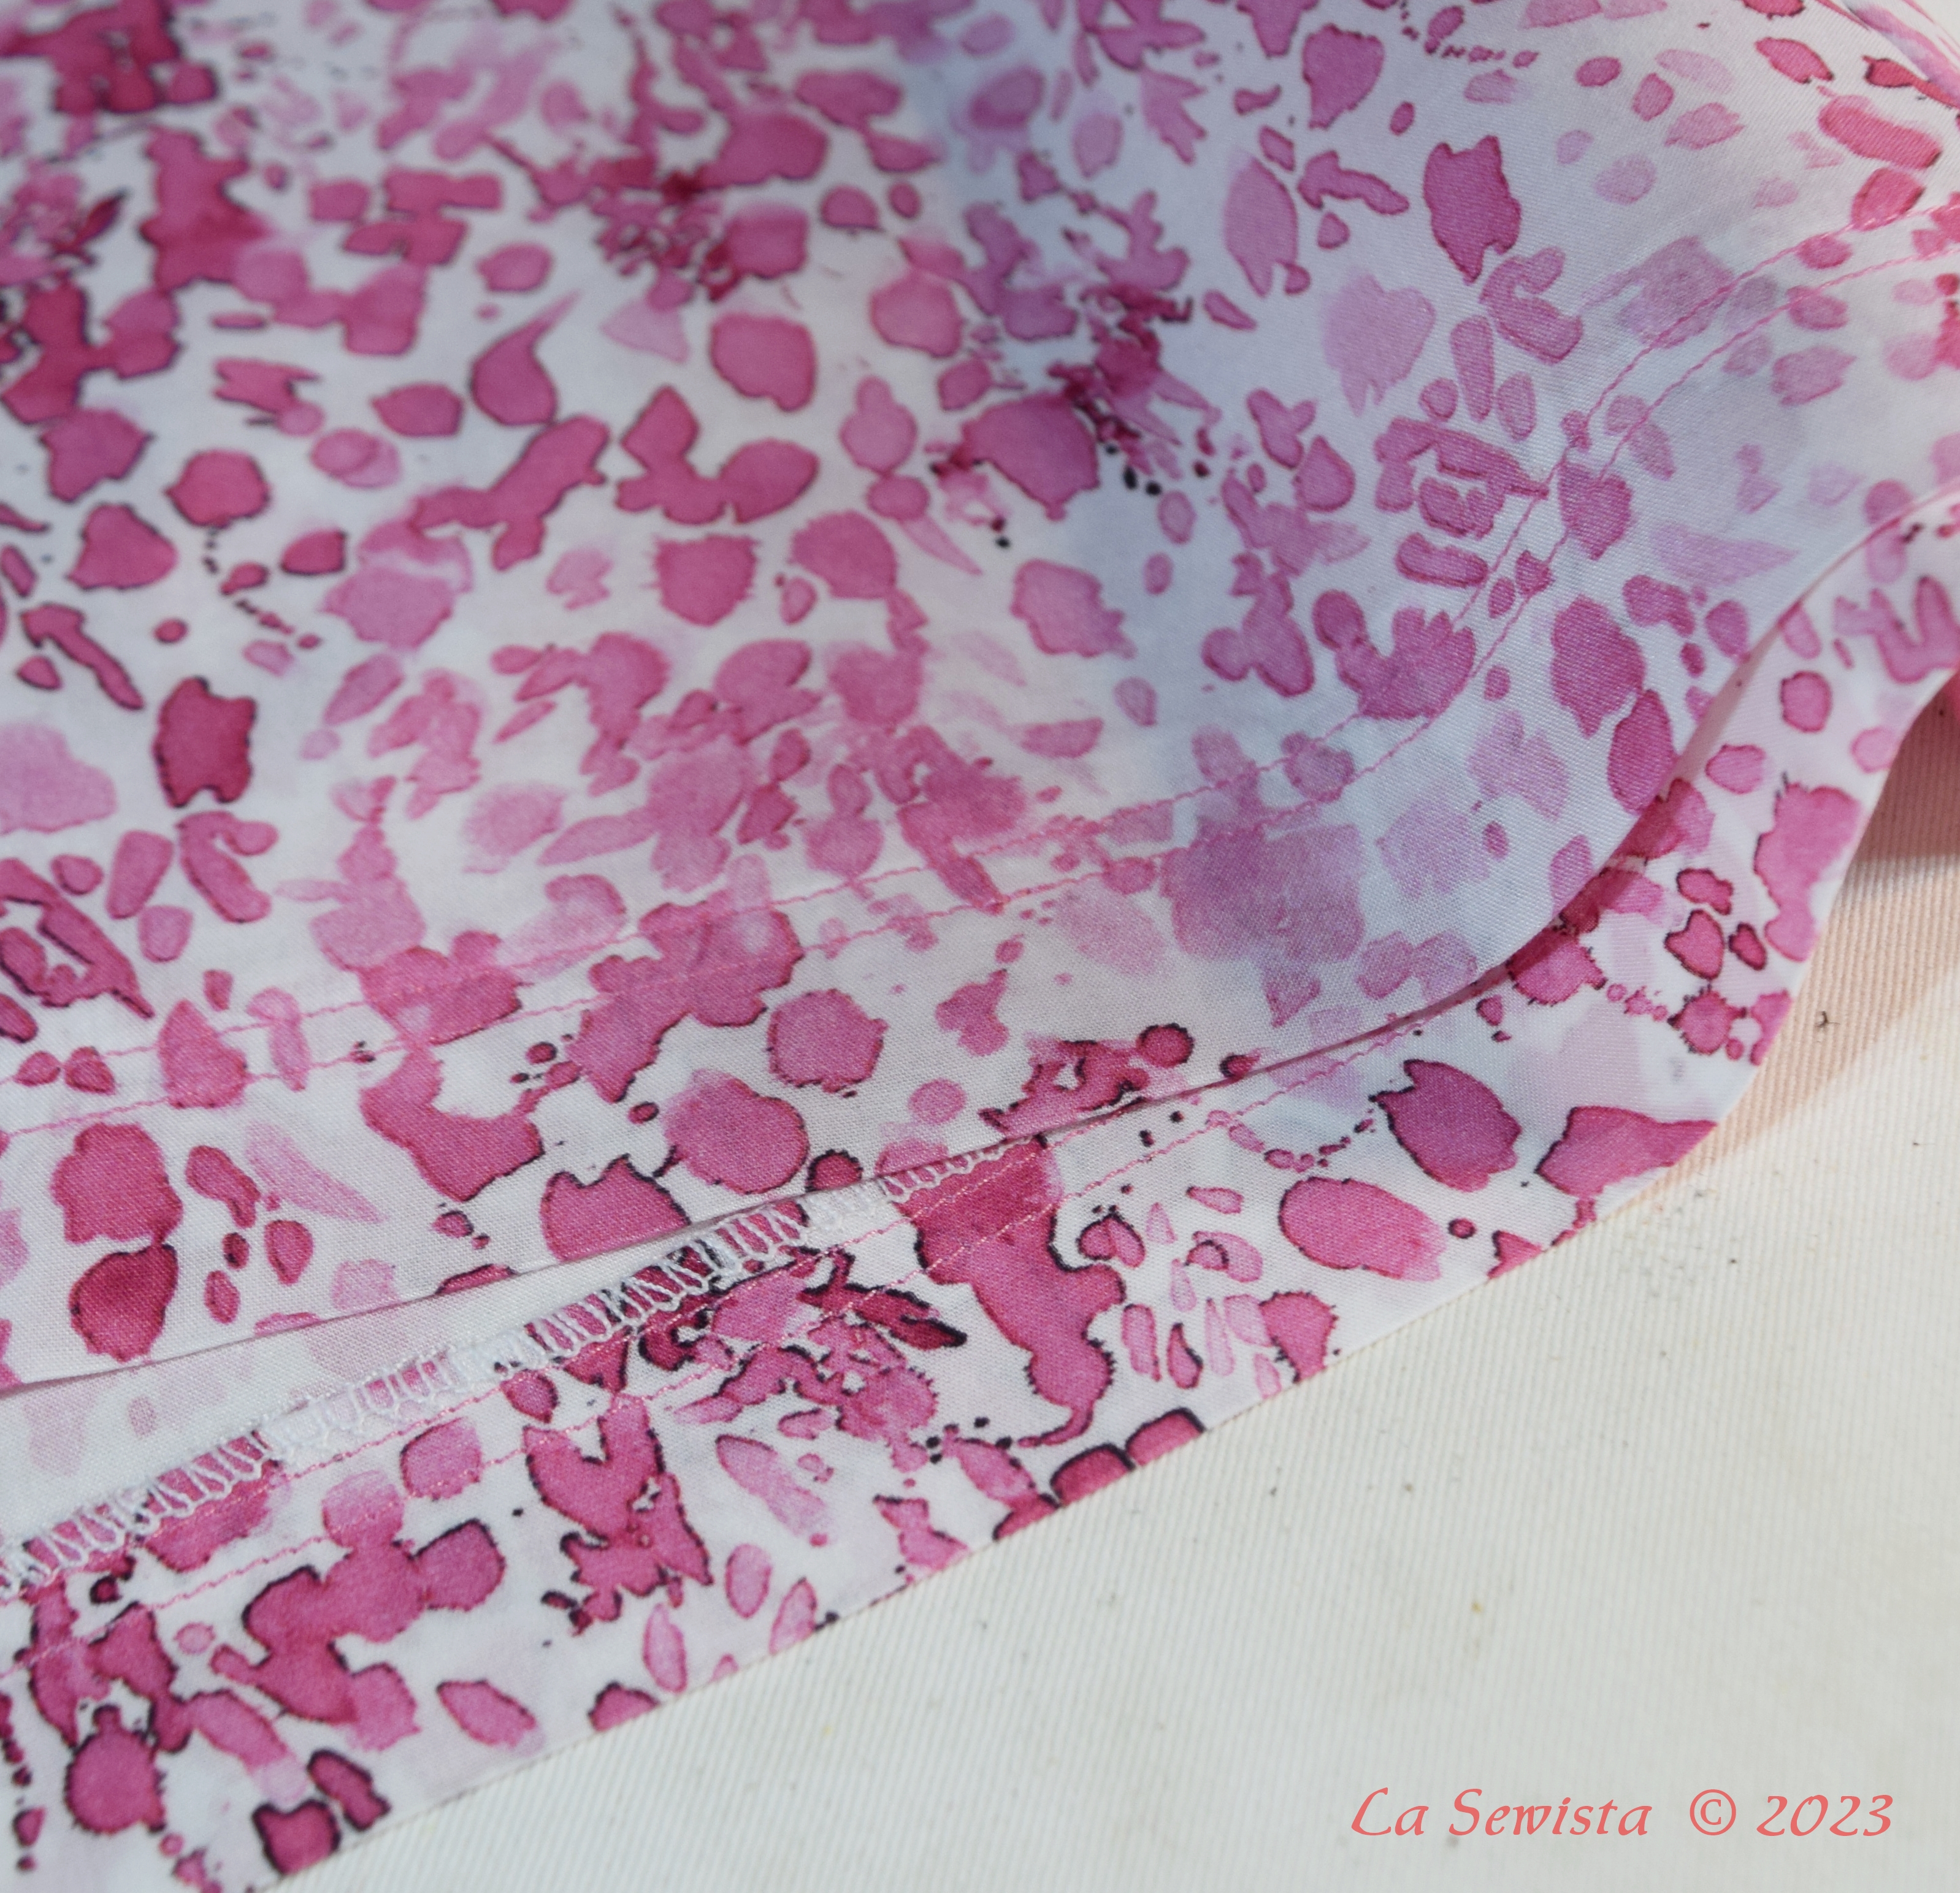
The pink hem was deeper, 1 1/4 inch and serged. It was then double topstitched on the public side.
Ties:

Ties on the blue version were simple bias rouleau ties. I did nothing to the ends as they are bias and should not fray, for now anyway! I love their roundness!

Since the ties on the pink version were flat bias tapes I tied them off in a simple tight little knot.
Cuffs:
Last but not least, we have the cuffs. As directed on the pattern, the blue top recieved the gathered elastic hem on its sleeves. Lovely and soft!

The pink lovely recieved more traditional cuffs, which I don't seem to have a pic of! So sorry. The were simple, 1/2 inch wide flat strips with the sleeve gathered into them. They were just wide enough to slip over my wrists.
MY OPINION OF IT ALL:

In summation, this is how I would make this blouse a third time. I really like the clean look of the interfaced edges of the blue collar as the pattern directs. I also like the rouleau type of ties which I did get by using my Fasturn tube turner and leaving in the seam allowance to fill up the tiny tube. Next, I like the softness of the gathered, elastic sleeve hem as well. It just sort of goes with the comfort of it all and I it actually is more comfortable than the stable pink cuff. As for hems, I always prefer a good deep hem with some double rows of stitching as the pink blouse had. I would definitely choose to go that way. These would be my suggestions and choices and I hope they help you make yours.
This is a lovely patterns in a comfortable, feminine fabric, perfect for summer. This pattern offers some slight variations for sleeves and necklines. My one caveat would be that the keyhole exposes perhaps a bit more than you might expect. The fit gives you a nice fitting shoulder effortlessly along with a bodice of generous ease for comfortable summer wear and fit. I highly recommend both pattern and fabric.
*****************************************
If you have made it this far I will leave you with a textile treat. While in Sedona we took a side trip to the Grand Canyon. While there, we spotted this GORGEOUS Pendleton blanket, one of a series made specifically for the National Parks of the United States. Each park has its own commemorative blanket and we thought it would be a wonderful memory of a great trip and a lovely legacy for our children. We hope to collect more of these blankets in our travels. The colors of this blanket are spectacular, a true work of art. We learned a lot about the Pendleton Mills, their mutually beneficial relationship with the local Native Americans and appreciate their woolens even more now. This is a queen size 100% woolen blanket. It is on display on our Lake Placid rocker. Enjoy! and thank you for bearing through my rather long treatise on blousemaking.


Happy Sewing!


Based on your earlier recommendation, I too purchased some of the JoAnns lawn. Lovely fabric! Your blouses are o pretty and it’s interesting that you prefer the easier techniques - I think I would too. I really enjoy your blog!
ReplyDeleteKathy Zachry
Welcome, Kathy. I am glad you found your way here. I hope you have as much fun with this lovely fabric as I did. If you need French seams, brush up on Kathy's technique. It is different and quite specific. Good luck and thanks for stopping by.
DeleteI'm loving both tops! It was great to see two different methods of construction too. Finally it's nice to hear that the craft store is upping it's fabric game.
ReplyDeleteThese are lovely on you! Now I want that pattern and that fabric! Is there any chance you could recommend (or do) a rouleaux tutorial? I tried them last week for the first time but there are a lot of different techniques online and I wasn’t sure which variation(s) to try for the best results.
ReplyDeleteThank you for such a comprehensive review . I’m hoping this pattern is on sale soon I’d like to try it . Do you think a linen would give the sane result in drape and *puffy ness* of the sleeves ? Thank you , Jo
ReplyDelete