The second thing wrong with New Hampshire is its water. Oh, it tastes good enough in most places. Ours tastes great. The issue is that it is filled with Manganese. Manganese turns all white clothing orange-y brown. It's a slow process but when I moved here I bought lovely white fluffy towels for my bathroom. Today they are still lovely and fluffy but they are the exact same color as the bathroom walls, beige. Oh, you are thinking, she just doesn't know how to do laundry. Not so fast....When you mix bleach with manganese it intensifies the process and makes it proceed faster. We have a filter system. I use Calgon which helps some. I don't use hot on my whites as that increases the effect and I certainly don't use bleach. Believe me, after decades I know all the Manganese tricks. Bottom line, you eventually learn to buy beige towels and redecorate.
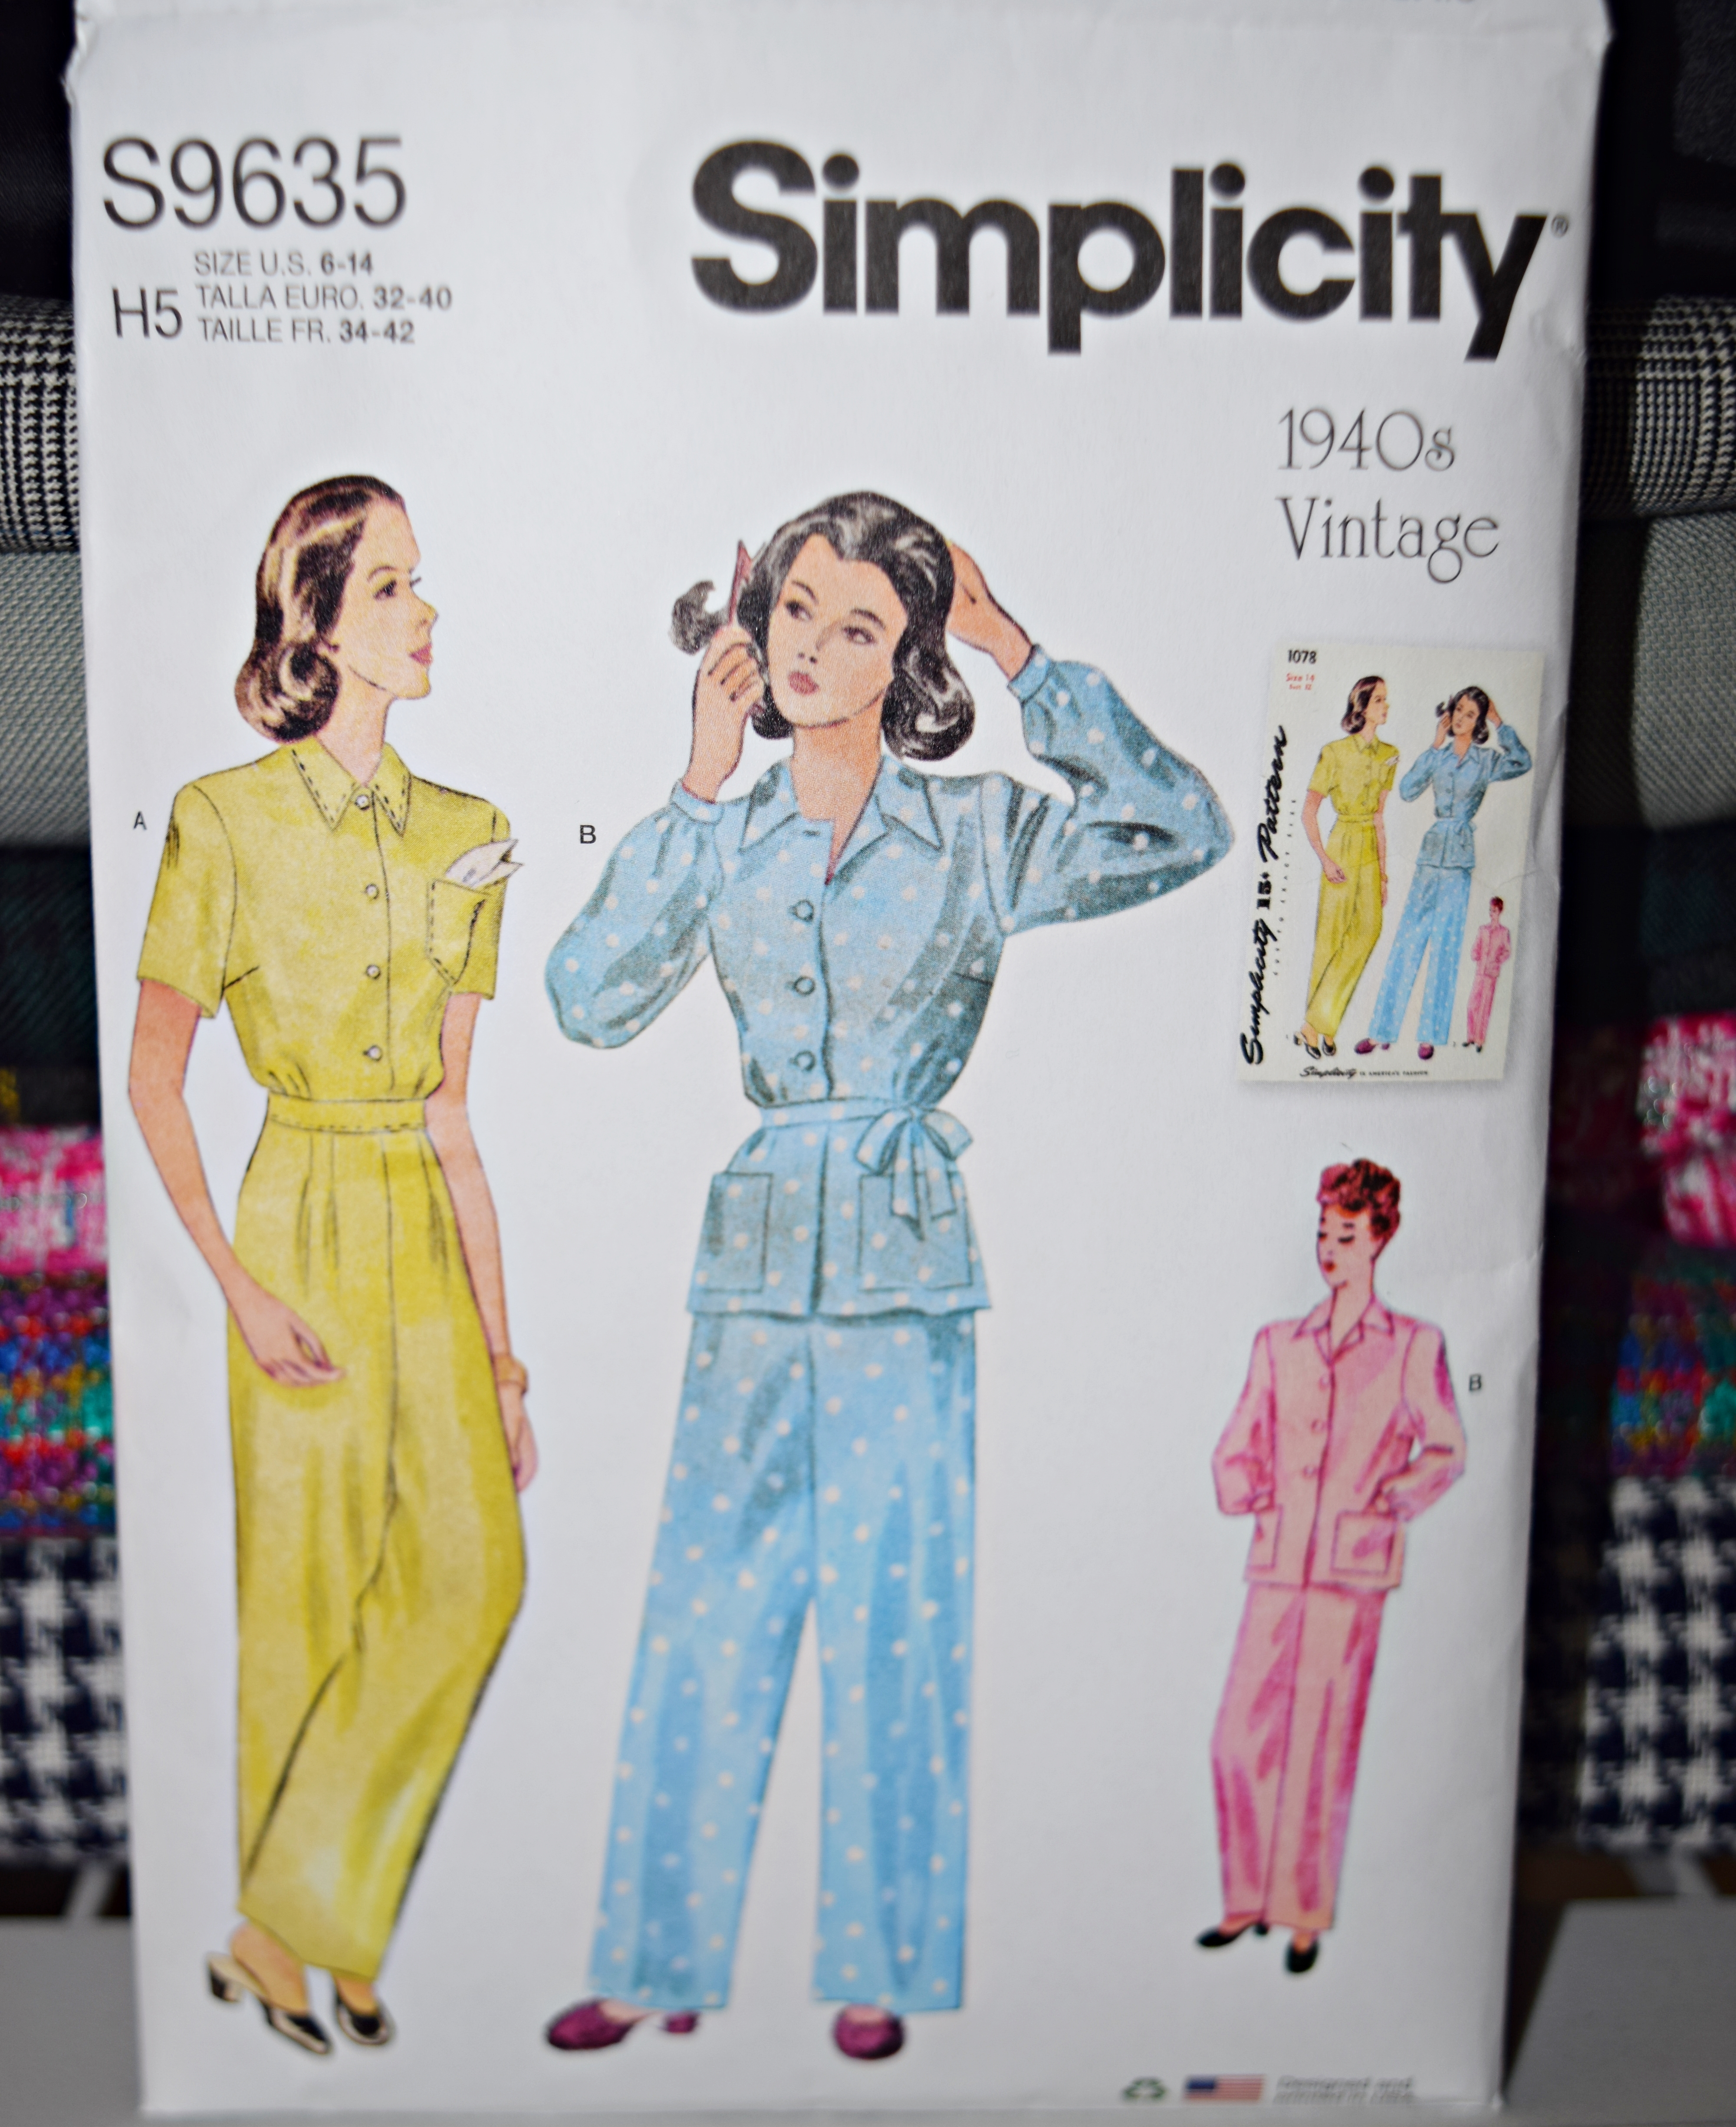
Now there is nothing I love more than a nice white blouse, WHITE! I can't tell you how many I've made and tossed eventually. I find synthetics fight the manganese better than all natural fabrics. So every year or so I need to make a new white shirt or dress or pants. This year I wanted a simple camp shirt, short sleeves, Big, but not crazy big, no collar stand as camp shirts do. I searched and searched and the very few I found just had one thing or another that made them the wrong choice. Then I started looking at pajamas! Bingo. I loved this vintage pajama top. By its measurements it was just the size I wanted, big but not too, plain collar, even darts. This would work perfectly and hey, those pants look pretty awesome as well. They will be for another day!
Knowing poly helps I decided not to use my white linen stashed away. I went to Joanns and got some of their classic Symphony, 65 cotton 35 poly. I've sewn with it before and it makes an awesome shirt. Since this shirt will eventually hit the can, it was a minor $$$ investment as well. Now that it is mostly sewn, it looks really good. I had ONE problem sewing my camp shirt, a glaring, awful problem that left me sleepless.

The Collar! What drove me batty!
This is an OBTUSE triangle collar. Now I've made some pretty nice collars in my day and they can be found throughout this blog. I use Nancy Zieman's method, one also used by Peggy Sager. Nancy has you fold the seam allowances over each other and it makes a nice sharp corner, no crazy snipping at the corners. That DID NOT work because this triangle corner was not 45 degrees or even close. It's obtuseness prevented that. You had to get fabric into a a tiny point. Let's try again. Next version I clipped the hell off the corner. Of course, one corner popped thru and the other just looked like crap. How about another. I just fiddled and fudged and came up with the version on the right. I put it in the shirt. Ay,yay, Yay, Lucy! That is the collar on the right. I couldn't sleep at night over this. Now, I do have an excuse. I will spare you the details, but my sneaker got stuck and tripped me and with other injuries I got a whiplash concussion. Sound good? I am now going to therapy, feel better and decided to face the collar again. I took it out started all over. No David P Coffin, Sager or Zieman. I got the results on the left. Not perfect but I dare you to show me someone who can make a perfect obtuse collar, dare ya , double dare ya, cuz I want to know how they did it. I think the collar points are acceptable and it will look ok on an all white blouse. Whew!

I hope you can see this coat clearly. It's tough to photo black. I find myself doing more and more tailoring with my side hustle but I am enjoying it. I miss doing all that I did back in the day when I wore nothing but suits to work. I tell some people I don't do it but I do what I did in NY, cultivate a handful of lovely, repeat customers who appreciate my skill set and are a delight to work with and reward me justly. What you see with this classic all wool beautifully tailored coat is the shoulder that I took and inch and a half out of. I dealt with sleeve heads, shoulder pads, taping, lining, all the fun stuff. It came out beautifully. I remembered how much I enjoyed doing this type of thing. Now to raise the hems. My client actually bought a coat that she fell in love with that was too big. She is tiny and I get that. We tinies don't have lots of options. I think I know a few women who have done the same with shoes!
Back to the machine. Can't wait to show you the white shirt when done, part of an outfit, linen pants, hopefully painted!
Oh, that third NH thing? Live free or die! Don't get me started on Free Staters!
Happy Sewing............Bunny


Don't leave us poor readers in the dark! How DID you get those great corners? The coat is stunning - beautiful work :)
ReplyDeleteI trimmed all edges of the collar down to an eighth of an inch after stitching, except the neckline. I did not chop off the point of the collar when trimming. I then reverted to the Zieman technique of folding the seam allowance over at the seam and then the other seam allowance over that. When I folded each seam allowance over, there was excess and I trimmed that off to match the obtuse shape of the corner. I did that on both sides. It was tiny fussy work because you need to hold the seam allowances down as you go along. Now my finger was way to big to get in there and turn the corner but I did it the best I could. I have a forceps with a pretty small head, that I put into the corner. It got up to maybe a 1/4 of an inch away. I pressed down on that as I pulled the collar over to the right side gently not to pop the corner open. All that was left was to get that last bit of corner open. A while ago I learned that if I put an object into the corner of a collar point a few inches away, between one seam allowance and the collar itself, and run it along the seam inside slowly, it will push the point out nicely, as opposed to just pushing out the corner with an object and balling it all up inside at the end. In this case I used a tool that I use a lot, an eyebrow shaver. It has a soft, tiny, rounded point that is gentle and works perfect for this. It is the holding end of the shaver, not the business end. I run that between the collar and SA on each side up to the point, gently and it works well. You can also use a tiny screwdriver blade. I don't push the point out aiming for the point. I just run that little soft point, probably a hair bigger than a ball point pen point, up each seam allowance. The final collar was just another sample in an effort to get one that would work and it did, at least to the best of my ability. I thought maybe somewhere someone would have a method for this but I couldn't find any. I think I may have to write this out if you think it is worthy. Let me know and thanks for asking!
DeleteOh, the other thing I did on this one, not the others. was cut the corner of the interfacing off at the corner for about 3/8ths of an inch. I tested first to see if it would show and it didn't. So the collar points are not interfaced! Huge help!
DeleteThank you! What a wonderfully detailed description! I have printed it out to use when I make my next collar.
DeleteGlad to help.
DeleteHave you tried the collar construction method of cutting the undercollar at center back, adding seam allowance at CB. Attach the fronts of the undercollar to the fronts of the top collar, overlapping SA. This makes one long pattern piece for the collar, with a CB seam on the undercollar. No fussing with the collar points, as they are simply a fold on the front edge with the only seam at collar edge. Interface the undercollar using interfacing on the correct grain. Can work beautifully. My only hesitation is that it makes the front edge of the collar very flat when we are used to having something of an edge there.
ReplyDeleteOn the laundry problem: have you tried soaking in Biz? Available from Amazon, the best product I've ever used for whitening fabric. Might be worth a try.
I have used that collar method in the past, quite some time ago. I can't remember why, but there was some reason I didn't care for it. Was that fold bias? While it gives an interesting look, would it work for an obtuse collar point? I'll have to play with that idea. Thanks. I am planning another blouse with an even more long and pointy obtuse collar so I have to get this down. Thanks for your suggestion.
DeleteAs far as Biz, being an heirloom sewist, I am very familiar with it and always have a Biz soak bucket going in my laundry. Biz is for organic stains. It just doesn't work on this has been my experience. Trust me. you name it, I've tried everthing as have all my friends and neighbors. If I have a real white treasure I will have it cleaned at the cleaners where they use chemicals and it comes back white. I try not to do that, however.
Carol, I need to thank you. I just found the technique you mentioned in Nancy Zieman's Busy Woman's Sewing Book. It will be the answer to my issue and I can't wait to do a mock up. That other blouse has a different point on each side, one long and obtuse. It is a Claude Montana design from a while back. I have to wrap my brain around that aspect! Thank you again for your input. I have such wonderful readers!
DeleteFor the record, Bunny, this IS the Granite State, so a gravelly/sandy and acidic soil can't be much of a surprise. Also: the CT River Valley has alkaline river-bottom soil. I have well water, with a water softener and a reverse osmosis radon entrapment device, and I have no laundry issues with white fabric of any content. The dishwasher, by the way, came with its own salt treatment well.
ReplyDeleteThanks for sharing such an amazing post with us, it's really helpful and informative.
ReplyDeleteJeans Factory
Custom Jeans
Your sewing skills are truly impressive, and it's always a pleasure to see your latest creations. The dress you made for your friend's wedding is absolutely stunning, and I can only imagine how thrilled she must have been to wear such a beautiful and unique gown on her special day.
ReplyDeleteuse walmart gift card for gas
"I can't help but feel inspired after reading this blog. It motivates me to explore new ideas and think critically about various topics."
ReplyDeletecurrent bank promo code
"I've found answers to questions I didn't even know I had while reading this blog. It's like a fountain of knowledge that never runs dry."
ReplyDeletelowes 10 coupon generator