Sewing Vloggers

Showing posts with label rivets. Show all posts

Monday, September 29, 2014

The Ikat Jacket, Simp 2153, again!


This really is meant to be a lightweight summer jacket but Mother Nature and my constant recent delays made for some Autumnal modeling shots today. I really like  this jacket and will get a lot of use out of it. Our summers are generally in the fifties at night so a lightweight jacket is a must. Factor in a lot of jeans wear and I think this will become a staple in the closet. Here's the 411:

Pattern: 
This is Simplicity 2153. It is the same jacket I used for the Threads Fall Jacket Challenge last year. A good anorak pattern is a great thing to have in the stash and this may not be the last time I make this. I can see me making it in some rainwear as well.

The pattern itself is fairly easy but I made quite a few changes and because of those changes did not follow the sequence in the pattern. More on that..........

Fabric:
This is 100% cotton home dec fabric, maybe, just maybe from Fabric.com. I do know the selvedge says it is a Raymond Waites design called "Tincia" (?), can't tell. It's hard to read. It also says it was made for Mill Creek Fabrics. I love the texture. It is like a heavy textured linen which you can see better here.

I prewashed this fabric removing the "soil and stain repellant finish" listed on the selvedge but it got a really nice soft hand to work with after that, more like clothing. I love to sew with home dec fabrics. I can't remember one, even tapestries, that I didn't throw in the washer and dryer. It softens them up and makes them much more wearable and sewable. Don't hesitate to look at home dec fabrics next time you are shopping. 

The lining is rayon Bemberg lining. Interfacing is a woven from Fashion Sewing Supply. Have to get more of their product as I am close to out!

Construction:

I made quite a few changes. The pattern does not specify a lining. I did a bound lining (formerly named flat lining) that you can see how to do here. It gives a really nice finish to a more casual garment like this. This fabric was quite ravelly and I am glad the seam edges were bound from the beginning.  The bodice pieces were all flat lined before starting construction. The sleeves were lined using the Nancy Zieman method which can be found in the tutorials. The armscye edges were bound with Bemberg lining. 

This pattern does not have a facing that goes around the neckline. I made one and much prefer how that finished up with the bound edges compared to a partical facing and lining run up to the neckline. I've never been a fan of that technique. 

I dropped the casing down a half inch as I felt it was a touch too high in the first iteration. 

Pockets were cut on the bias simply to add a bit of interest and to help the fabric move away from the home dec vibe. The hip pockets were cut at a slant with cuff. Rivets were used to secure the pocket corners and were intentionally put in upside down as I liked the back of the rivets better than the front. Pockets were topstitched with a triple stitch. 

I used simple drapery cord for the cording which I may change if I find something better. I am not 100% happy with that and am still looking. There is a pony bead at the end of each cord, simple, and cord locks at the waistline . 

I added two inches to the length which I find kind of interesting as I am only five feet tall. So watch the length if you make this. I faced the hem instead of folding it up. 

Split cuffs were added to the sleeves with a deep facing. The sleeves on this run huge. I took a good inch out of the width. Usually I am adding width to accommodate those late in life accumulations under my arms but this pattern actually had to be made smaller, so beware. 

It took extra effort and fabric at the cutting stage to insure that all the prints matched and were symmetrical throughout. 


Conclusion:

I am pleased with the pattern, once again, and the outcome. I love Ikat designs and this project let me express that choice. I highly recommend the pattern but suggest lining it one method or another and making a full facing that goes around the neckline. If I find the right rainwear fabric I may give this a go one more time!


*****************************************

I've had some questions regarding the iron I just purchased. I used it throughout this project and knocked down my ironing pile today as well. I am very pleased with it. It pushes out more steam than any iron I have ever had,no drips. It is a Rowenta "Steamforce" which I got through Amazon. My favorite feature, however, is that skinny little point with the steam holes in it. It is wonderful for ironing seams open effortlessly. No burned fingers! And those are all steam holes, not dimples, unlike my last Rowenta. 

******************************


I often get asked about my little bunny labels. I picked up this roll, half of which has been given away, quite some time ago. I got it at the much missed "Fabric Fix" store for one dollar for the entire roll. I would love to think that one day I will actual run out of little bunny labels. Now that's a sewing fantasy!...................Bunny

Thursday, September 18, 2014

What's wrong with this picture?


One of the suggestions on this pattern was to use rivets at the corners of the pockets. I liked that idea and had some nice silver ones. These are flat with concentric engraved circles not visible here. I chose them because I really like the look. Hammer away!


The next morning I went to wear my recently made print jeans and looked at those rivets which I installed after watching a few youtube videos. Have you figured it out yet? I put these in backwards. ugh.....but I did that because I thought the back of the rivet was the "pretty" public side. Clearly there is minimal rivet experience here but I have learned a lesson.  OK, the rivets could have been installed with the little nipple side out but they weren't as shiny or as interesting. So while I made a mistake here, it was that "wild enthusiasm, unencumbered by the thought process" that had me make by decision by the look I liked, not by the "rules". So while my ego has been bruised by my lack of knowledge, I am comfortable with a look I chose from the outset because I just  liked it. Do you really think the rivet police will come after me?

Next snafu was the yoke. It is well installed but not the way I wanted it to be. Again, wild enthusiasm took over. I was doing the burrito technique for the yoke which is in the tutorials. But I topstitched the yoke before closing it up. This meant I didn't have a free seam allowance to connect with the wraparound lining yoke. Whahhhhhh......So I just did the traditional handstitched yoke finishing you see here and all is fine, just not quite what I wanted. I will adjust the tutorial to reflect my stupidity   eagerness.


I am on to the sleeves now, s l o w l y  on to the sleeves. I want them to have a fold back cuff with a slit.  I've adjusted the photo so you can see my markings a bit better. The top line is the hem fold. I added another 3/4 inch for turn options. How deep did I want it to turn? Then the cuff which has a slit in the middle, then the final seam allowance. I haven't cut off the surplus yet. The lining will have a facing that will be two inches wider than the "cuff" space. They will be placed right sides together and stitched on the drawn lines. Fingers crossed. Go away unbridled enthusiasm, go away...........Bunny

Saturday, July 5, 2014

Jeans, nearly done!

Keep in mind this is the very first time I have ever attempted jeans with all the bells and whistles so all is new to me. As I usually do, a lot of time has been spent in research. My "muslin" jeans are looking pretty good but we will see what the final finish brings. I'll share a few things I've learned.


I used some Frog Tape to make a template for topstitching the zip. I just stuck it to my cutting mat and cut it to the right size with the rotary cutter. Then I just pulled it up and stuck it on the pants. It made the topstitching more precise and also made sure that I cleared the plastic on the zipper end. You could use any painter's tape. As I always do, the zip is longer than needed. Why go around that lumpy bumpy zipper pull when you can just have it out of the way with a longer zipper?


Then came the rivets! There are a bunch of Youtube videos on how to put the rivets in your jeans and I learned a lot from these. What would we do without youtube videos?  Just search jeans rivets and they will come up. I did learn why the rivets fell out of a project I did a few years ago! I needed fabric "washers" !
Jeans rivets consist of a disc with a post and a decorative disc with a nipple. You will put the post part through the fabric on the wrong side and then hammer it into the nipple rivet on the right side. These pics should make it a little more clear.


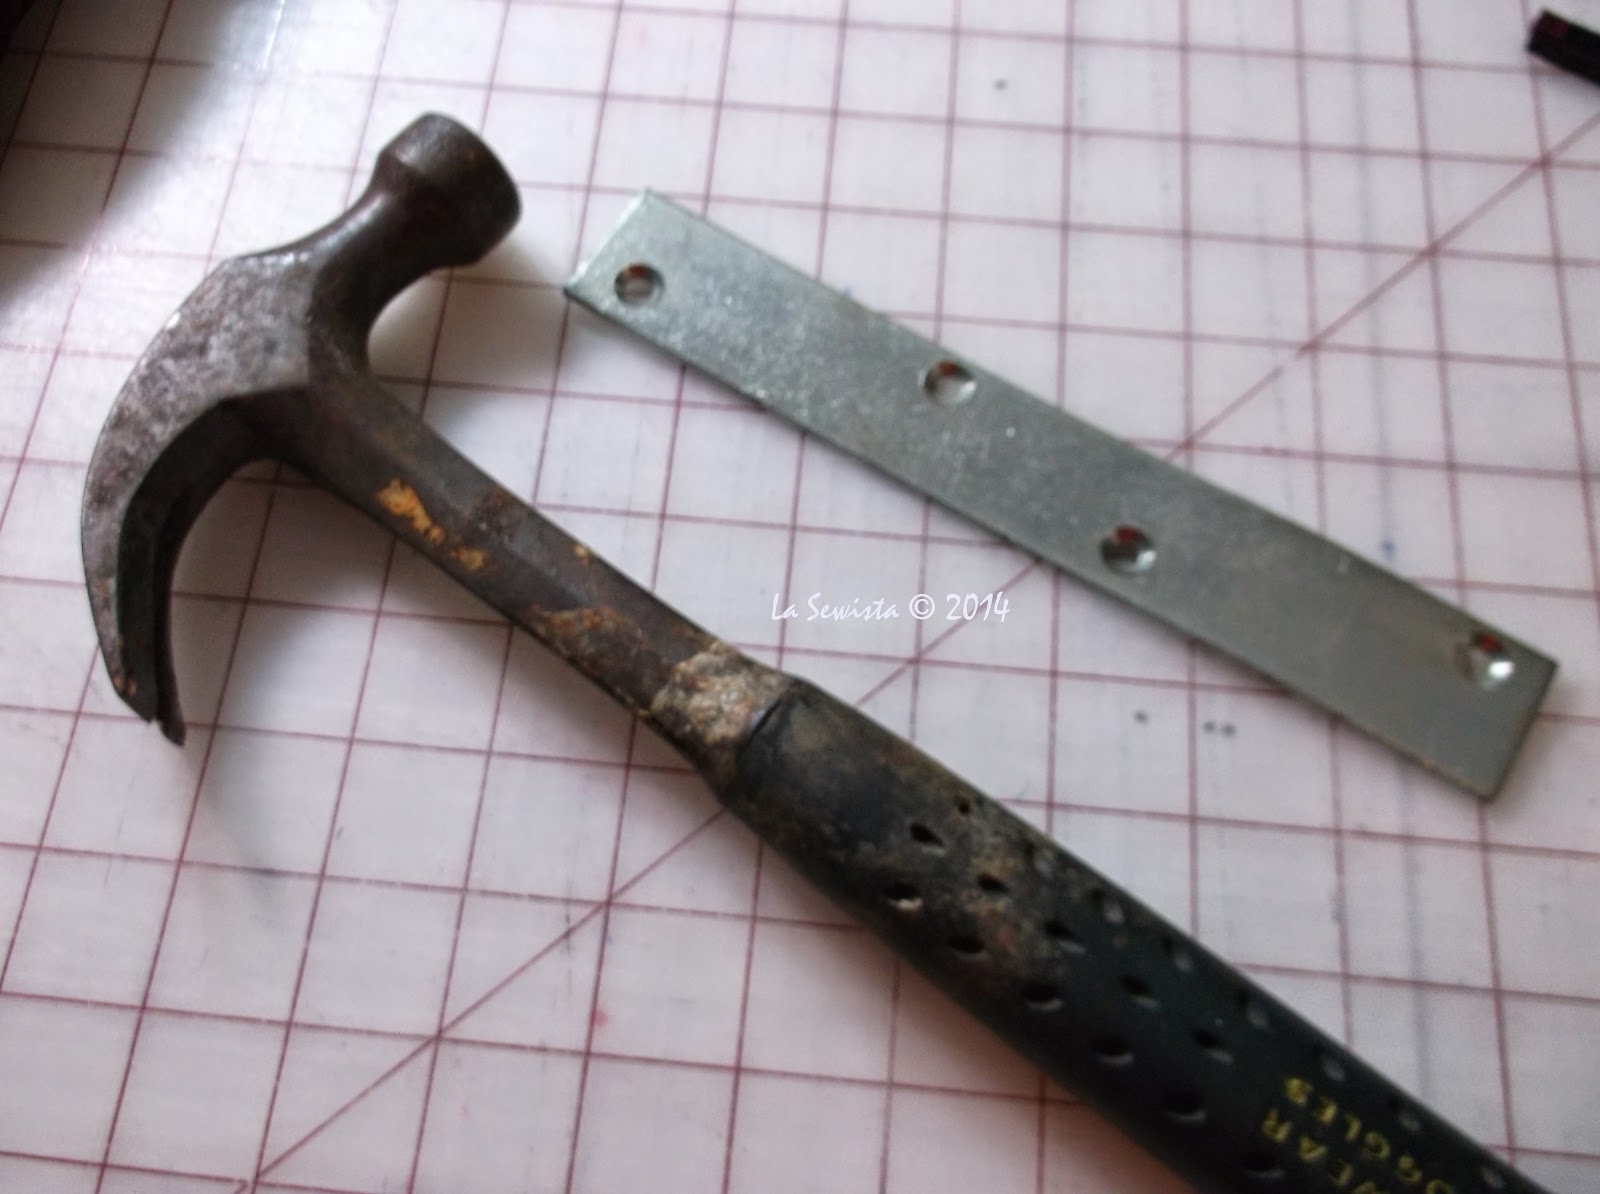
For supplies you need a hammer with a very smooth head otherwise it will mar the surface of your post disc. A smooth metal plate of some sort helps. I tried using a 3/4 inch thick piece of maple but it was not hard enough, so find some sort of hard metal surface for your banging. Also needed is some sort of pointed poking type of object. On my old failed project I used an eyelet cutter to make a hole for the post. Bad! You don't want to use anything to make your post hole that will cut the fibers. You want to poke something through that will push the fibers to the side and not cut them. I started with a seam ripper and then switched to my trust dental tool, perfect! A hole will need to be punched in the actual jeans spot where the rivet will go as well as in the fabric "washers".  Say "Ahhhh".


If the fabric is not thick enough as in maybe four layers of denim (per one video) you need to build it up with layers of fabric and make a fabric "washer"  to go between the lining and the post. Failure to do this is what makes the post too long and causes it to break. So I cut these little squares of layers of fabric and used them between the lining and the rivet post. The rivet post goes through everything and on the right side of the jeans you place the nipple disc in the point of the rivet post, you know, that male/female thing. While holding on to the whole thing turn it over so the nipple is face down on that metal plate. Give a few not too crazy hard bangs with the hammer. Trim the edges back to the circle shape and it should be done. Again, this is my first attempt at jeans rivets and just what I learned from you tube. Hopefully it will help others out there. I could not find  non youtube resources on this technique and appreciate any input my dear readers have to offer. This is a new journey I am on.


I got my rivets from a place called Taylortailor.com . They have great instructions on installation and sell in small amounts. 

Then it was on to the pockets, again, this is all a first time for me. I do hope the next pair, real denim, will be a smoother, quicker make. Back to the pockets: It took three sets before I got it right or at least as right as anything can be the first time you do it. My first pair of back pockets, well, I forgot the seam allowances. My second pair I used a satin stitch for the design and because I did not use a stabilizer and the fact that the fabric had lycra, the design was a wavy nasty thing that just ruined the pockets. I mean, we sew real here but three times the charm! I copied the size and shape and placement of pockets on an existing pair of jeans that I own. Since the satin stitch did not work the design would be made using the same triple topstitch that I have used all along with some tear away paper stabilizer,  no regrets. 


Here you see the pocket on top of a piece of typing paper for stabilization. That helped immensely. It all ripped off pretty easily.  After the design was stitched the angles were mitered and SAs pressed to the back. Finally, after three attempts I was able to install the pockets on the jeans. I used the same triple stitch for topstitching them and did a bar tack at the corner. I had planned on a rivet at each corner but one video I saw made the point that rivets on back pockets are really good at ruining leather uppholstery, whether in your car or at home. Since we have both, that was the end of that idea! 

The waist band needs installing and then hopefully a bit of modeling and pics. This always requires a bit of  "let's make a deal" with my personal version of Richard Avedon. Maybe a good meal? ...Bunny


The Hanbok Vest

  I love this little vest. I thought about it for a long time. I am excited to tell you it's story.  Pattern: This is the Hanbok Vest by...